The purpose of this article is to offer you a clear step-by-step process to add a table to a report template while working in DotActiv software. We also cover how you can add strategic planning and KPI information to your table.
Adding A Table
After opening DotActiv, ensure you are in the ‘Reporting’ tab.
Once there, navigate to the ‘Advanced’ section and click on the drop-down arrow next to ‘Custom Report’. Select ‘Report Builder’.
The ‘Custom Report Builder – Templates’ window appears. Here, you can either choose an existing template or create a new one.
After selecting your chosen report, you’re taken to your report. On the left, you’ll find a dockable window labelled ‘Objects’. From here, you can add a table. Either drag and drop it or click on the report.
This opens the ‘Custom Report – Table Properties’ window as seen below.
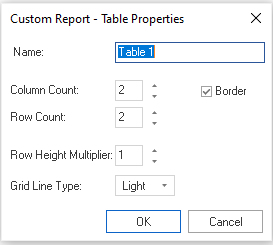
First, give your table a name.
You can now select the ‘Column Count’ and ‘Row Count’ of your table. In the example above, we have set out ‘Column Count’ to 2 and our ‘Row Count’ to 2 as well.
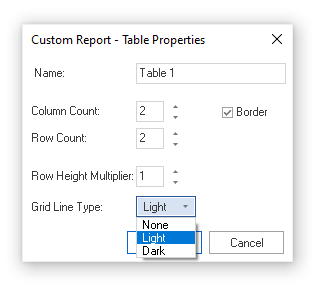
Next, you can specify the ‘Row Height Multiplier’ and the ‘Grid Line Type’. Here, you have the option to choose between none, light, and dark from the drop-down menu.
Lastly, choose whether you would like the table to have a ‘Border’ by simply ticking the box.
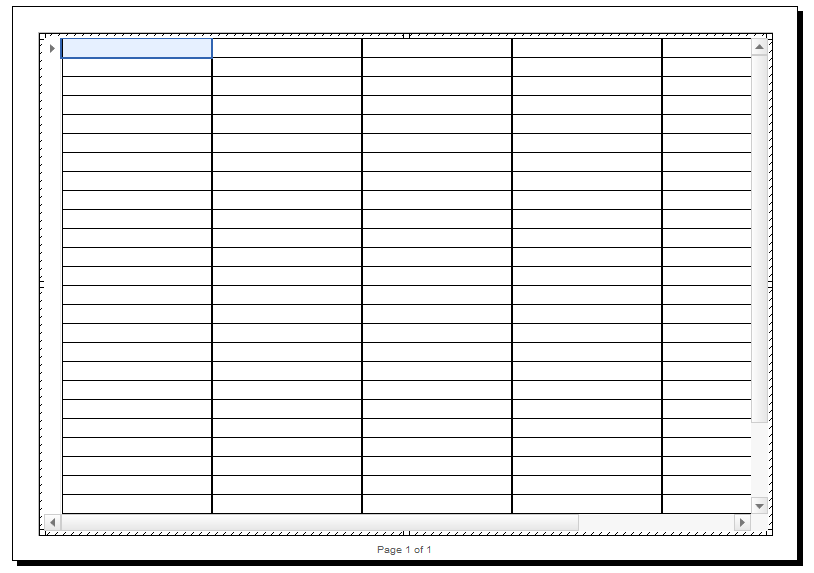
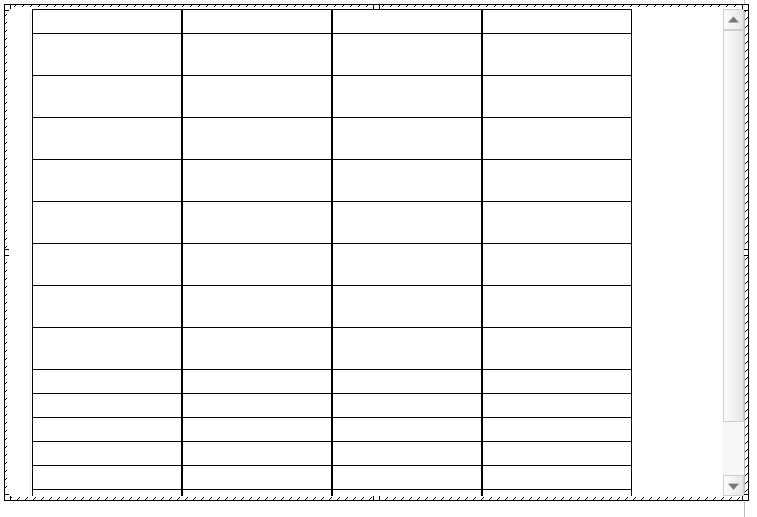
Once happy, click ‘OK’ and your table will be added to the report template, as seen below.
Click on a cell if you would like to add text or make changes to it. You can drag the column to change the size.
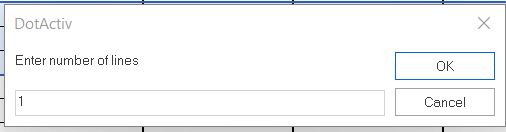
You also have the option to increase the lines that are in each row by selecting the row and right-clicking. Then select the ‘Row Settings’.
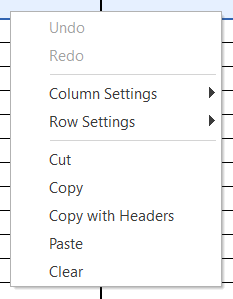
Next, insert the number of lines you would like to be in the selected row. Once happy you can select ‘OK’.
Adding Strategic Planning Information To Tables
When operating in builder mode, it is possible to customise cells within custom report tables by configuring placeholders. These placeholders can be selected from a predetermined list of options corresponding to category or subcategory roles, as well as strategies and tactics.
Users can access the strategic planning dockable panel via the ribbon bar after running or populating the report. This panel contains the available values, which can be conveniently dragged and dropped onto tables. Subsequently, the placeholders within the tables will be populated with pertinent information corresponding to the item that was dragged.
It is important to acknowledge that each category role is associated with a specific list of permissible strategies. Consequently, attempting to drag strategies onto a table after a category role has been assigned will be prevented.

Adding KPI Information To Tables
During the configuration phase in builder mode, custom report table items can be tailored to incorporate a Key Performance Indicator (KPI) section located beneath the main content. In this mode, adding a KPI section will generate an additional row at the bottom of the table.
Once the report is executed or populated, users can access the strategic planning dockable panel via the ribbon bar. This panel contains a comprehensive list of available KPIs that can be seamlessly integrated into the table. Users can add any number of KPIs, each of which will be automatically appended to the bottom of the table. It’s noteworthy that users have the option to remove any added KPIs by simply right-clicking on them.
Should the above steps not work for you, please create a support ticket and DotActiv support will assist you in uncovering the issue.