The purpose of this article is to provide you with a clear step-by-step process on how to view planograms placed on a single gondola block from the front on a floor plan.
Adding Planograms To A Gondola Block
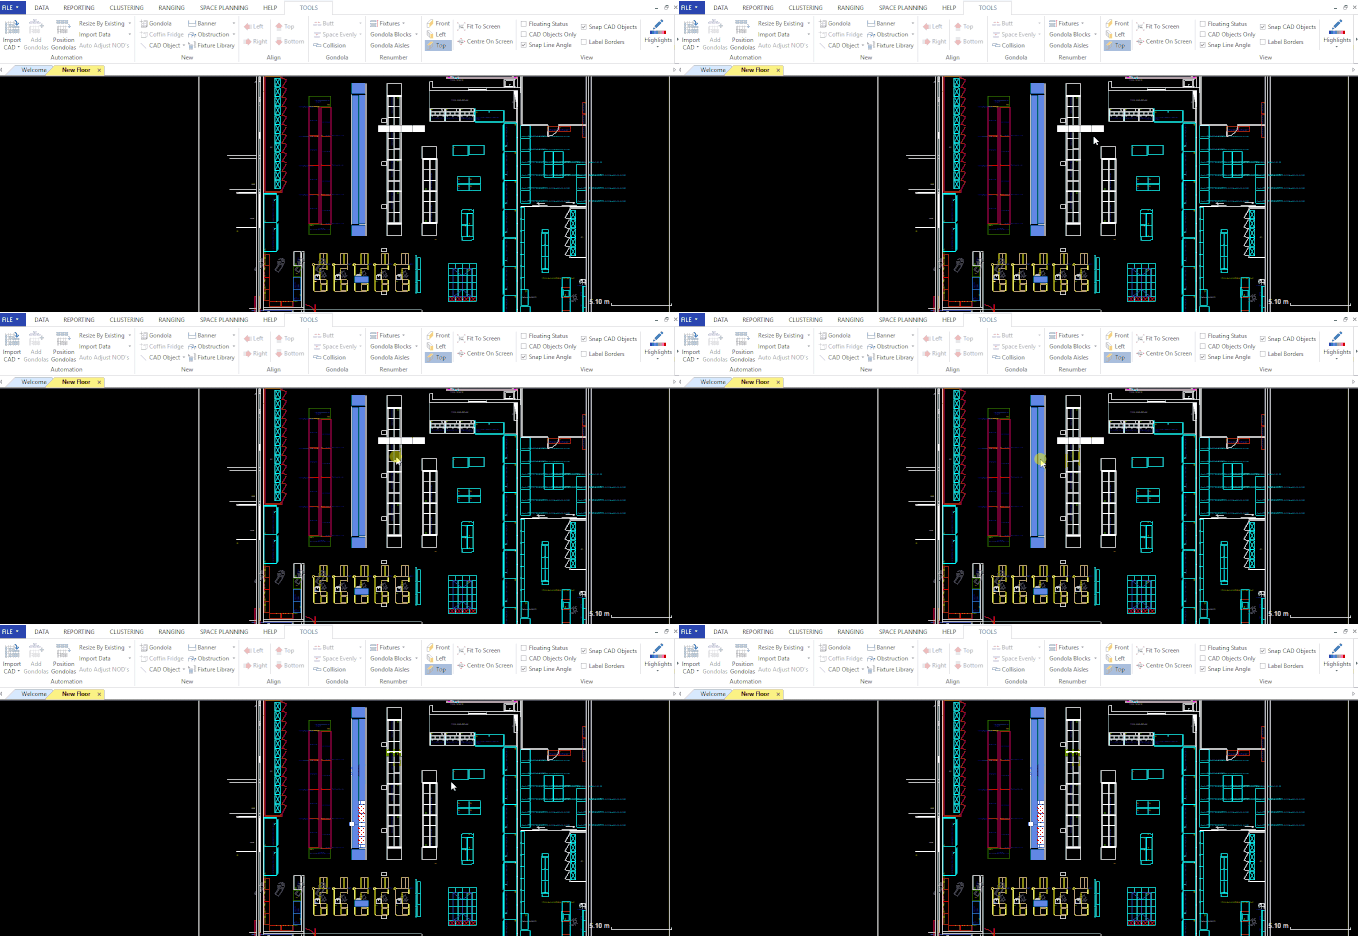
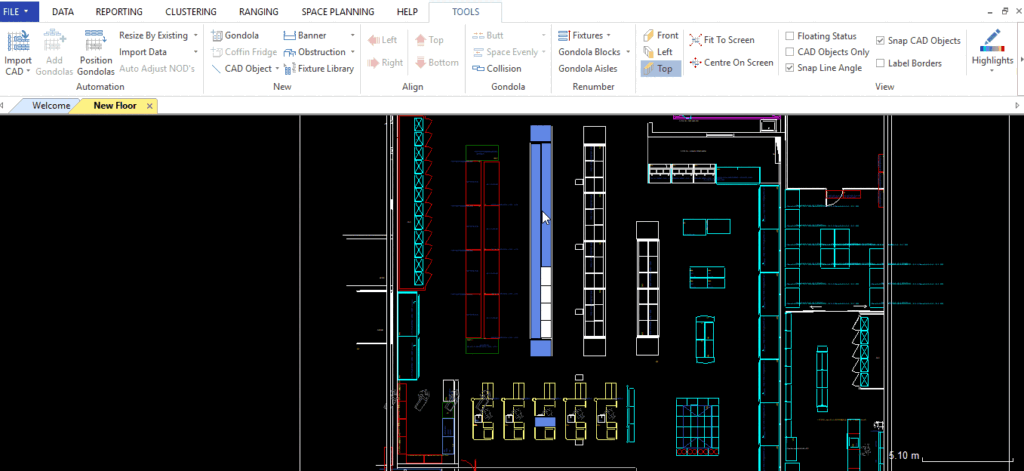
After opening a floor plan in the DotActiv software, select the planogram that you’d like to add to your floor plan. You can drag and drop it on as seen in the GIF below.

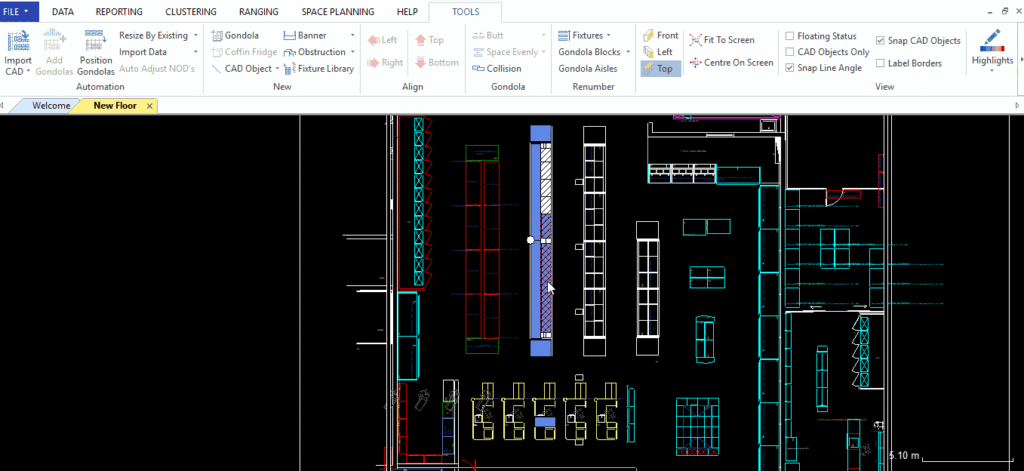
Next, you must drag the planogram onto the gondola block that is already on the floor plan. The planogram will automatically snap to the block and, by default, it will pack to the left.

If you want the gondola blocks to snap to the right, right-click on the gondola block. From the context menu that appears, select ‘Pack Right’.

If you want the gondola blocks to pack manually, which will allow you to pack the planograms wherever you want, right-click on the gondola block. Then, select ‘Pack Manually’ from the context menu.

Aisle View
After you have added the desired planograms to the relevant gondola block. You will be able to view the planograms from an aisle point of view. This means that it will be as if you are standing in a store and looking towards the front of the planograms that have been placed next to each other.
The Aisle View merges the planograms that are on the gondola block that you have selected and it opens up the planograms as one big planogram.
To activate the Aisle View, click on the relevant gondola block, and then on the Aisle View icon found in the Toolbar. You might have to scroll to the right as this icon is on the right end of the ribbon.
Once you’ve clicked on the icon a new window will appear with your merged planograms as you have placed them next to each other on the gondola block.
If the steps listed above do not work for you, please log a ticket for our IT Support team who is always willing to assist.
