The purpose of this article is to provide you with a clear step-by-step process on how to use and manage the fixture library while working with the floor planning tool of DotActiv software.
Opening The Fixture Library
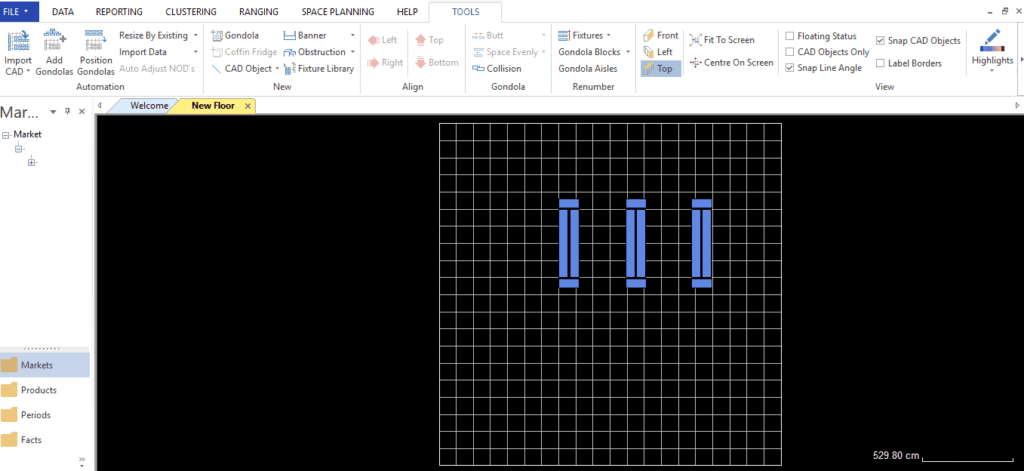
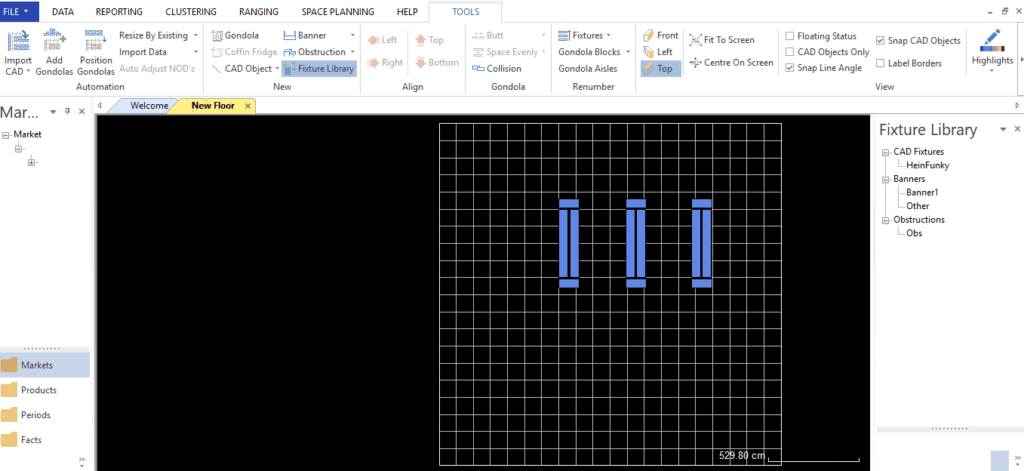
After opening a floor plan, ensure you are in the ‘Tools’ tab. Under the ‘New’ section, you’ll see ‘Fixture Library’.
Selecting it will bring up a dockable window – your Fixture Library – on the right of your floor plan.

Saving Fixtures
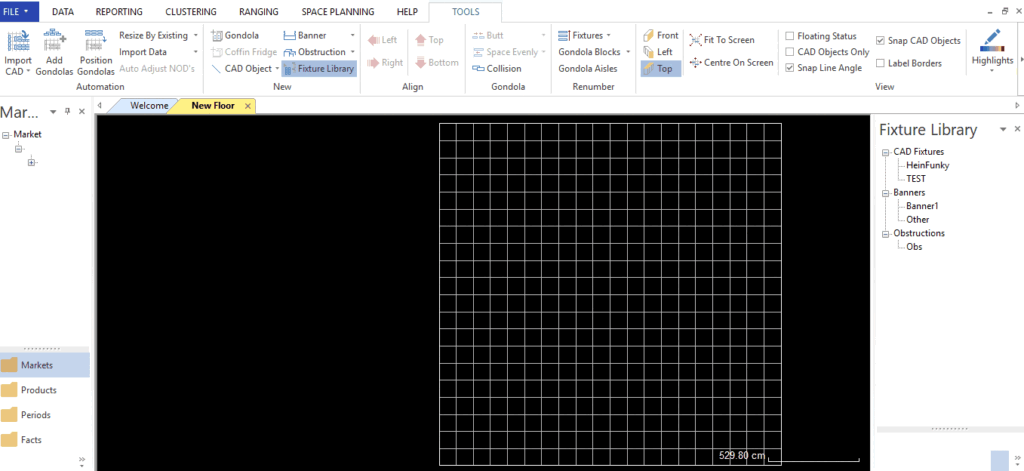
With the ‘Fixture Library’ open, you can click on and save existing fixtures to be used later in another floor plan.
To save a fixture, right-click on it on the floor plan. Next, from the context menu that pops up, select ‘Save As Fixture’.

Using A Saved Fixture
To use a saved fixture on your floor plan, first, open the fixture library as explained above.
Next, find the fixture you want to use from the list in the dockable window. The saved fixture will appear under a heading, depending on the type of fixture. For example, if you saved a banner, it will appear under the ‘Banner’ section in the Fixture Library.
Click your chosen fixture and then drag and drop it onto your floor plan to begin working with it.

Using and managing the fixture library in DotActiv is simple and easy. Should the above steps not work for you, please create a support ticket and DotActiv support will assist you in uncovering the issue.
