The purpose of this article is to provide you with a clear step-by-step process on how to position gondolas onto a floor plan within DotActiv software and what could go wrong.
Positioning Gondolas
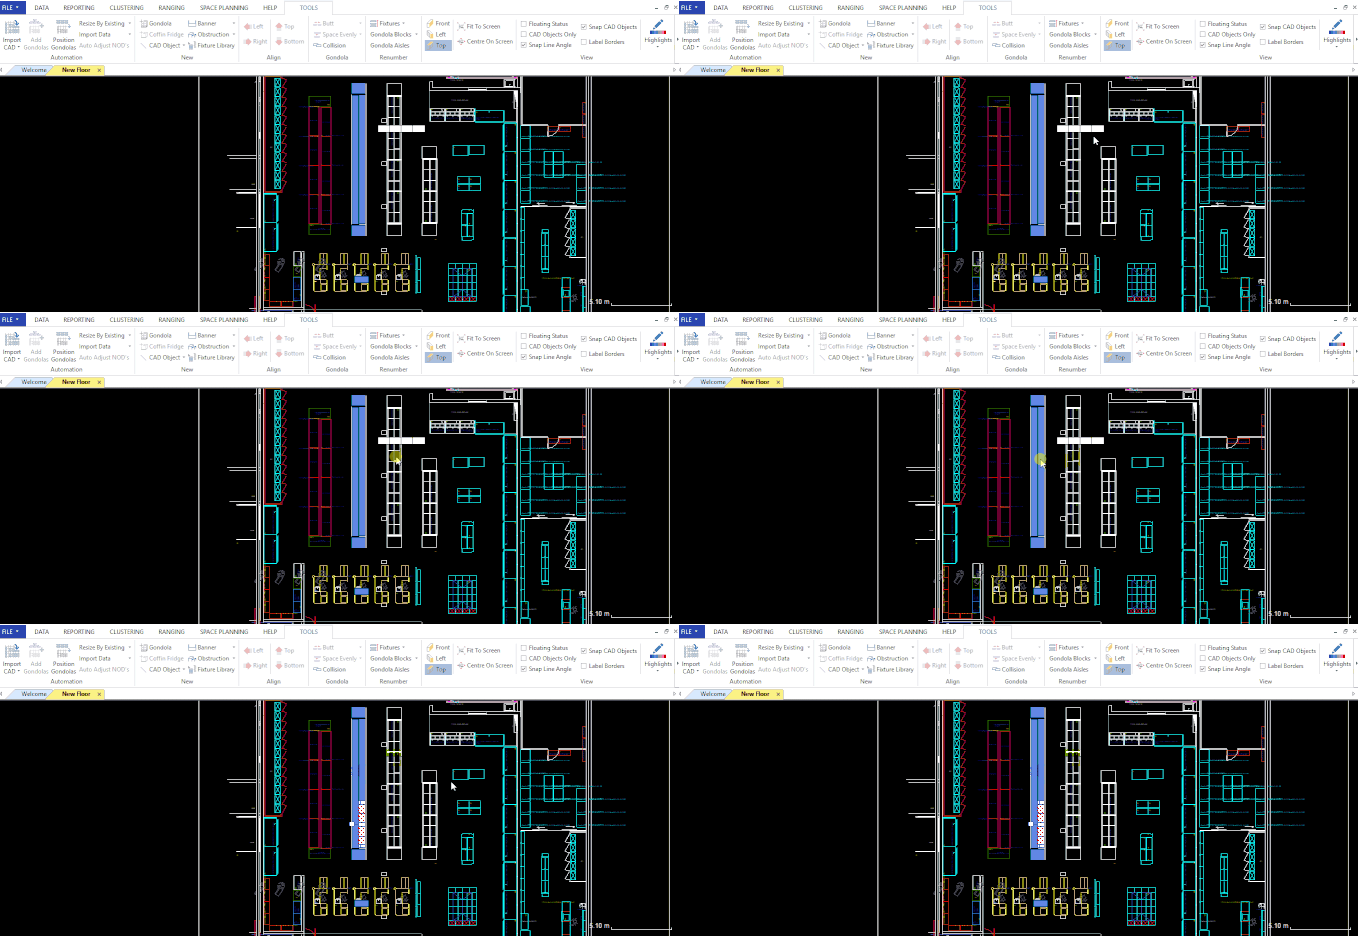
After opening a floor plan in DotActiv, ensure that you have the folder containing the relevant gondolas open and visible on your screen. Select the gondola that you’d like to add to your floor plan. You can drag and drop it on as seen in the GIF below.

Next, you must drag the gondola onto the gondola block that is already on the floor plan. The gondola will automatically snap to the block and, by default, packs to the left.

If you want the gondola blocks to snap to the right, right-click on the gondola block. From the context menu that appears, select ‘Pack Right’.

If you want the gondola blocks to pack manually, which will allow you to pack the gondolas wherever you want, right-click on the gondola block. Then, select ‘Pack Manually’ from the context menu.

Why Are My Gondolas Red?
When placing gondolas on to the gondola block, one side of the gondola might turn red. This means that you have placed a gondola on top of another on your floor plan and they are overlapping.
To correct this, simply select the gondola that was placed and shift it next to the other gondola. The red side of the gondola will then no longer be highlighted in red, which means that the gondolas are no longer overlapping.
Accessing positioning gondola blocks in DotActiv is simple and easy. Should the above steps not work for you, please create a support ticket and DotActiv support will assist you in uncovering the issue.
