The purpose of this article is to provide you with a clear step-by-step process on how to toggle the floating status with floor plans in DotActiv software.
Managing Floating Status Fields
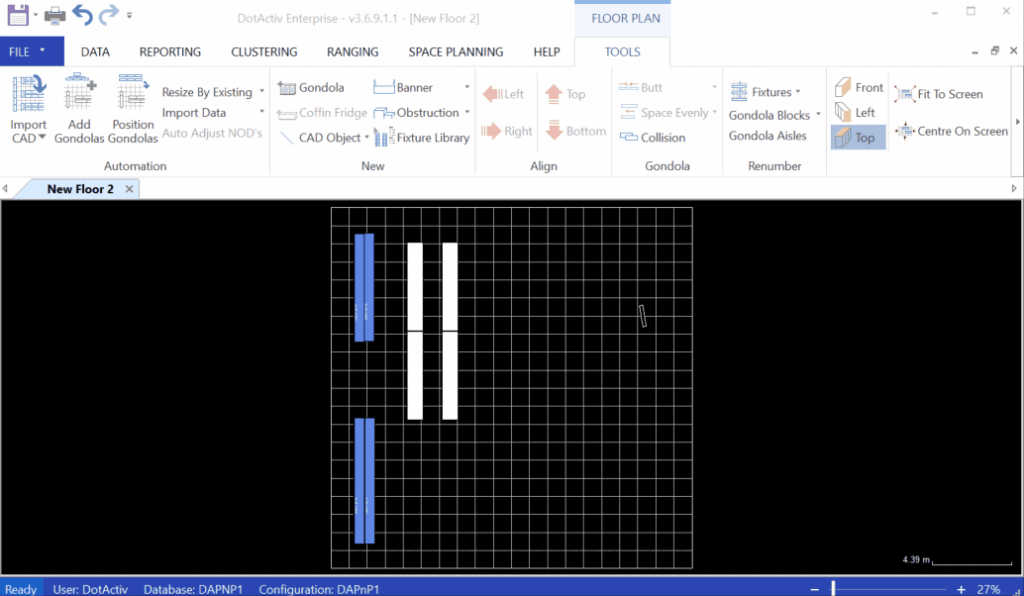
With your floor plan open, select ‘File’. Then, click ‘Setup’ and scroll down to ‘Application Settings’.
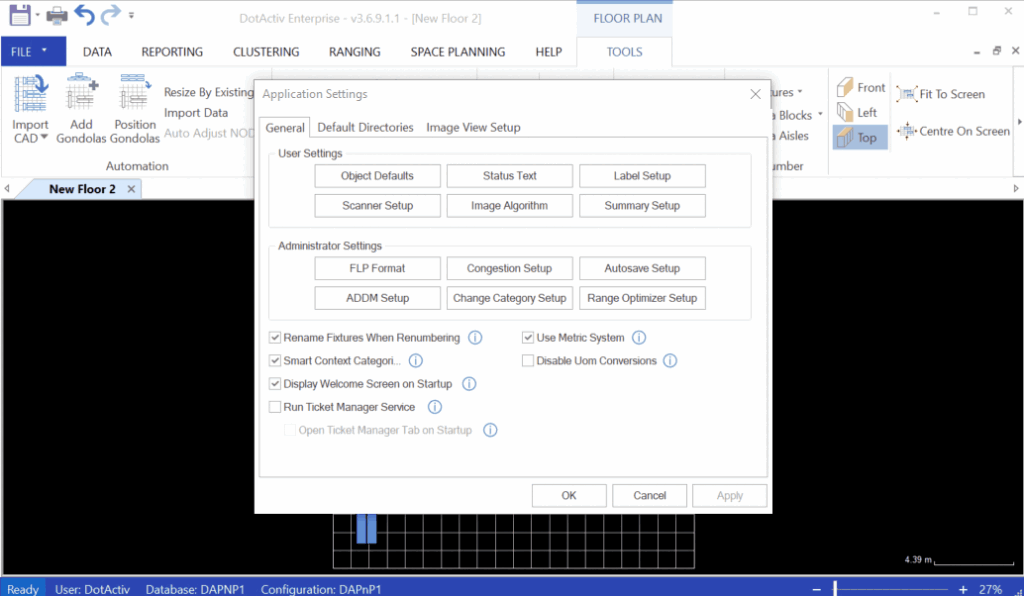
Doing so results in the ‘Applications Settings’ window popping up. Here, select ‘Status Text’. Then, select ‘Floating Status’.
CAD Objects
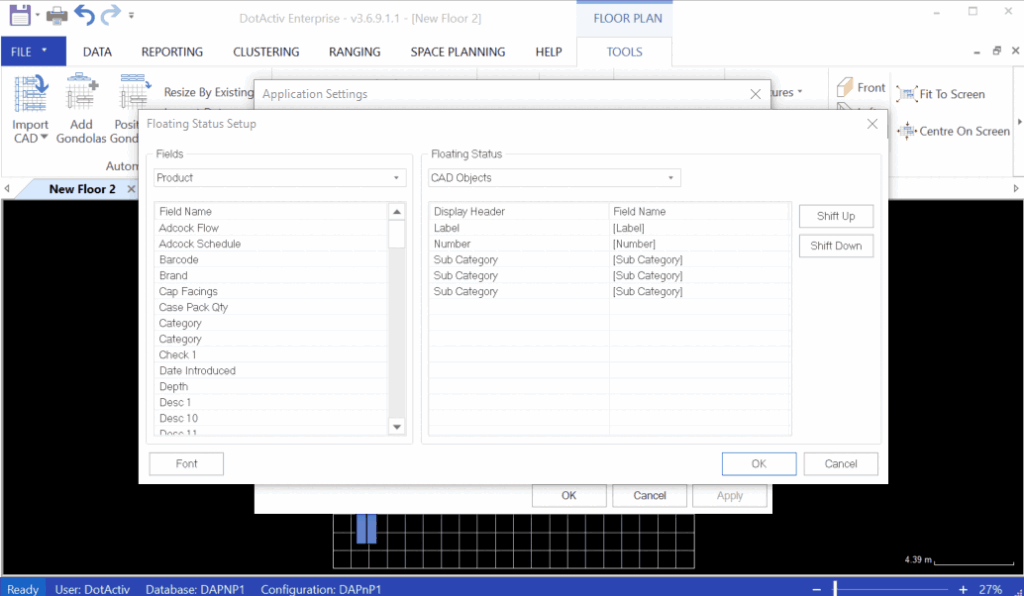
As seen in the GIF below, from the ‘Floating Status Setup’ window pops up. From the ‘Floating Status’ drop-down list, select ‘CAD Objects’.
On the left-hand side, you can filter and select the fields you’d like to see when hovering your mouse cursor over an object. Double-click the fields to add them to your filter. You can also drag and drop a field to add it. Then click ‘OK’.
After you have selected all your desired fields, click ‘OK’ to return to your floor plan.
Gondola & Floor
You also have the option to add ‘Grid Fixture Count’ to the floating status when working on a floor plan. This can be set up if you’d like to see the fixture count by gondola or for the entire floor plan, as seen below.
Toggling Floating Status On or Off
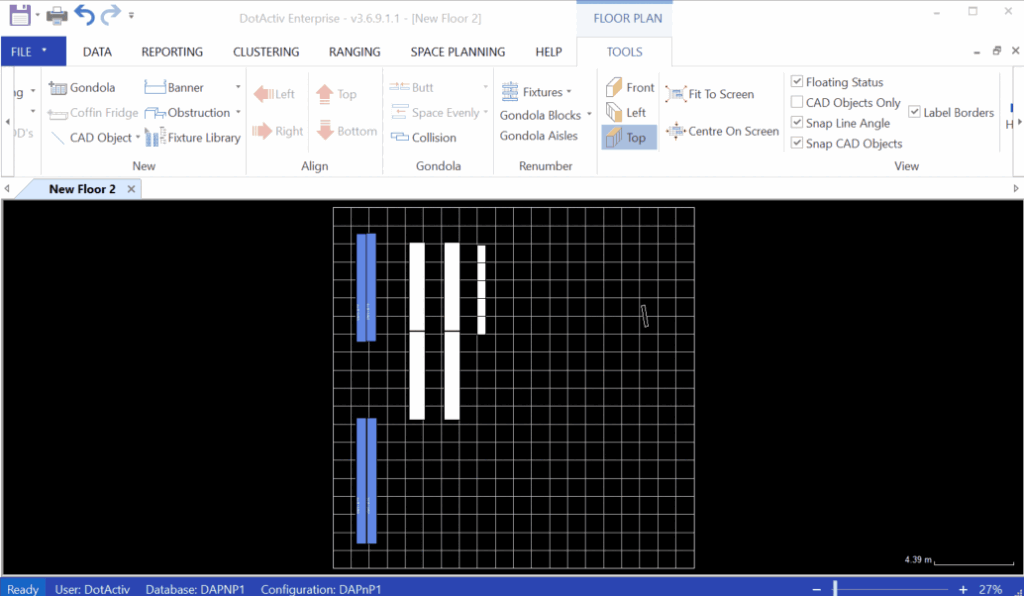
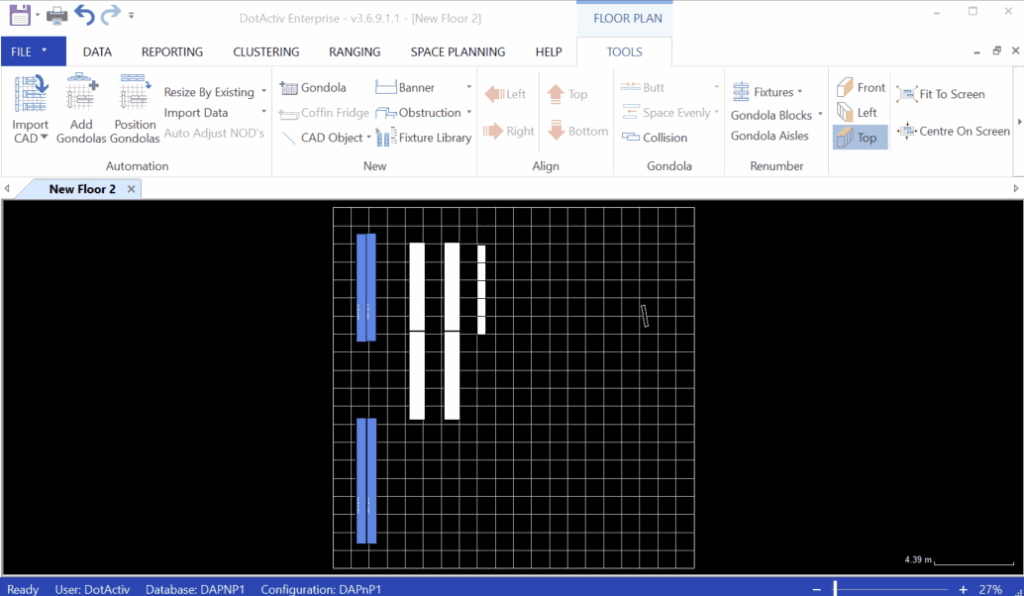
With a floor plan open, ensure you are in the ‘Tools’ tab. Under the ‘View’ section, there is a checkbox labelled ‘Floating Status’.
Selecting the checkbox sets ‘Floating Status’ to active. Hovering your mouse cursor over objects will reveal details about the object according to the fields selected in the previous step.
Selecting the checkbox again will disable ‘Floating Status’. Hovering your mouse cursor over objects on the floor plan will not reveal any details about the object.
Managing and toggling floating status within the floor planning tool of DotActiv software is simple and convenient. Should the above steps not work for you, please create a support ticket and DotActiv support will assist you in uncovering the issue.
