The purpose of this article is to explain how you can select static reports in Activ8 software. We also unpack how to pull and read static reports.
Selecting Static Reports
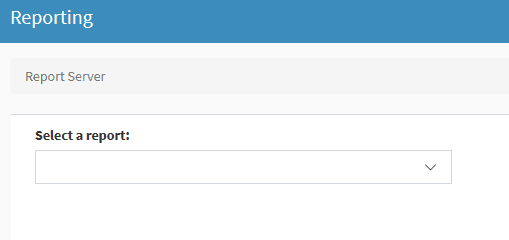
To load or select a report, first, navigate to the ‘Reporting’ tab in the left-hand panel. From the drop-down list, select ‘Report Server’.
The following screen will appear where you can select the report that you want to run.
Once you have selected a report, you have the option to select the factor that your report was set up for. In this example, the factor was the ‘Merchandiser’.

With each report, there will always be a ‘From Date’ and ‘To Date’. Be sure to select these before clicking ‘View Report’.

Your report will now display at the bottom of the screen with all the data.
Pulling Static Reports
To pull a static report, first, navigate to the ‘Reporting’ tab in the left-hand panel. From the drop-down list, select ‘Static Reports’.

Please note that the Reporting functionality is only available for select users and not everyone.
Next, select the date range you would like for the report.

After selecting your date range, you can filter your report to only include specific roles and employees. The Role(s) that you choose will limit who appears in the ‘Employee(s) drop-down list.
If you made your selection, there will be a list of reports that you can pull such as “Time and Attendance”, “Task Owners”, and much more. You can click on the report name and a sheet will be generated for you and start to download automatically.

Reading Static Reports
Once you have pulled a static report, you can read it. Below is an example of a pulled static report.

It includes the following information:
- Name and Surname: This will display the name(s) of the user(s) you have selected;
- Date and Day: This will be the date in question;
- Region: This will display the region of the selected user(s);
- Department: This will display the department of work for the selected user(s); and
- Line Manager: This will display who the user(s) you have selected reports to.
Every column after ‘Line Manager’ will be specific to the report and will contain data that the report generates once ran. In the above example, it shows check-in times, location, and whether an employee was on leave or not during the pulled dates.