The purpose of this article is to explain how you can clean, crop, and prepare your product images for importing into the DotActiv software.
Prepping Your Images
Step 1: When taking a photo of your product, you must use a white background.
Also, make sure that you take a clear photo of the front, side, and top of the product. Use a good quality camera without a flash to ensure that all the product information is visible on the image.
Make sure that there is enough light when taking a photo to ensure that there are no shadows. You can use an external light source such as a phone torch (as seen below) when taking your photo.
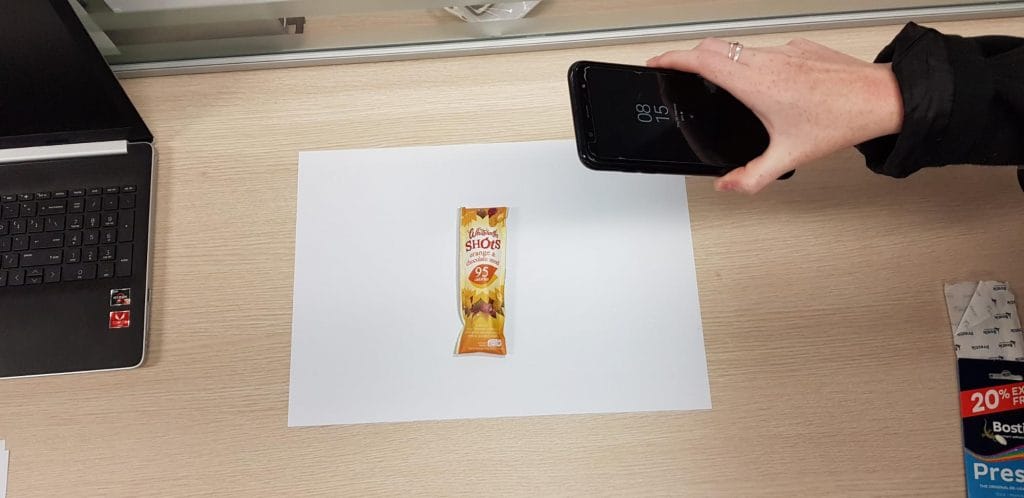
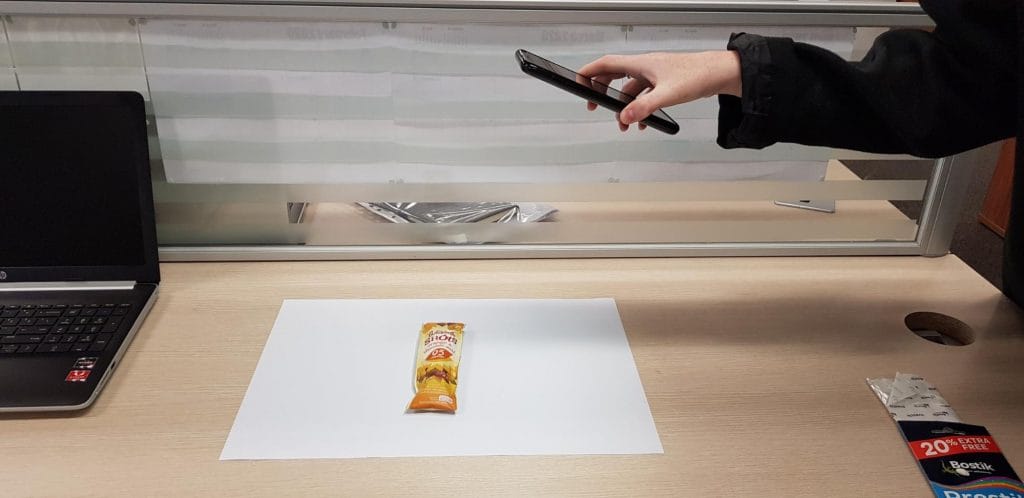
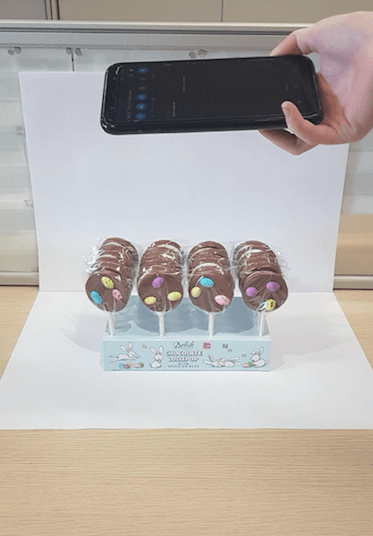
This is applicable to individual SKUs as well as G cut case displays. A G cut case display is where the original carton or tray in which the product is packaged is also used to display the products. See the example below.
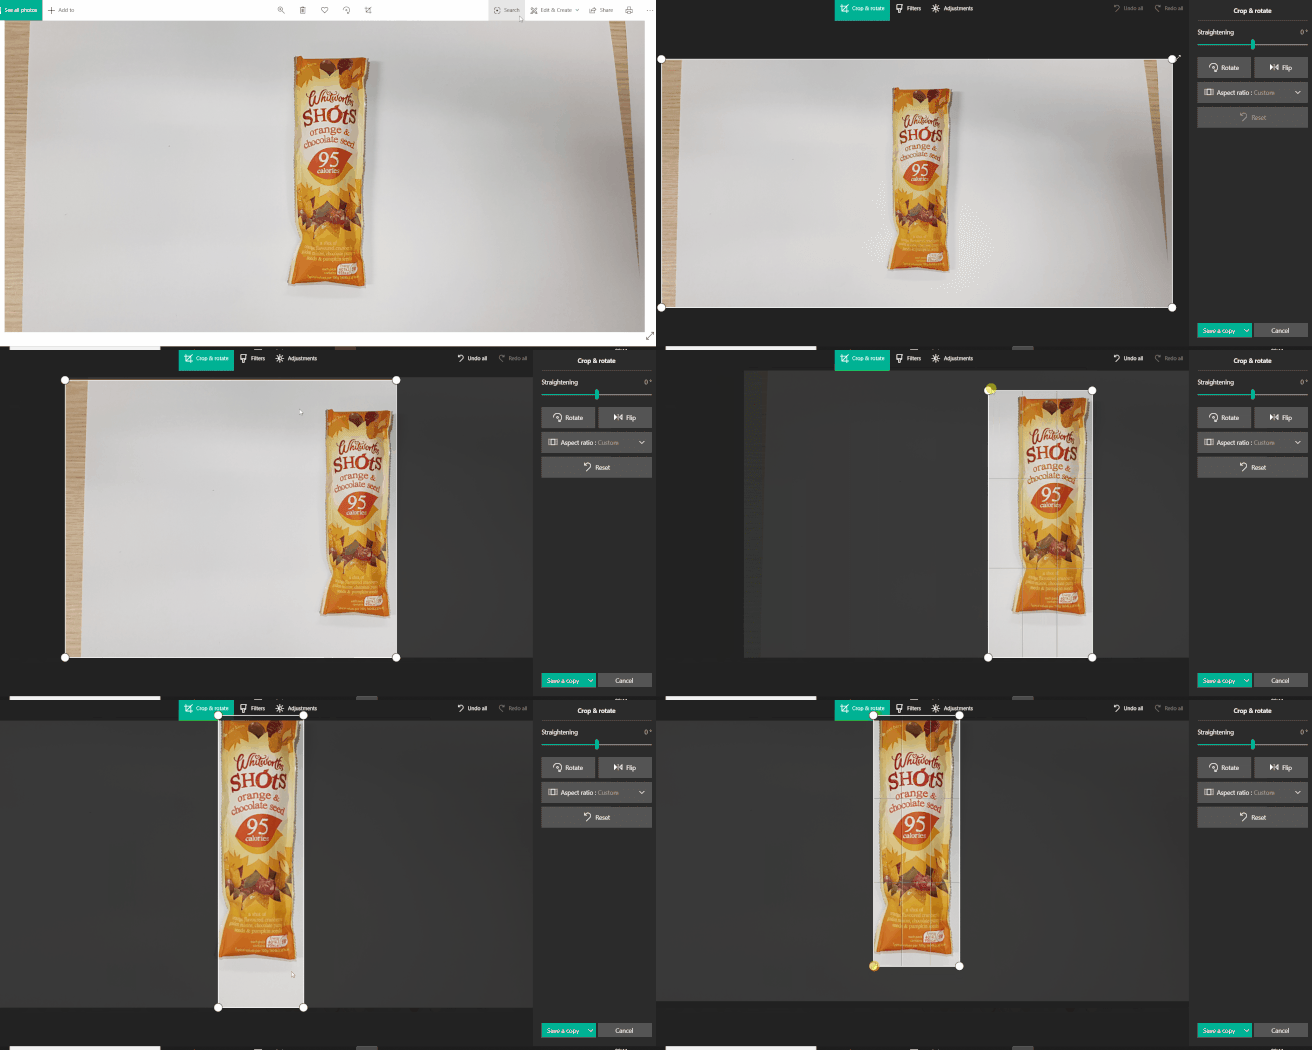
Step 2: Once the photo is taken, upload it to your computer and use an editing program such as Microsoft Paint or your computer cropping program to crop the image. Ensure that only the product is visible and there is no background showing.
Step 3: Once you have edited your image, you need to save it in the correct format. You can read how to format and import product images in this article.
Please note that when dropping images onto products in the DotActiv software, it will automatically reduce the image down to 100Kb if the image is bigger. This is our ideal max size for product images. Therefore, we do not have a hard limit set, but recommend that you use images of this size. Images larger than this size might not render properly on the screen.
Also, refer to the following article to help you with uploading images and the different approaches thereof.
Additional Examples
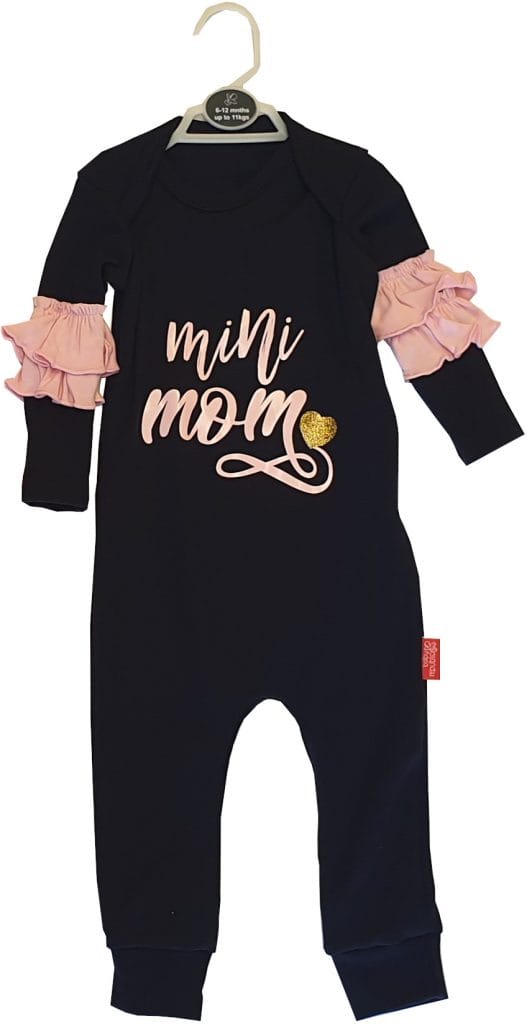
Below is an example of how apparel images should be taken to get the desired result. Notice that the image includes the clothing hanging on a hanger as it would be hanging in the store and it also has a white background.
What About Transparent Images?
The DotActiv software supports transparent image backgrounds. Users are able to import different image formats into the software and the transparency will remain intact. This applies to product images, banners etc.
Which Editing Applications Do We Recommend?
There are multiple applications and software available to edit your images with, but the most user-friendly and recommended ones are GIMP, Photoshop, Adobe Illustrator, and Krita.
Please note that not all of these recommendations are free and should be used at your own discretion.
Here are a few basic tips when using GIMP (A free desktop-based application) to edit your images for creating an optimal planogram.
When you have an image that is not on a white background, first drag the image onto the area. Then use the paths tool to create a dotted outline around the product. Once you have done this, select ‘Enter’, ‘Control’, and then ‘Delete’. This will delete the background completely and only leave you with a white background.
Then select image crop to content or Control A. Thereafter, use the perspective tool to click on the image and drag it into place at the right angle.
The final step is to make sure your background is white and select ‘File’ and ‘Export’ to your preferred location.
Troubleshooting
What if the product image appears black on the planogram?
Answer: An uploaded product image might appear black on a planogram due to the image having a transparent background after being edited and saved as a PNG file. When viewing edited PNG images separately, there’s nothing behind them and no colour for the program to load into the transparent parts. In that case, it’s up to the program to set the colour for the transparent parts. Some programs use a single colour (like black), and some use a pattern, e.g. chessboard pattern.
Therefore, if your PNG image is saved with a transparent background, it will usually appear with a black background by default when imported. To fix this, we’d suggest saving your image as a JPEG/JPG file or adding a white background when saving images as a PNG file.
If you need help with uploading images and the different approaches thereof, you can read this article.
