The purpose of this article is to provide you with a clear step-by-step process on how to add a new gondola or obstruction to a floor plan while working with DotActiv software.
Adding Gondola Blocks
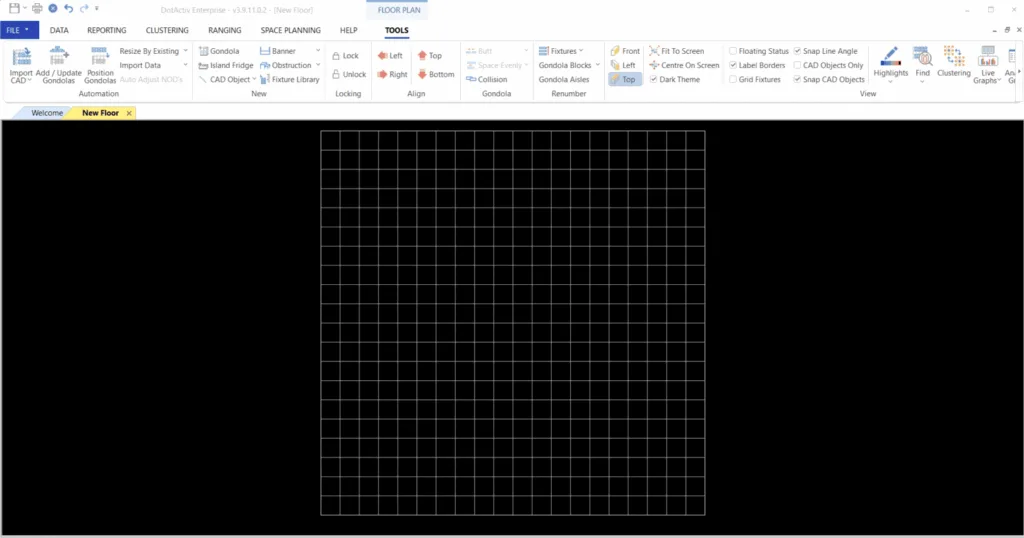
After opening DotActiv, navigate to the ‘Space Planning’ tab and either open a blank floor plan sheet by clicking on ‘New’ in the ‘Floor Planning’ section. You can open an existing floor plan by clicking on ‘Open’.
Next, in the ‘New’ section, click on ‘CAD Object’. From the drop-down menu, select ‘Gondola Block (By NOD)’.

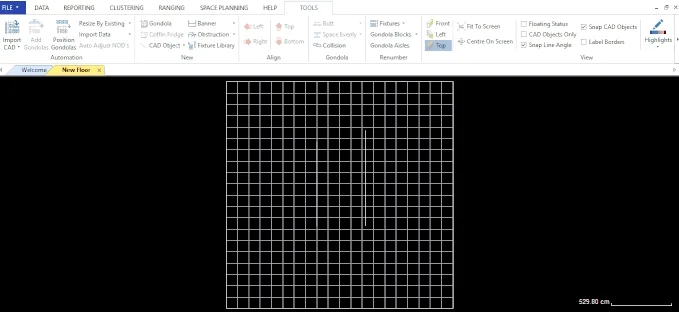
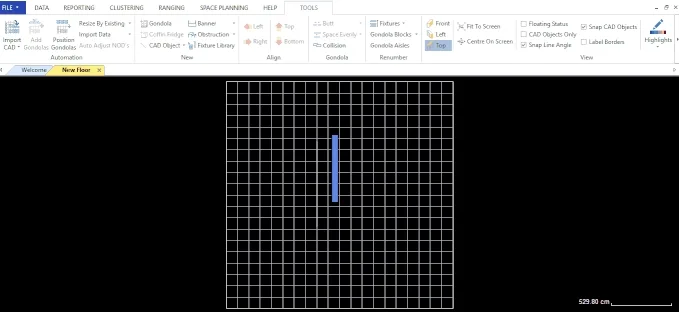
Click on the area where you would like to draw the block and pull it to its desired length. Left-click to stop drawing the gondola and right-click to release.

Then, right-click on the gondola. From the context menu, click on ‘Create Mirror Copy’ to replicate the gondola that you created.

To insert gondola ends, right-click on the gondola. From the context menu, click on ‘Add Gondola Ends’ to insert the gondola ends.

Adding A New Gondola
After opening DotActiv, navigate to the ‘Space Planning’ tab and either open a blank floor plan sheet by clicking on ‘New’ in the ‘Floor Planning’ section. You can open an existing floor plan by clicking on ‘Open’.
Next, under the ‘Tools’ tab, select the ‘Add/Update Gondolas’ function. In the pop-up that appears, select the Store Code that you are working with.

You will now be able to select the Department or Categories that you want to add to your selected gondola/s. Click on the relevant check boxes of your chosen Department or Categories.
Click on ‘Add/Update’.
When updating, users are then given a dialogue to create blank planograms, complete with the range as per current ranging/clustering, or to pull planograms from database storage (if it exists). Users can also edit the order in which the gondolas will be added for easier placement.
Note: The dialogue can be used when updating planograms to the floor via the Floor Plan Clustering Dockable Pane. If the user adds/removes gondolas and the floor does not have a market key set, a dialogue appears for the user to select the market key value for the floor.

Next up, drag over and select the gondolas that you’ve added and navigate to the toolbar. Click on ‘Resize by Existing’ in order to size the gondolas to the existing planograms.

Additionally, should you want to add this to your Gondola Blocks, you can now drag and drop the gondolas to the gondola blocks on your floor plan.

Adding An Obstruction
With a DotActiv floor plan open, ensure you are in the ‘Tools’ tab. Click on ‘Obstruction’ in the ‘New’ section.

Click on your floor plan and pull the obstruction to the size you require. If you want to adjust the size, double-click on the obstruction and change the dimensions in the ‘Obstruction Properties’ window that pops up.

Adding An Island Fridge
With a DotActiv floor plan open, ensure you are in the ‘Tools’ tab. Click on ‘Island Fridge’ in the ‘New’ section.

Click on your floor plan and pull it to its desired size. If you want to adjust the size, double-click on it to bring up the ‘Island Fridge Properties’ window. Once there, navigate to the ‘Gondola Attributes’ section to make any necessary changes.

Adding a new gondola, gondola blocks, an obstruction or an island fridge in DotActiv is simple and easy.
Should the above steps not work for you, please create a support ticket and DotActiv support will assist you in uncovering the issue.
