This article will provide you with a step-by-step process to automatically generate planograms using DotActiv software.
Generating the planogram automatically
1. Open an existing planogram
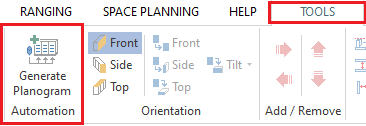
2. In the ‘Tools’ tab, click on ‘Generate Planogram’
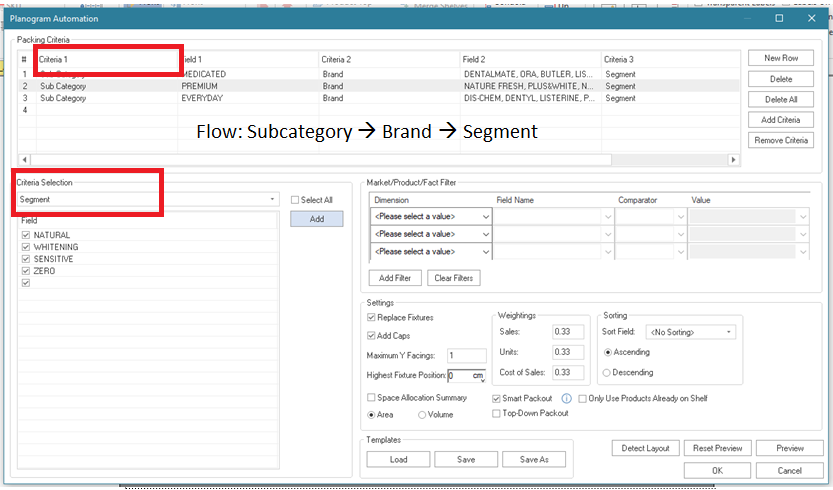
3. A Planogram Automation window appears, where, based on the flow that you have chosen for your category, you can select the value under the Criteria Selection box.

For this example, we’ve chosen Sub-Category, Brand, Segment.
4. Starting with Sub-Category, select the Field and click on ‘Add’. Clicking ‘Add’ places it under the ‘Packing Criteria’ box.
5. Next, click on ‘New Row’ to add the remaining sub-categories.
6. Change the Criteria Selection to the next phase in your display hierarchy. In this case, it’s Brand.
7. Arrange the Brands in which they appear in the Sub-Category and add them to the Sub-Category row.
8. Repeat until all Sub-Categories have their Brands.
9. Repeat the process until the Category is complete within the display hierarchy.
You can add filters to the automation that include Market, Product or Fact.
10. Under the Settings header, as seen below, you can select ‘Replace Fixtures’ if you want to add or remove shelves to your planogram.

11. You can also Add Caps and set your Maximum Y facings.
12. Highest Fixture Position indicates the highest that you can place the top shelf or hanging bar.
In some retailers, the top shelf needs to be aligned at a specific height standard across all gondolas to create consistency. Aligning products to the same height can help you create the same effect.
13. Next, choose if you want to allocate space according to Area or Volume.
14. In the Weightings box to the right, you can indicate the weight you want to give to your Sales, Units and Cost of Sales when allocation space on the shelf. You can adjust these figures however you want.

15. Click ‘Save’ to save the template on your computer.
16. Click ‘Preview’ to get access to the Planogram View window.

The above is a planoguide, which indicates the sub-categories within the planogram according to the space allocation of target with actual contribution.
The first level of the display hierarchy is Sub-Category ( in the above case: Premium, Medicated and then Everyday).
17. On the Criteria Selection drop-down, select the next level (in this case Brand) and assess the space allocation according to the automation.
If you delete the blocks within the Brand level, a pop-up will ask:

‘Children’ refers to the Brand under the Sub-Category (the ‘Parent’)
18. Click ‘Yes’. By doing so, DotActiv will reallocate space to the Brand. You can do thhe same on the Segment level. Once you have completed the checks, click on ‘OK’
19. The planoguide window will disappear and you will be returned to the Planogram Automation window where you can click on OK
Within a minutes seconds, you’ll have an automated planogram. More often than not, a warning might come up saying that there is insufficient space for some products. This means that based on the space allocation criteria, some products may not have space where others may have too much space.
An orange shelf will appear next to the planogram labelled the ‘Overflow shelf’ as seen below. This shelf contains the products that were not allocated space on the planogram.
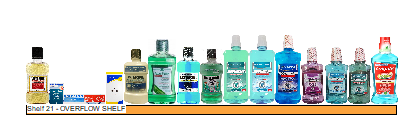
20. Finally, under the Tools tab, click on the Images icon to turn images on to see which products have not been allocated space on the ‘Overflow shelf’ You’ll also see those products that have successfully been placed on the planogram.
Planogram automation is a handing tool to help you to quickly generate planograms. But remember: it’s not the final step in the shelf planning process. It gives you a great initial planogram to start tweaking as opposed to a blank gondola with no idea of where to begin.