This article will provide you with a step-by-step process on how to extract product images from a selected planogram in the DotActiv software.
When it comes to extracting product images from a planogram, we follow a step-by-step process.
Create A Folder
Firstly, create a folder on your desktop. This is the folder where you’ll place all your images after extracting them from your planogram.

On your desktop, right-click, select ‘New’, click on ‘Folder’ and give your folder a name, and press Enter.
Open The Planogram
Next, open the DotActiv application, navigate to the ‘Space Planning’ tab and click on ‘Open’. Find the folder that holds the planogram from which you want to extract images.
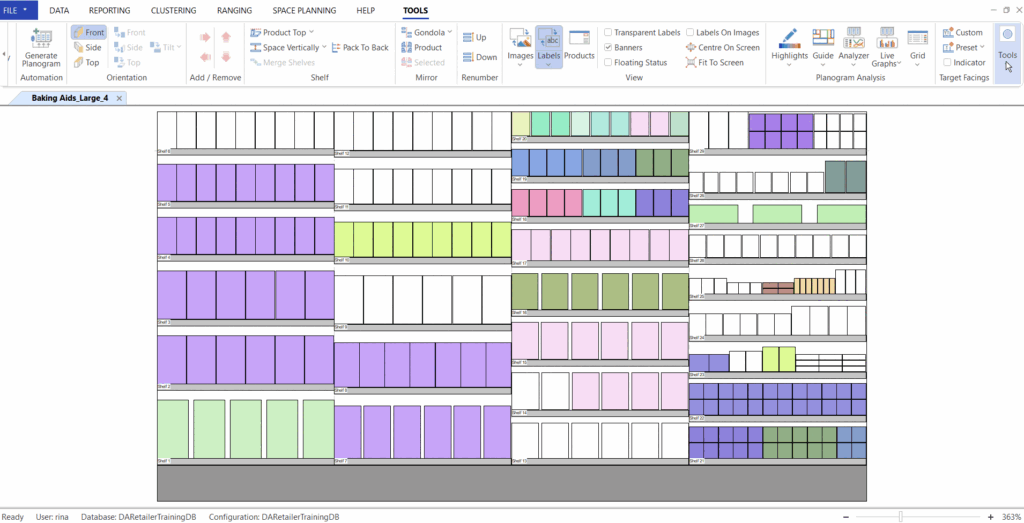
After opening the planogram, click on the ‘Tools’ tab and then find ‘Tools’ in the ribbon by scrolling to the far right. Click on ‘Tools’ and then the ‘Extract Images’ function as seen below.
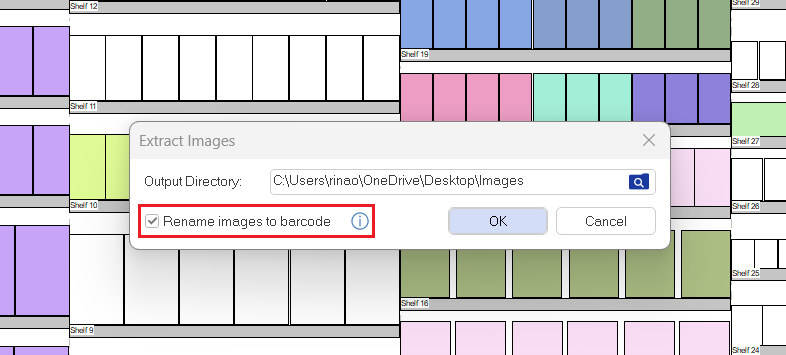
This opens a ‘Select Directory’ window where you can select the folder just created, as seen below. Click on the magnifying glass/folder icon on the right-hand side of the window and select the folder you created.
Click ‘OK’.

Once you have extracted your images, navigate to the folder selected.
Should you prefer to extract the images with each image folder named as the barcode, be sure to tick the ‘Rename images to barcode’ option as seen below.

Additional Information
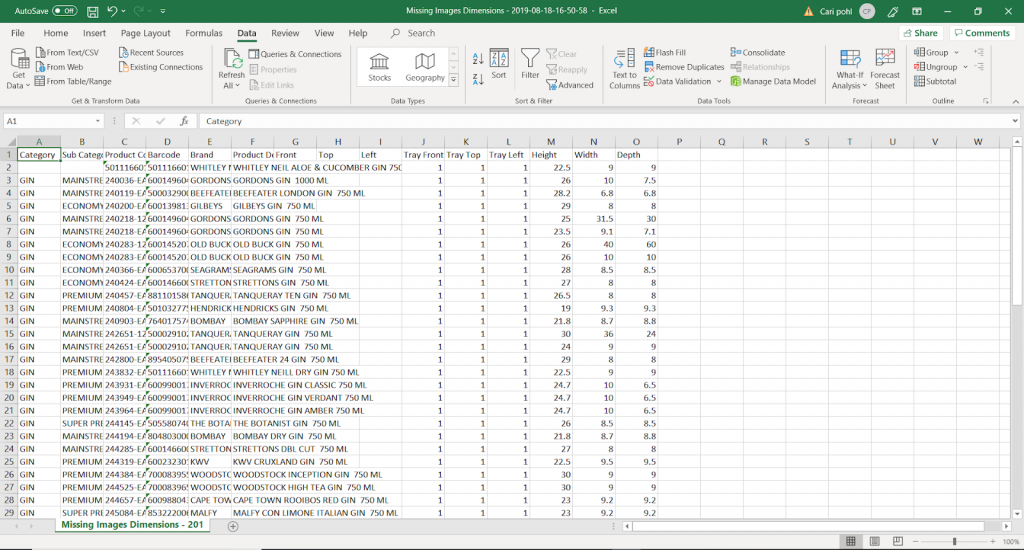
When opening the folder, you can find your images as well as a CSV with all the product details for the products.

In the front, top, left, tray front, tray top and tray left columns a 1 indicates that there is an image and a 0 indicates that there are no images.
You can use this to easily identify images that you still need to complete the planogram.
