This article provides a step-by-step process on how to lock and unlock objects on the floor plan in the DotActiv Software.
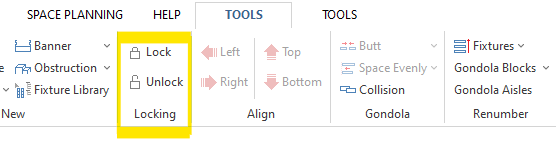
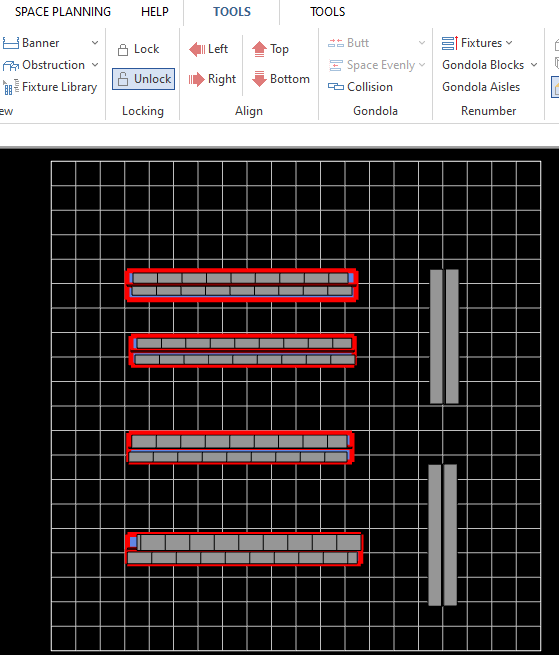
Navigate to the ‘Locking’ section found in the floor planning toolbar.
First, select the mode on the ribbon bar and then start selecting objects to apply the lock status to it, then reselect the ribbon bar option to switch off that mode.
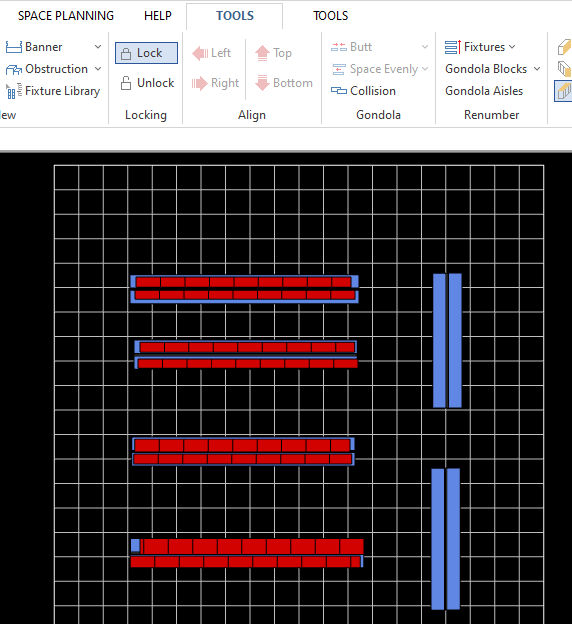
Please note that the Lock button should be “on” to be able to select the objects you want locked. Then click on ‘Lock’ again to carry on floor planning.
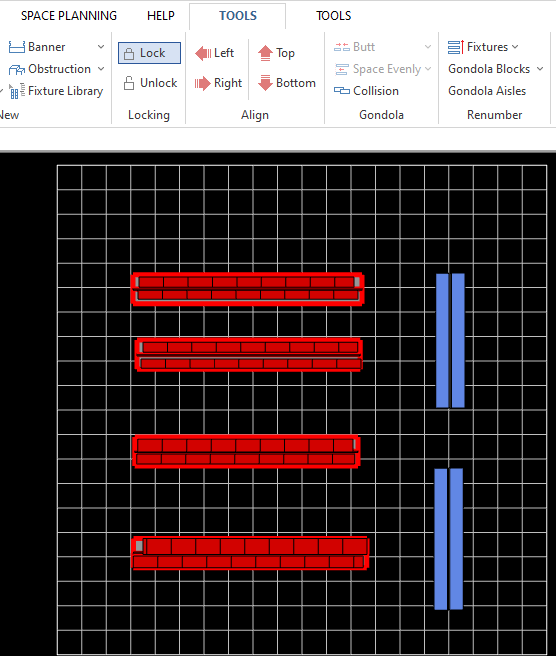
The greyed-out Gondola Blocks in the screenshot below have been locked and will remain fixed in position.
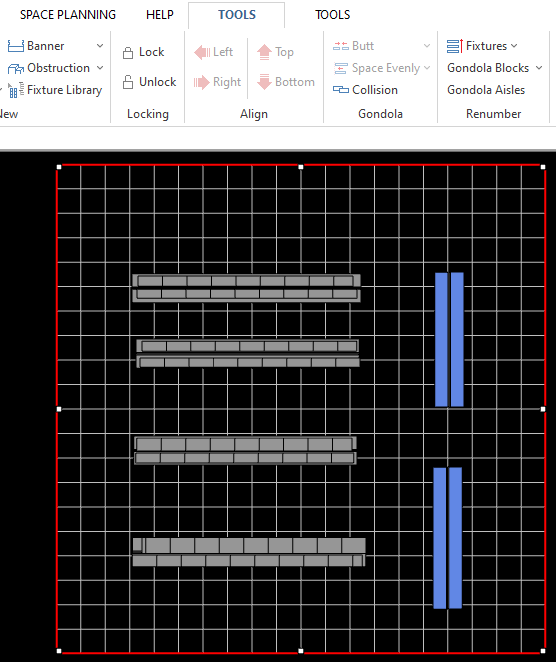
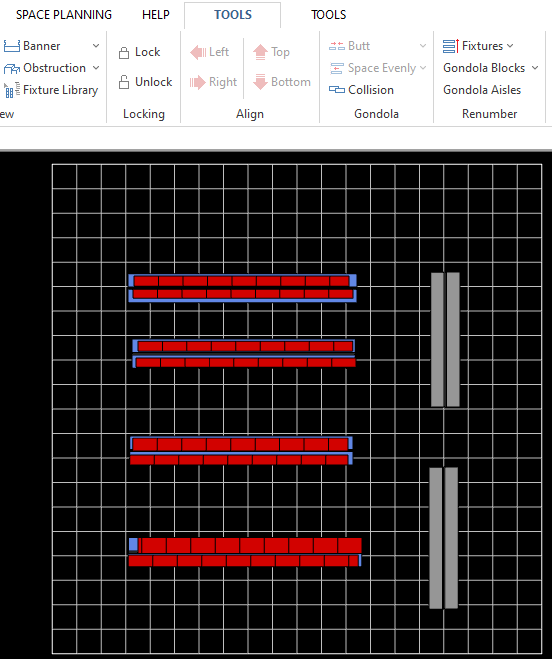
Alternatively, if you want to unlock an object, select the ‘Unlock’ button and click on the object you want unlocked.
Please note that you can check if an object is unlocked by moving any of the Gondolas Blocks.
Should the steps in this article not work for you, please log a ticket for our IT Support team who is always willing to assist.