Purpose
The purpose is to ensure that we deliver high-quality planograms that meet your standards, and that are easily understood by the merchandisers responsible for executing the layouts in-store.
Checklist
Here is a short checklist which is unpacked in more detail below:
- Floating Shelves
- Images
- Classifications
- Merchandising Principles
- Spacing
- 0 Facings
- Shelf Numbering
- Shelf Dimensions
- User Fields
- Naming Conventions
- Potential Errors
Floating Shelves
Delete ALL floating shelves. These are great for sorting the products, but if they are not deleted, shelf numbering will be skewed.
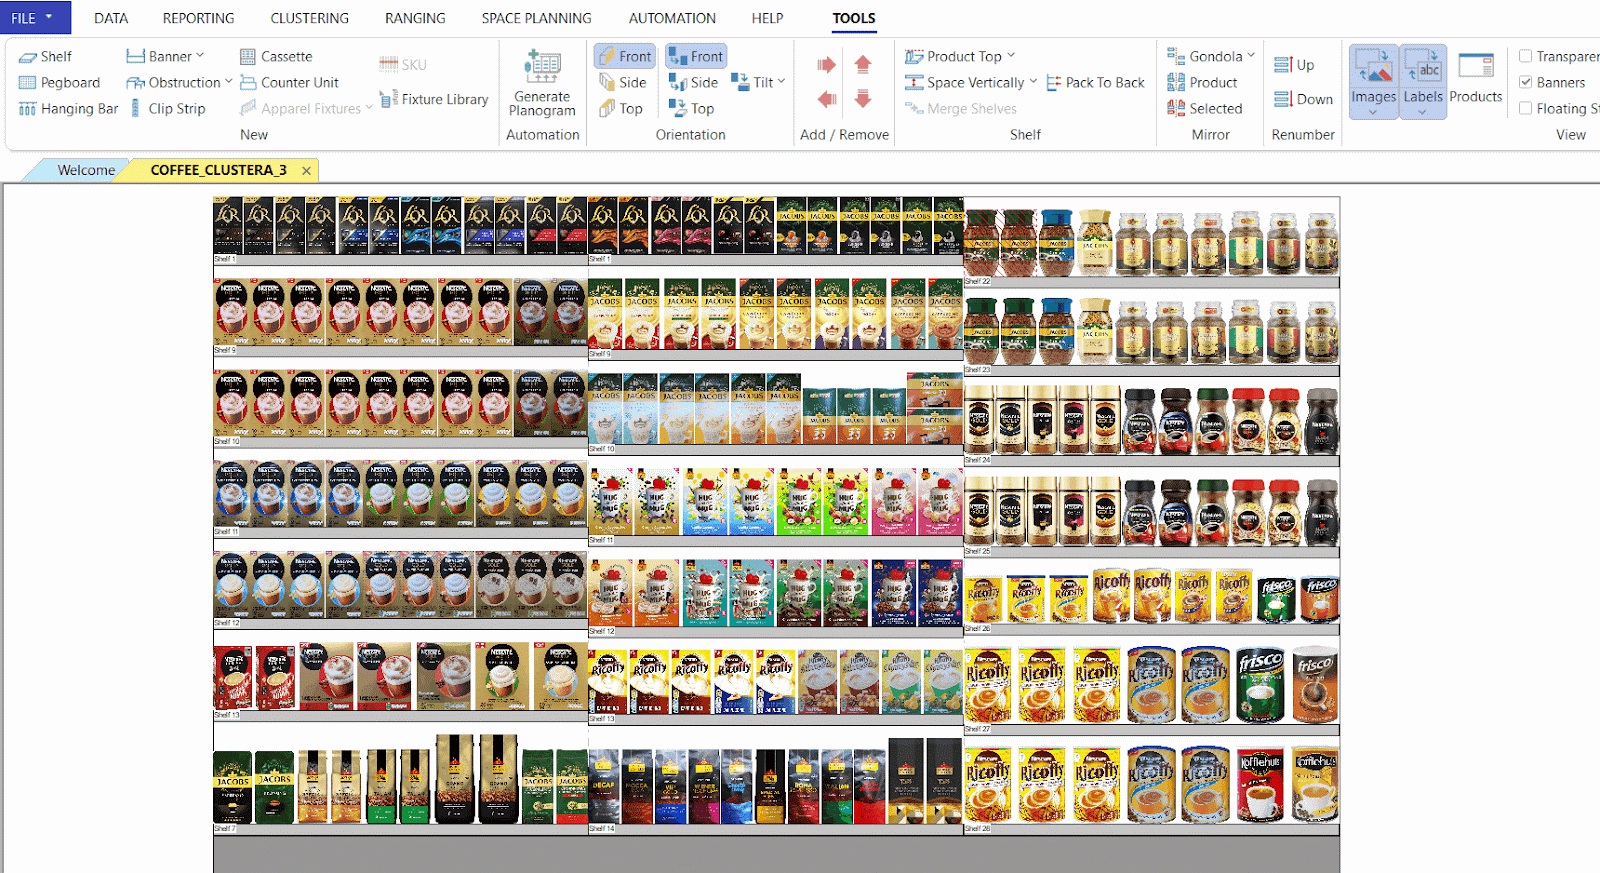
Images
Ensure that all images are visible. Images should be high resolution, have no background, not at an angle, and should be mapped to the correct product orientation, i.e. front to front, side to side.
Images should also be of products in their packaging (where applicable) and you should strive to have 100% images on the planogram.
Classifications
Ensure all classifications are correct as incorrect classifications will hinder the flow and skew the data.
Merchandising Principles
Ensure all merchandising principles are adhered to. Items should be merchandised from smallest to largest horizontally and vertically, smallest to largest from left to right, and larger / heavier items should be at the bottom.
Spacing
Products (and shelves) should be evenly spaced where applicable. Ensure the following:
- Products should be spaced evenly on the shelf.
- Spacing should be minimal to optimise the space, but not so minimal that products cannot easily be removed from the shelf.
- The spacing between the product top and the bottom of the shelf should also be evenly spaced – a minimum of 2-finger space to allow for easy removal of the product.
- Product tops should also be aligned with the top of the gondola
- If the planogram includes a pegboard, it is crucial to ensure that the notches align with the spacing in the store. Additionally, it’s important to verify that the products are spaced according to the retailer’s implementation guidelines. For instance, the client may require that notches be opened between each product, as this aligns with their in-store practices. Proper alignment and spacing are essential for maintaining an organised and visually appealing display that meets the retailer’s standards.
0 Facings
Delete 0 facings in the product report by opening the Product Report, filtering by 0 facings, highlighting all, right-clicking, and selecting ‘Delete Lines’.
Shelf Numbering
Number shelves from top to bottom. In Tools, look for the ‘Renumber’ button and select ‘Down’.

Shelf Dimensions
Check shelf dimensions in the fixture report. This is especially important when you don’t have standardised fixtures and some stores have deeper base shelves or higher gondolas than others.
Tip: In the ribbon, you will find the Orientation section, which is divided into two parts: the left side refers to the planogram’s orientation, while the right side pertains to the product’s orientation.
To ensure everything fits correctly, navigate to the planogram’s orientation and click on “Side.” This serves as a final check to confirm that all shelves align with the gondola’s depth, as well as how far back the products are packed.
For example, if the shelves are 35 cm deep but the product is 50 cm deep, you may recommend displaying the product in a different location in the store, as it is unsuitable for the available space on the planogram. Proper alignment and suitability are crucial for an effective merchandising strategy.
User Fields
Complete the following user fields:
- Date Completed – the date when the planogram was approved.
- Effective Date – user/client dependent. Usually two weeks from the Date Completed.
- Completed By – name of the creator of the planogram.
Naming Conventions
This is usually Category Name_Cluster_NOD or Category Name_Store Code_NOD.
Potential Errors
The following are potential errors that may occur and how you can resolve them.
The planograms are not saving:
- Ensure the duplicate barcodes in the product report are deleted.
- Check for missing barcodes.
- Check that planogram naming conventions are the same as those loaded on Cluster Maintenance
- If an error still occurs, complete a Database to Shelf Plan
LASTLY, REMEMBER TO SET UP AUTOSAVE!
To set up autosave navigate to ‘File’, ‘Setup’, ‘Settings’, then select ‘Application Settings’. In Application Settings, select ‘Autosave Setup’ and set the frequency and directory for the autosaves. Once happy, click ‘Enable’.
Please note that autosaves will not work if there is a duplicate key value.