KPIs play a crucial role in category management as it enables you to make data-driven decisions and drive category growth and profitability.
This article will guide you through setting up KPIs and KPI targets for various features on the DotActiv software.
Setting Up KPIs
Planogram Analyzer
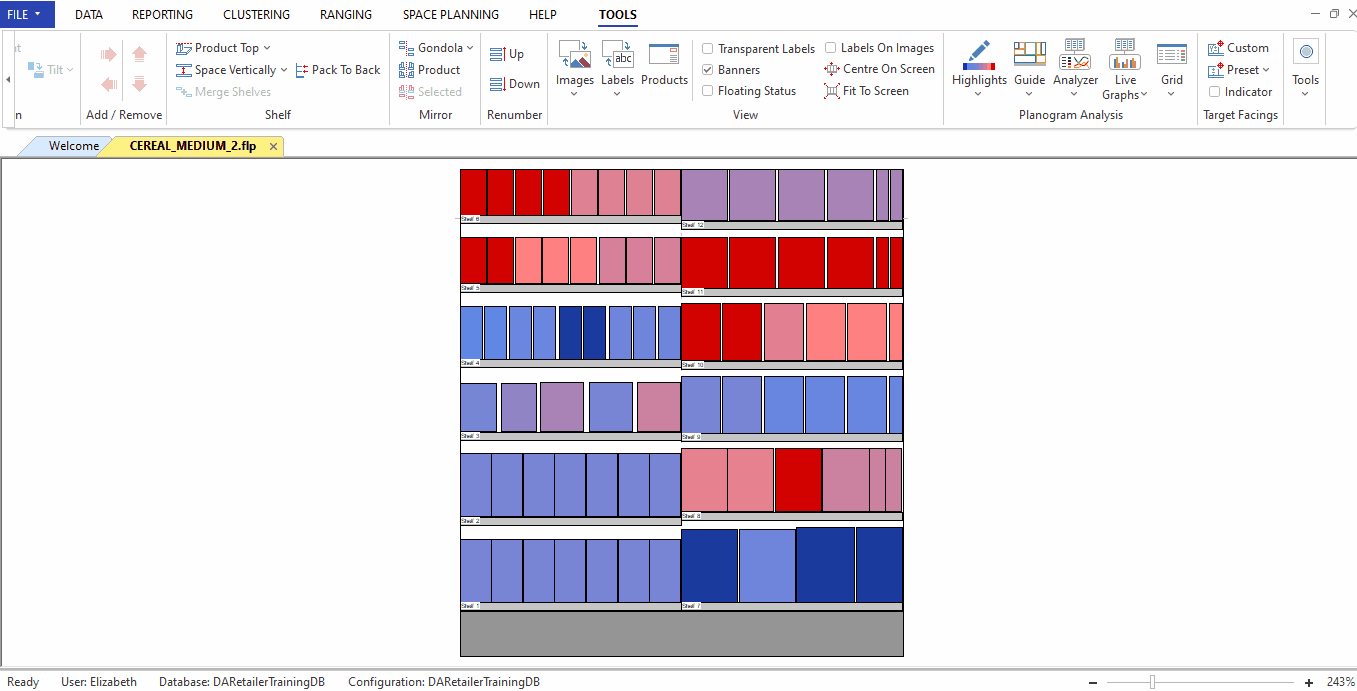
The planogram analyzer in the DotActiv software enables you to measure how complete your planogram is while you space plan.
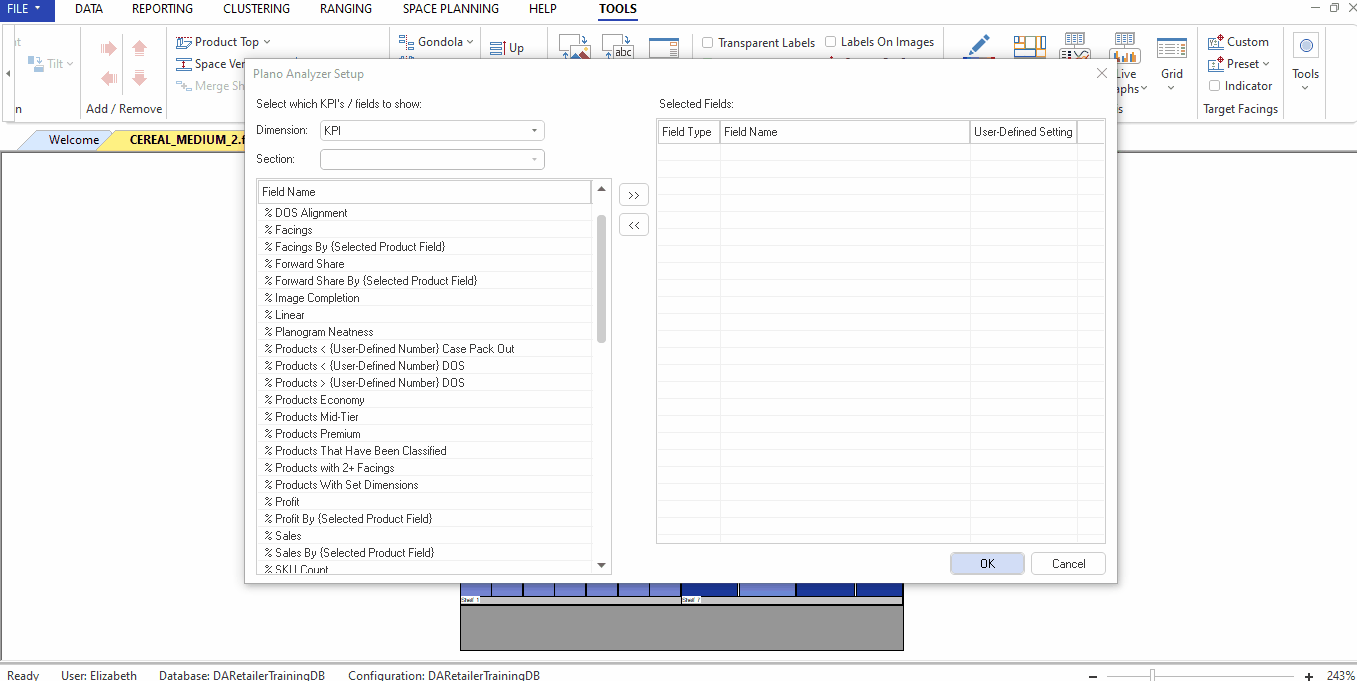
To set up your KPIs for the planogram analyzer, open a planogram and click on the ‘Analyzer’ drop-down in the ‘Tools’ tab. Then click ‘Setup’.
A setup window will appear where you can select your KPIs by double clicking on the KPI or selecting the KPI and clicking on the right arrow. You can remove KPIs by clicking on the left arrow.
Planogram View And Impact Analysis
Similar to the planogram analyzer, your planogram view is a feature available when running range optimizer or when creating a custom report.
The impact analysis feature shows the impact of the changes to the proposed ranges and is also available when running range optimizer or when creating a custom report.
To set up KPIs for these features, open the ‘Ranging’ tab, click on the ‘Optimizer’ drop-down, and click ‘Range Settings’.
Click on ‘Analyzer KPIs’ to open the field setup window. You can select your KPIs by double clicking on the KPI or selecting the KPI and clicking on the right arrow. You can remove KPIs by clicking on the left arrow.
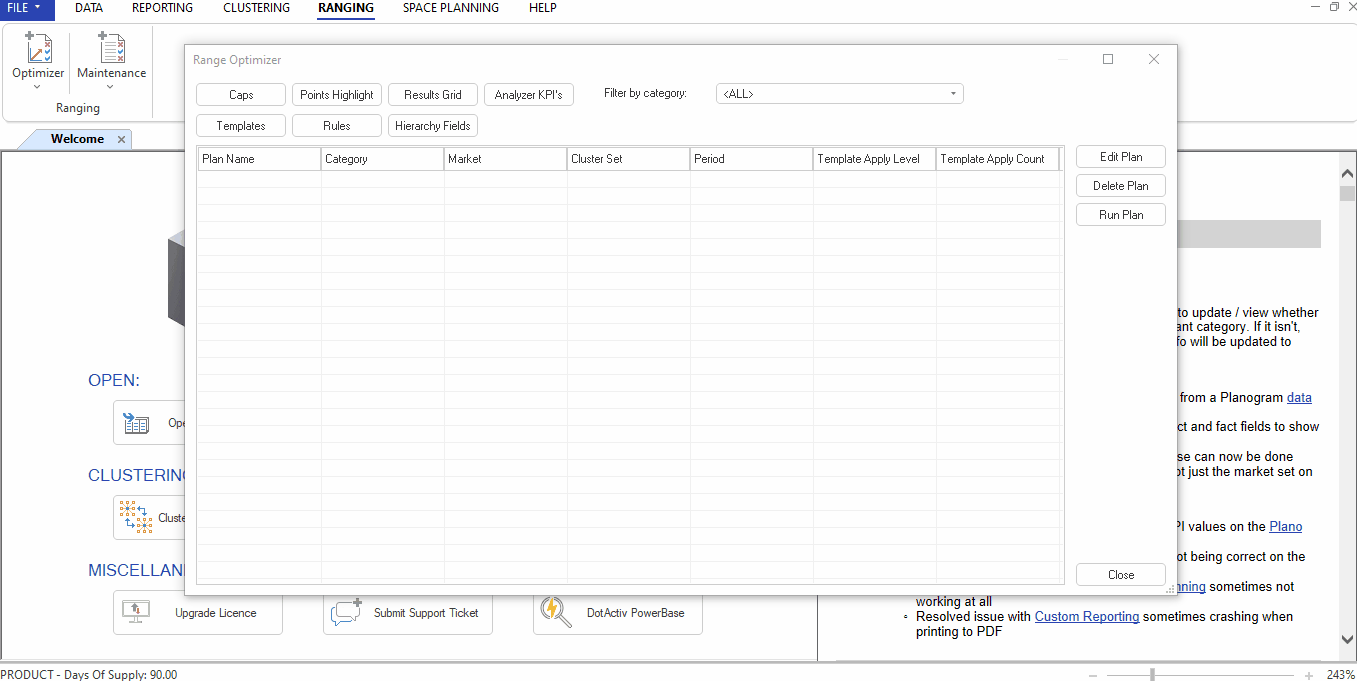
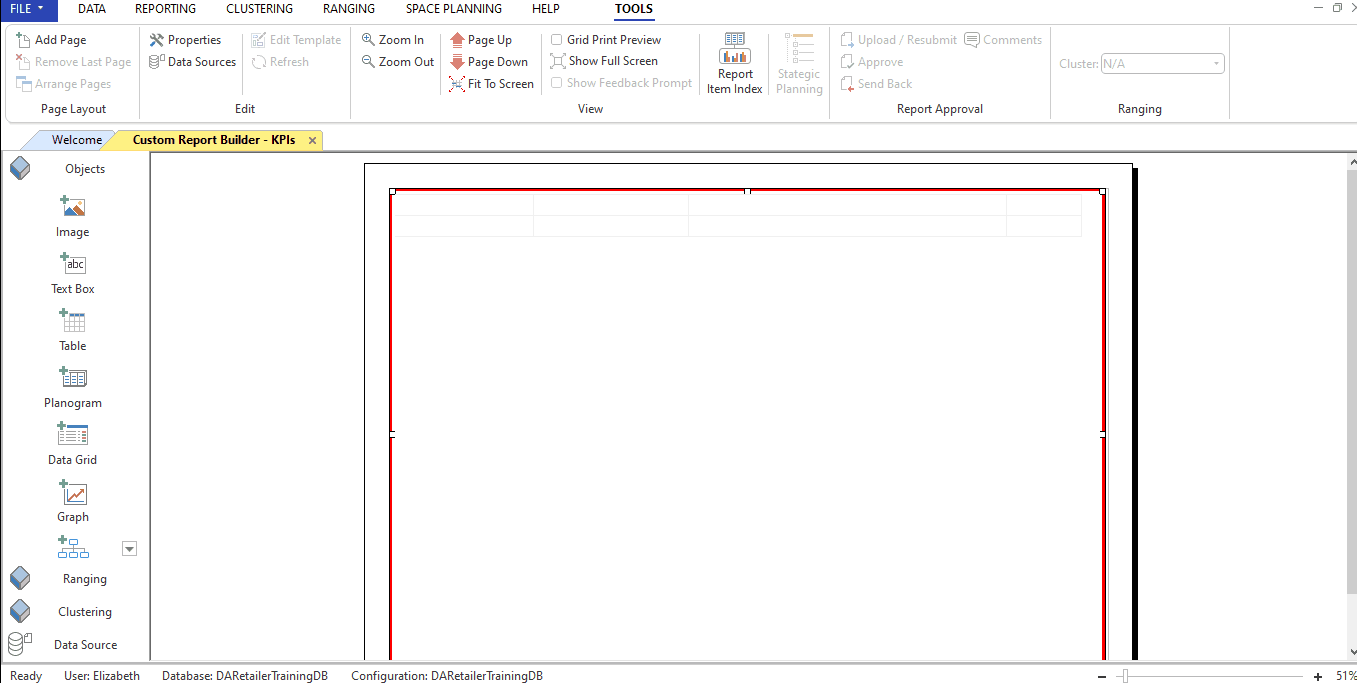
Table Objects
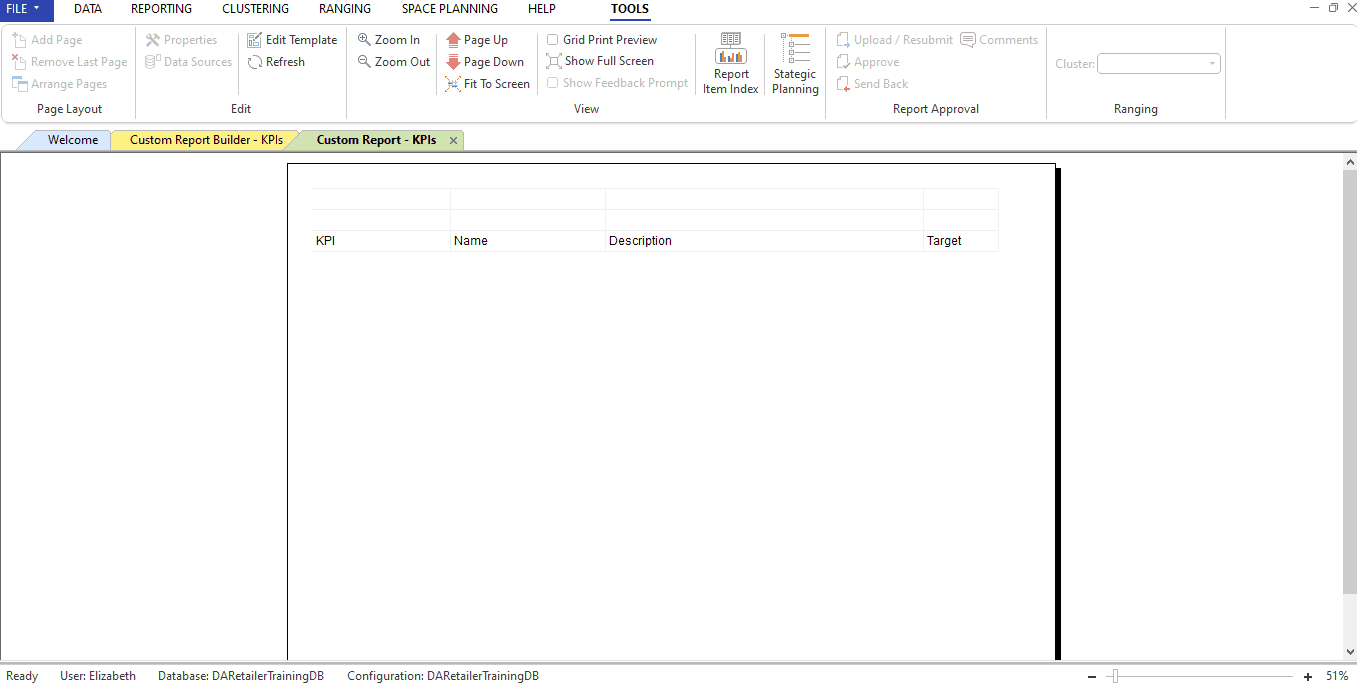
A table is a versatile custom reporting object that is frequently used to manually populate information.
Please note, before adding KPIs to a table, it is important to know how to add a table in a custom report.
To add KPIs to your table, open the table properties by right clicking on the object and tick ‘Include KPIs’.
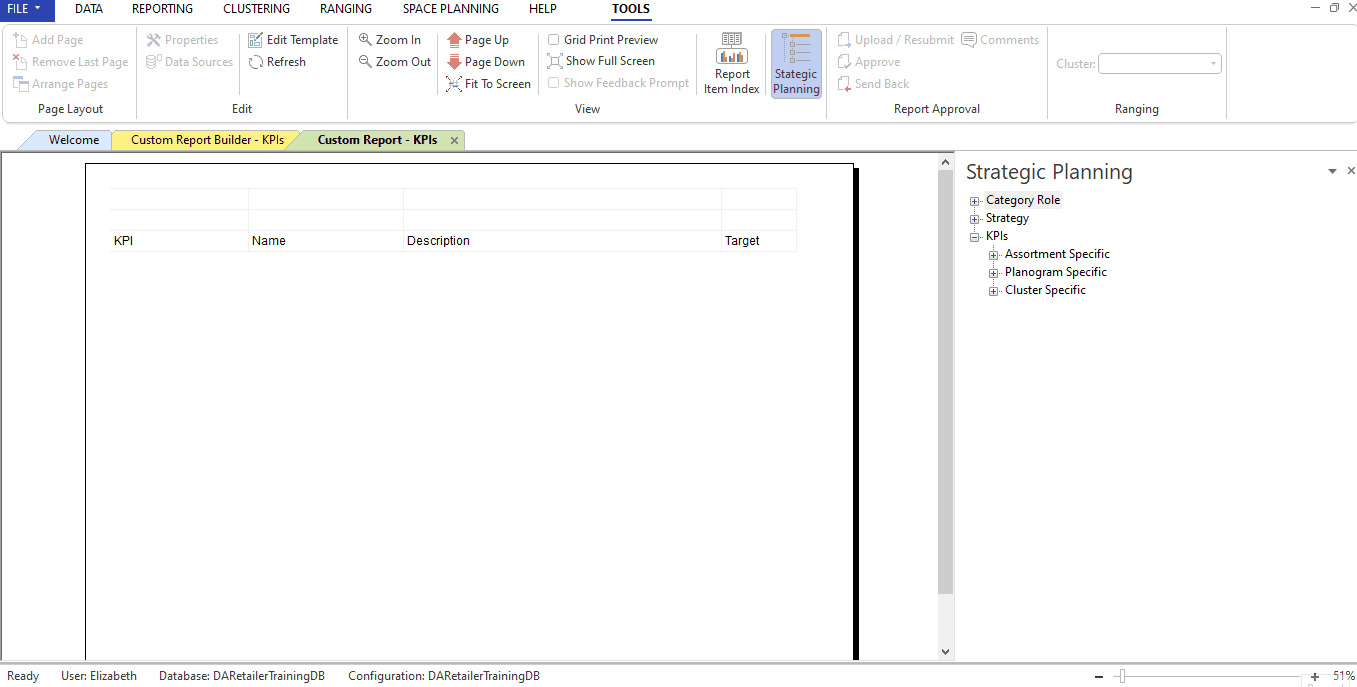
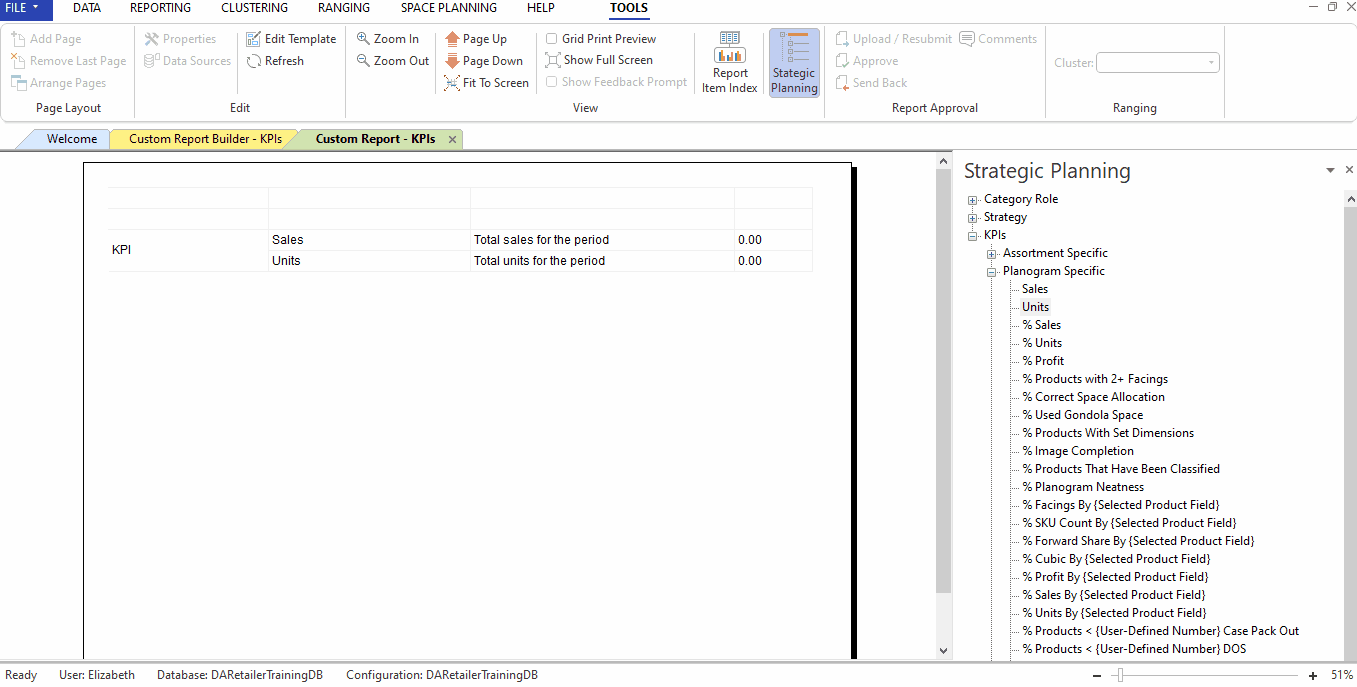
After you have saved and run your report, click on ‘Strategic Planning’. A window will open on the right.
Click on ‘KPIs’ and then click on the type of KPIs you would like to see, whether that is assortment, planogram, or cluster specific KPIs.
To add a KPI, click and drag the KPI to the table. To remove a KPI, right click on the KPI in the table and click ‘Remove’.
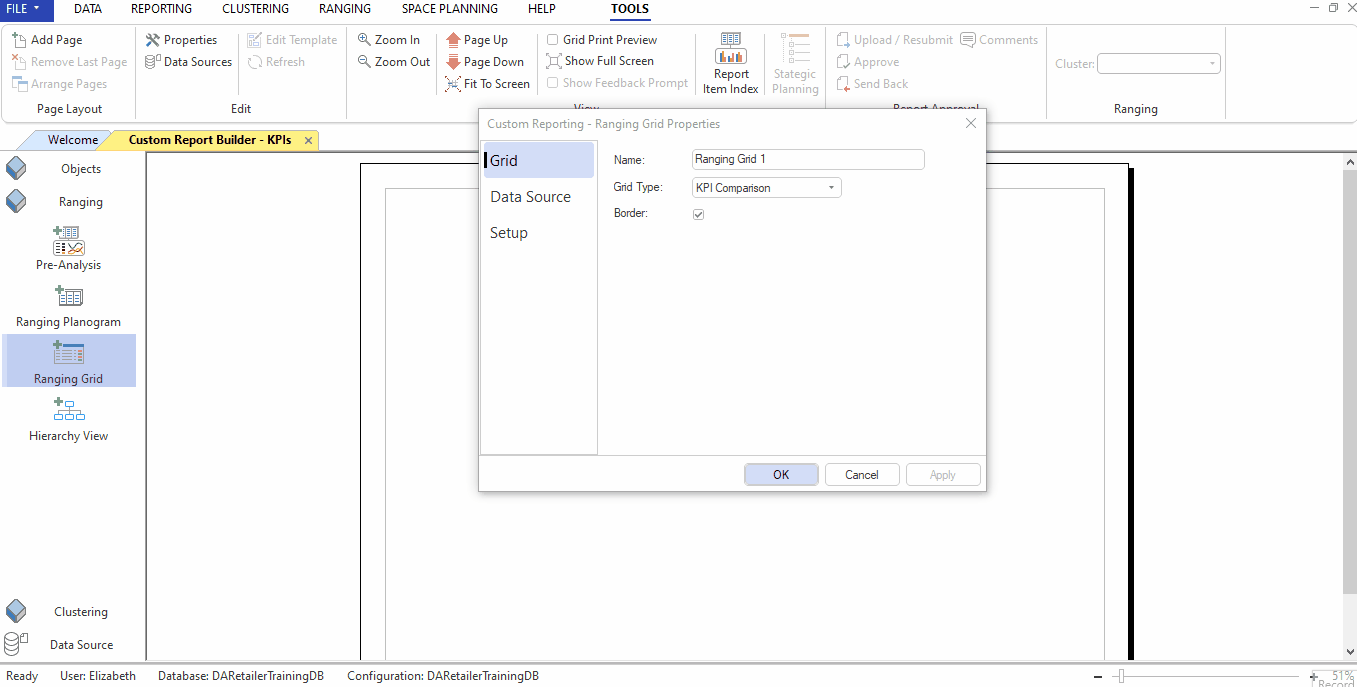
KPI Comparison Grid
A KPI comparison grid is a ranging grid in custom reporting used to compare your planogram KPIs (before and after) against your target KPIs.
To set up your KPIs in your KPI comparison grid click on ‘Setup’ in the ranging grid properties window and click on ‘KPI’. You can select your KPIs by double clicking on the KPI or selecting the KPI and clicking on the right arrow. You can remove KPIs by clicking on the left arrow.
Setting Up KPI Targets
Table Objects
To set up KPI targets in a table, after adding a KPI, simply double click on the KPI in the target column and manually input your target.
KPI Comparison Grid
To set up KPIs in the database to pull through to your KPI Comparison Grid, open your planogram, click on the ‘Analyzer’ drop-down in the ‘Tools’ tab, and click ‘KPI Targets’.
Select your cluster set, category, and cluster by clicking on their respective drop-downs.
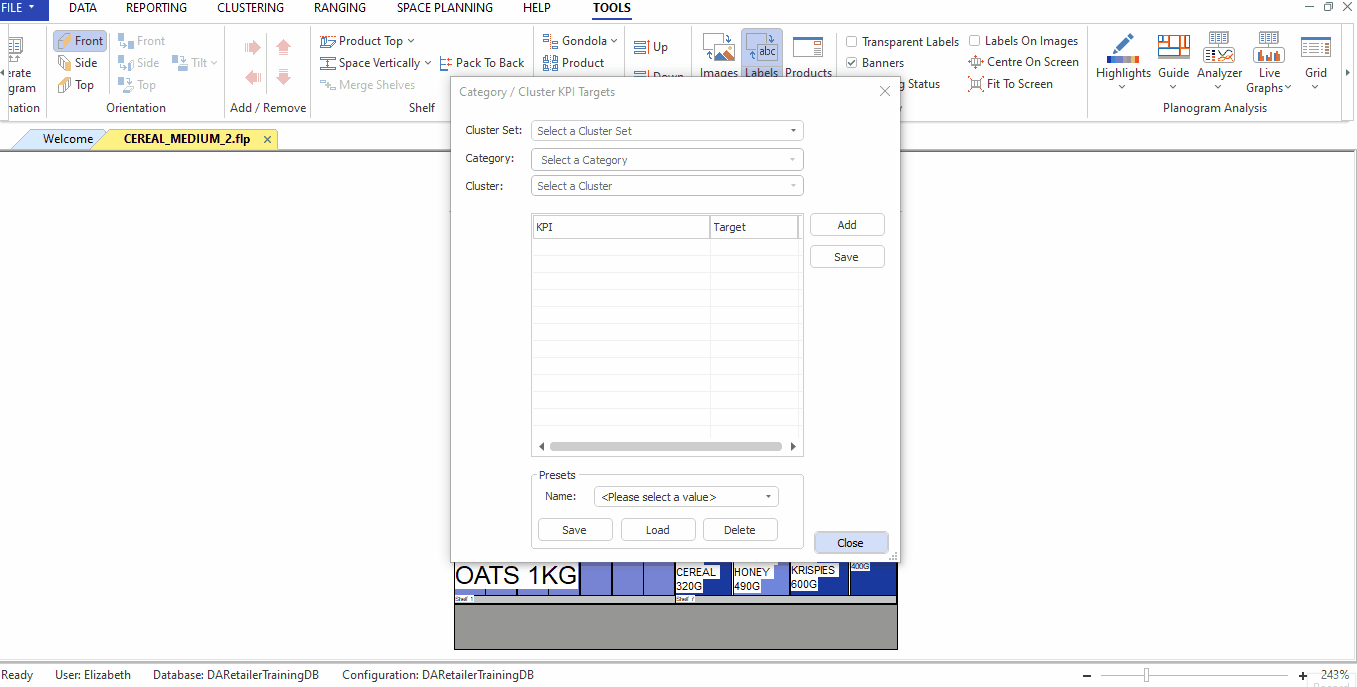
To add a KPI target, click ‘Add’, select your KPI, and click ‘OK’. Then, click on the KPI in the target column to manually input your target. Click ‘Save’ to save the targets to the database.
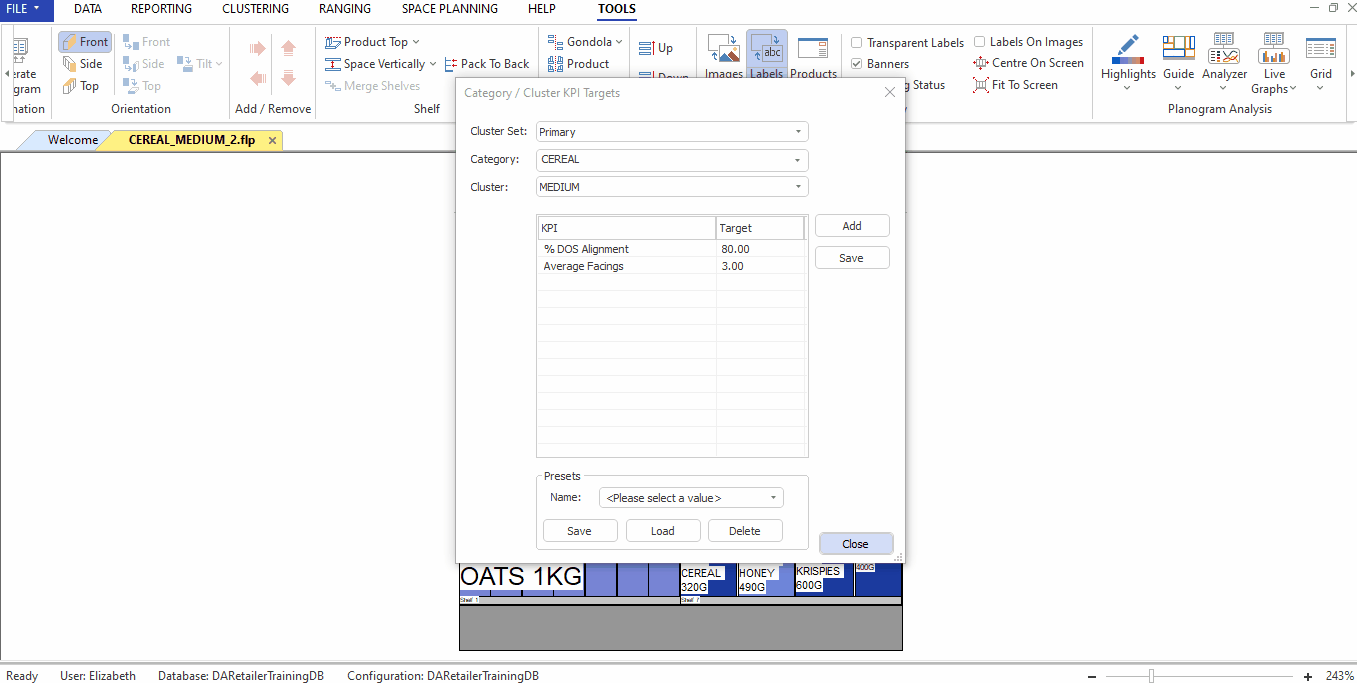
You can also save your KPI compilation as a preset by clicking ‘Save’ or load your previously saved presets by selecting it from the drop-down.
If the steps listed above do not work for you, please contact our IT Support team who is always willing to help.