This article will explain how you can search and pull product information from the Product Library found in the DotActiv software. This article further explains how to download images from the Product Library.
Finding The Product Library
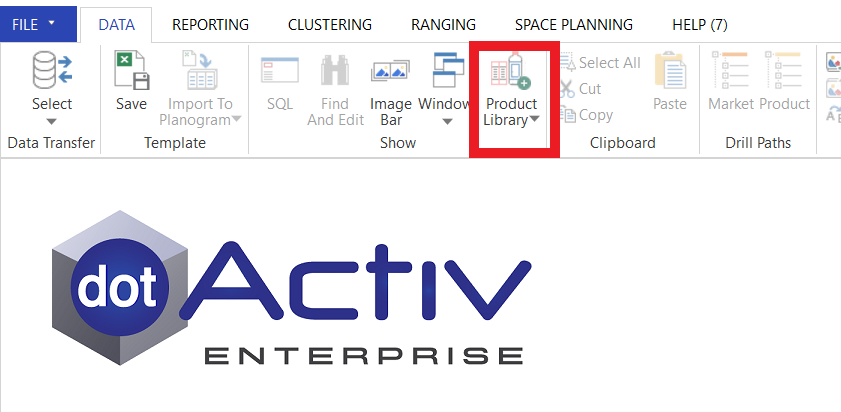
As seen below, you can find the ‘Product Library’ icon under the ‘Data’ tab under the ‘Show’ section.
Clicking on the ‘Product Library’ icon, you can choose to do a ‘General Search’ or an ‘Advanced Search’.
A general search allows you to search against a single field or all fields. An advanced search allows you to search against multiple fields.
General Search
Clicking on the ‘General Search’ option opens a setup window where you can add filters to find products.
Use the field drop-down list to select the field you’d like to filter. Then check the ‘Contains’ box and select a field from the drop-down list that you’d like to include. In this case, we are selecting ‘Barcode’.
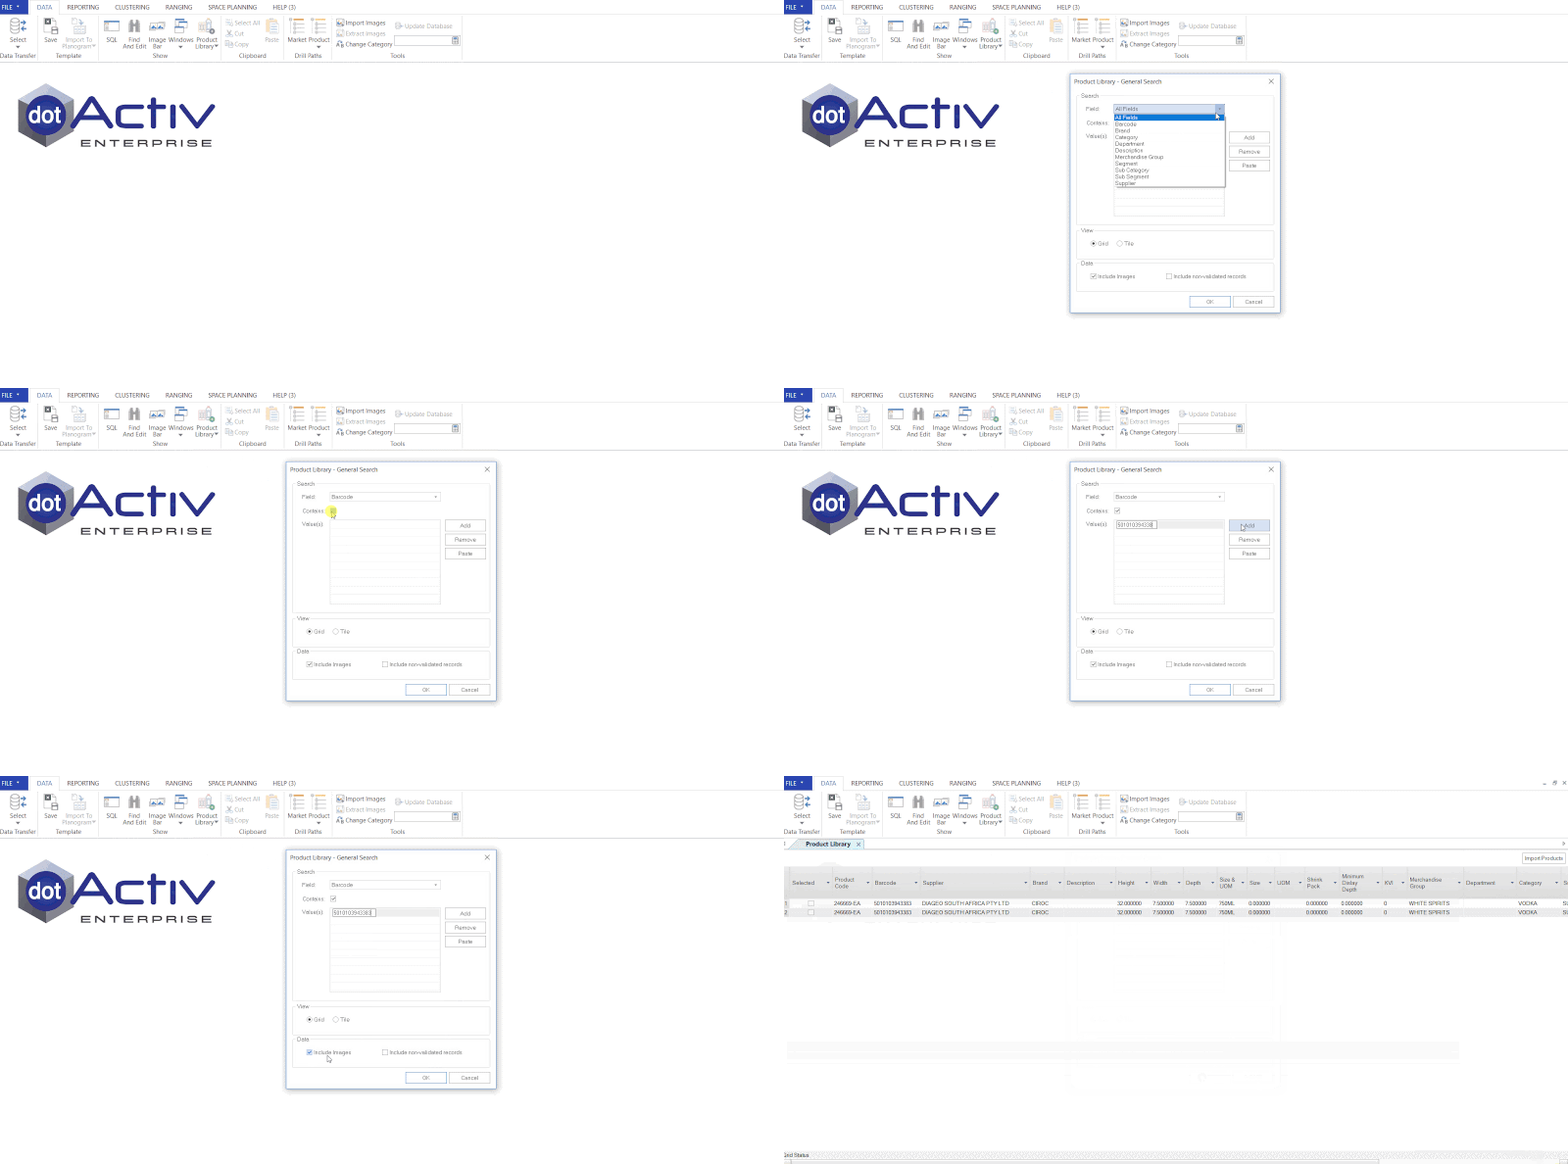
In the ‘Value’ box click ‘Add’ and paste the barcodes of the product you want to find.

If you are looking for images, tick the ‘Include Images’ box.
If you want to search for products from the database directly, tick the ‘Include Non-Validated Records’ box.
Using the ‘Add’ and ‘Remove’ buttons on the right, you can add or remove as many products as you like.

After entering all the products you want to search for, click ‘OK’. This will open a grid view of all the products that comply with the search values added.

Advanced Search
Navigate the ‘Product Library’ icon and select ‘Advanced Search’ from the drop-down list.
Doing so opens a setup window where you can add filters to find products.

Adding Filters
Click on ‘Add’ to open the ‘Filter Setup’ window as seen below.

Use the field drop-down list to select the field you which you’d like to filter. Then check the ‘Contains’ box.

In the ‘Value’ box insert the value of the specified products you want to find.
For example, if you select ‘Description’ in the field drop-down list, go to the ‘Value’ box, click on ‘Add’ and type in the desired descriptive word.
You can also add or remove as many fields as you would like, using the ‘Add’ or ‘Remove’ buttons.

Now click on ‘Create’. Doing so shows all the filters you have created.
Adding Additional Filters
When you add a second filter, the ‘Type’ section will become available and you choose ‘Or’ or ‘And’.

- ‘Or’ will look for products that have either of the applied filters in them. For example, flavoured or berry.
- ‘And’ will look for products that include both applied filters. For example, berry and flavoured.
You can also edit a field by clicking on the desired field and then clicking on ‘Edit’ or ‘Remove’ to remove the field.

Next, you can decide how you want to view the results.
You can view the results in a grid view – select the ‘Grid’ box or in a tile view – select the ‘Tile’ box. We discuss both below.

Lastly, you can select whether you want to include or exclude images by selecting the “Include Images” box.
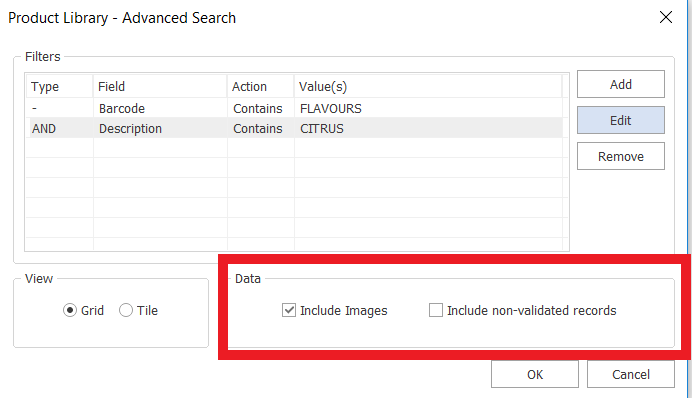
If you want to search for products from the database directly, tick the “Include Non-Validated Records” box. Then click ‘OK’.
Viewing Results In A Grid View
This opens the Product Library grid. This includes populated columns such as ‘Barcode’, ‘Product Code’, ‘Supplier’, ‘Description’ etc.
You should use this view if you are searching for an image because you can review the images beforehand.
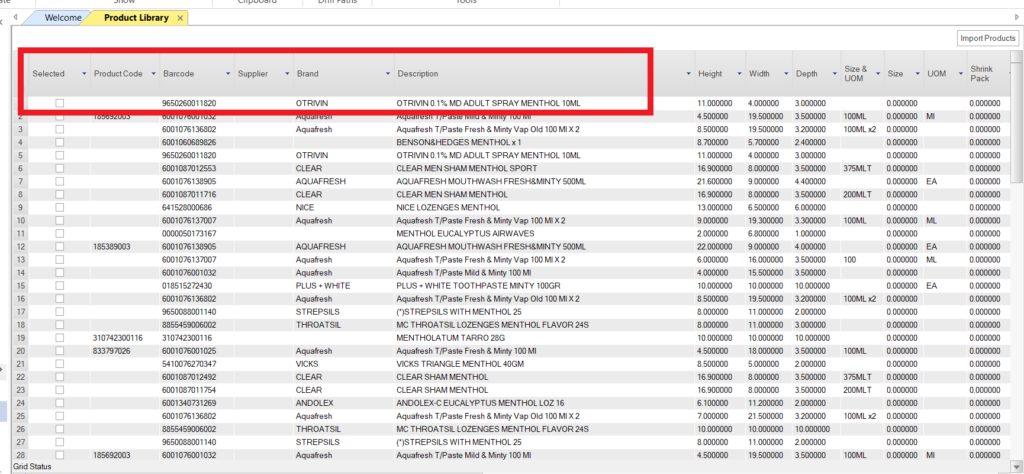
If you ticked the ‘Images’ box, the grid view will include front, side and top images of products.

You can also further refine your search by selecting specific products in the selected columns.

Pulling Product Information
After selecting all the products you’d like to pull from the Product Library, navigate to the top left corner of the grid and right-click.
Select ‘Save Grid’ and choose whether you want to save this as a CSV or Excel document. Choose a directory, give your file a name and click on ‘Save’.

Viewing Results In A Tile View
This opens the ‘Tile View’ page. At the top left-hand side, there is a home button. When selected, it will bring you to the ‘Supplier View’ page.
You should use this view if you are searching for dimensions or product details.
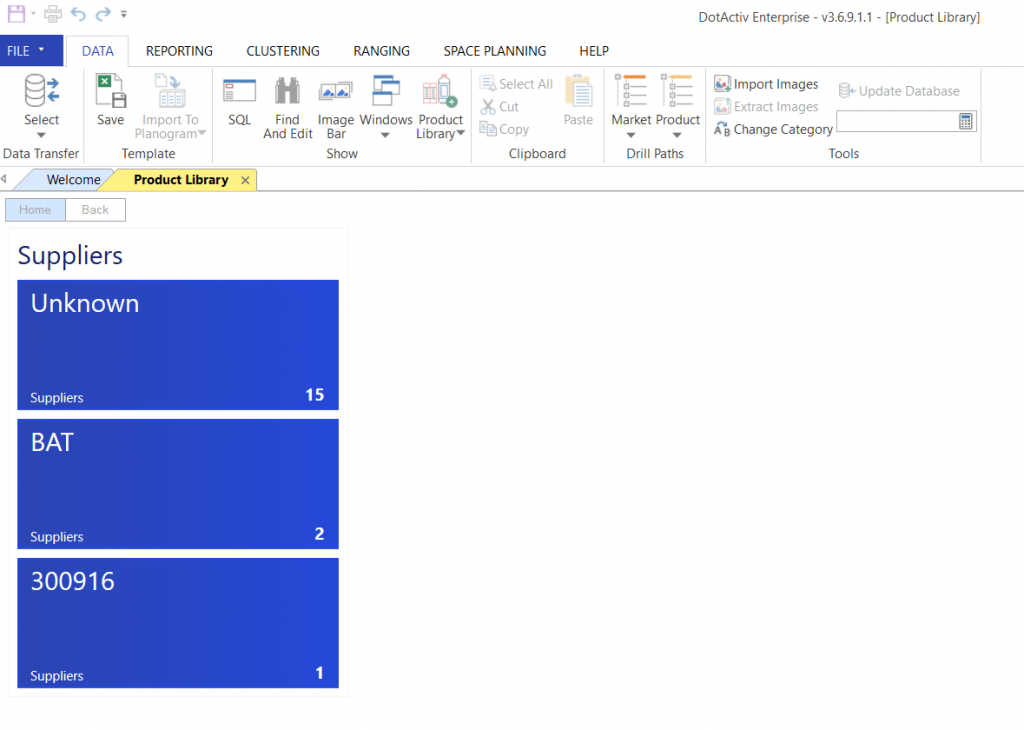
The Tile has the name of the Supplier on the top left and the bottom left, it shows you that you are in the Supplier view.
The number in the bottom right tile indicates the number of distinct values in the next level—for example, the number of brands found under this supplier.
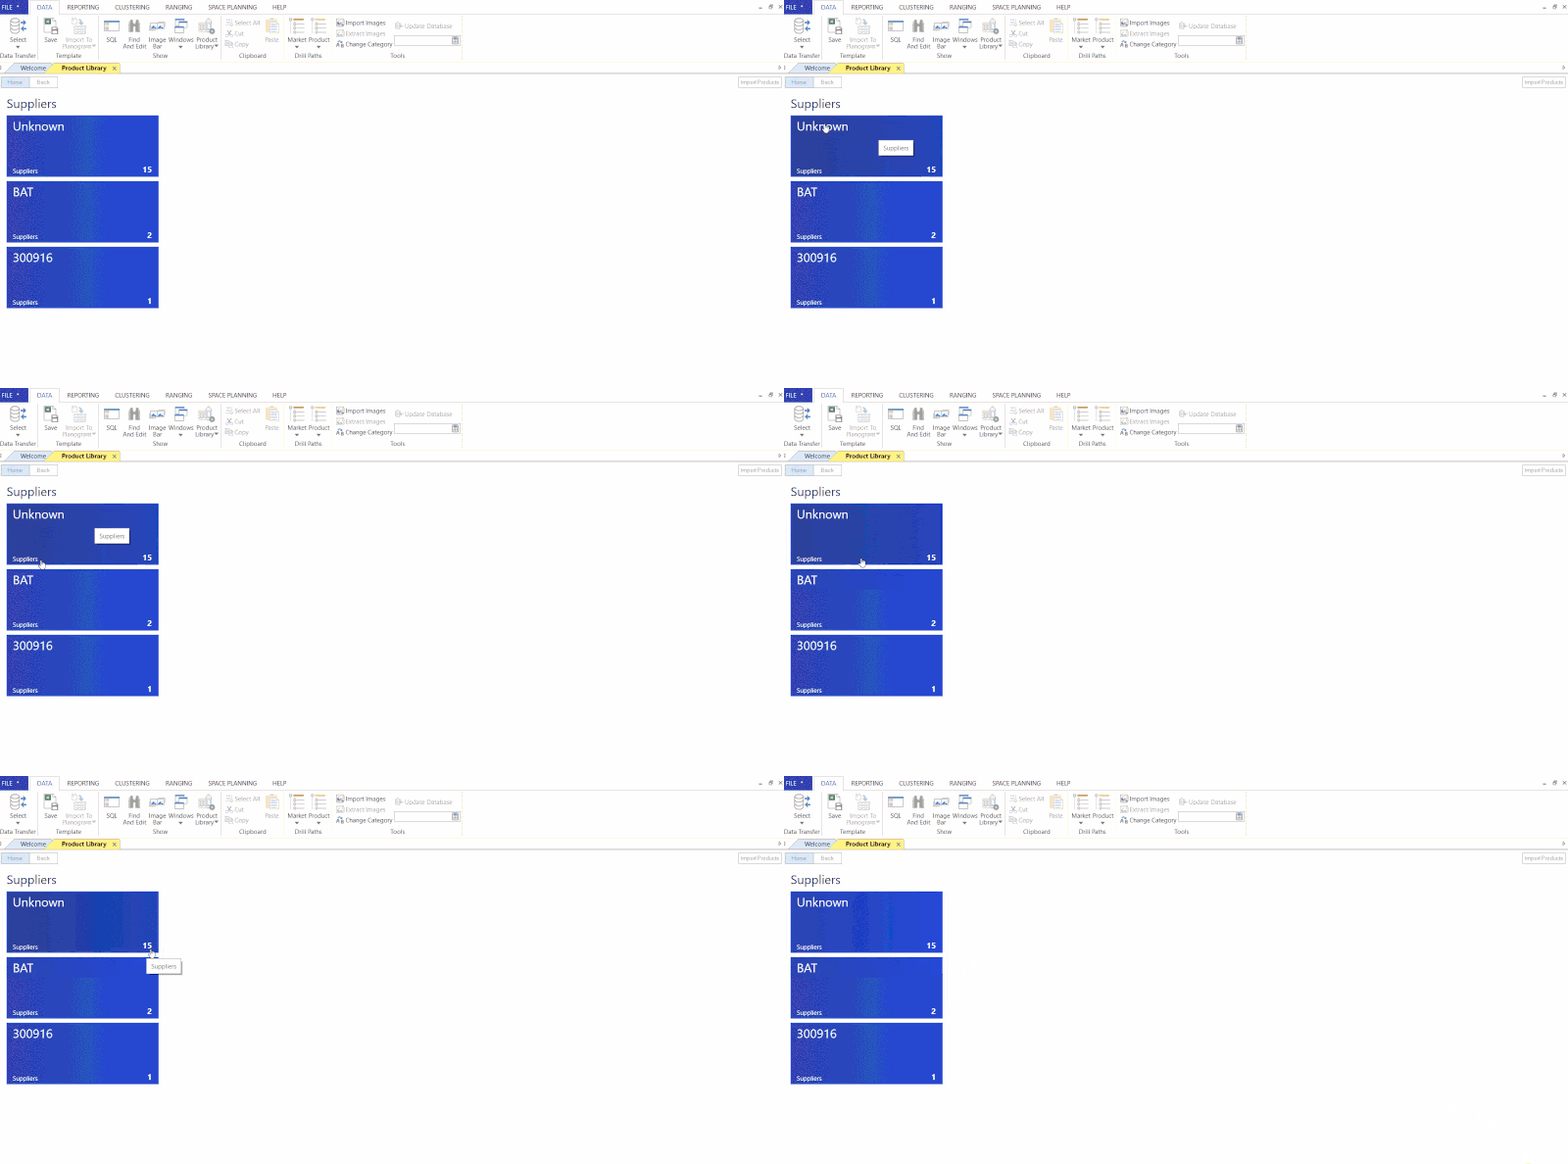
You can drill into each tile by clicking on them.
When clicking on the tile in this example, it opens all the brands found under this supplier. Each tile shows the specific brand and how many SKUs fall under each one.
When clicked again, it will go to the Categories, Sub-Categories and Product View.
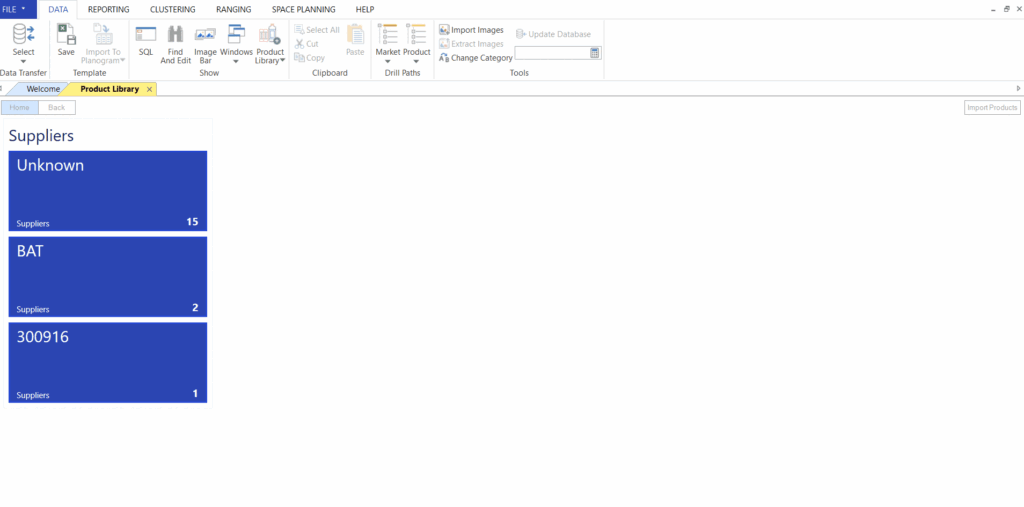
Product view
You can right-click on any product to view more information. This includes the ‘Item Detail’, ‘Dimensions’, and ‘Display Structure’ information.

You can right-click on any tile and select it to jump to a view of all the SKUs included in the selected tile.

The ‘Back’ button takes you to the previous tile view.
Product Library Accessibility
The Product Library is cloud-based as it can be accessed from anywhere if your computer is connected to the internet. It is not linked to a specific database that you need to be connected to.
Please note that because the Product Library is cloud-based, you will not be able to access it offline. If there is no internet access, you will get an error message. You do, however, not need to be connected to a database to access the Product Library.
How To Download Images From The Product Library
All images in the Product Library are accessed from a central cloud-based database. This is what makes the Product Library so beneficial to all users as all product information is stored on one central point – available to everyone.
Step 1: If you should find a product image in the Product Library that you do not have currently, simply select the product in the Product Library by ticking it, and then click on ‘Import Products’. Please see the gif below.
Step 2: You can then select whether you want to:
- Import it into a specific planogram or a file on your computer,
- Insert it if it’s a product you do not currently have an image of, or
- Only update if you want to update an existing image.
The Insert and Update option can be used where more than one product is selected to import and some might already exist and others not.
Please note to ensure images are imported, ensure that all relevant boxes under ‘Import Images’ are ticked.
How Are Images Captured In The Product Library?
Images are captured in Front, Side and Top columns on the Product Library to allow users to easily see which of the three images are available on the Library for the respective products.
Should the above steps not work for you, please create a support ticket and DotActiv support will assist you in uncovering the issue.
