The purpose of this article is to explain how to easily sync or update floor plans with market information from the database.
Syncing A Floor Plan
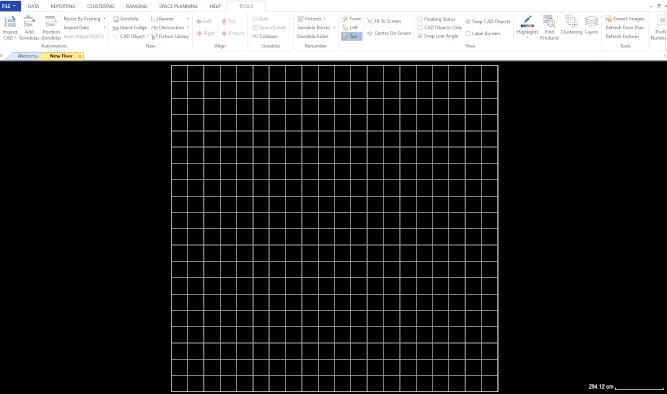
To begin, navigate to the ‘Space Planning’ tab and select ‘New’ in the Floor Planning section. After filling in all the necessary details in the ‘Floor Properties’ window that pops up, click ‘OK’.

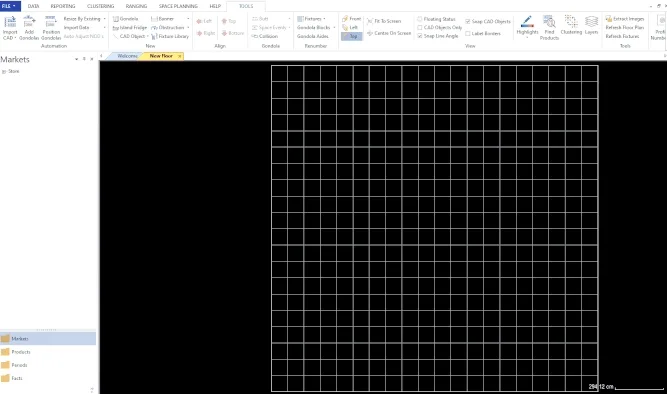
Next, navigate to the ‘Data’ tab. Click on the ‘SQL’ icon in the ‘Show’ section. A dockable window pops up on the left of your screen titled ‘Markets’.

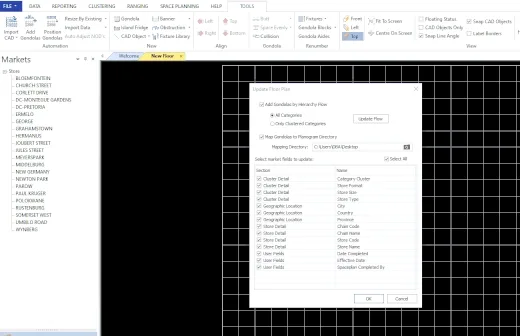
From the dockable window, you can drag a market from the drill onto your floor plan. This will open the ‘Update Floor Plan’ window.

The first thing that you can configure in the ‘Update Floor Plan’ window is the option to ‘Add Gondolas by Hierarchy Flow’ and you can choose to ‘Add All Categories’ or ‘Only Add Clustered categories’.

Then, you can choose to update the flow, by clicking on the ‘Update Flow’ button.

‘Update Flow’ allows you to re-order the flow of categories as they are added on the floor plan. You can also exclude specific categories. This feature functions the same as ‘Adding Gondolas By Hierarchy’.
Read this article on how to add gondolas by hierarchy/update hierarchy flows.
You can also choose to ‘Map Gondolas To Planogram Hierarchy’ by ticking the checkbox and selecting the directory of the planogram. This function will link the gondolas on your floor plan to existing planograms in the selected folder.
At the bottom of the ‘Update Floor Plan’ window, you can select which market fields to update.

Once you are happy with the configs, click OK to perform the updates to the floor plan.
You will see the clustering window will appear as well as the gondolas which have been added to the floor plan.
The clustering window is used to manage the clustering between your floor plan and the database. Read this article to learn how to update clusters on a floor plan.
Selecting A Benchmark Store
As a new store has no data for the Floor Planner to work with, the Benchmark Store will act as a supplement. The Benchmark Store’s data will be used in order to do a data analysis to establish the new store’s layout. Preferably, the Benchmark Store should be very similar to the new store in terms of target consumers, geographic location, LSM etc.
The Floor Planner can select the Benchmark Store, set up certain data fields and choose a specific data period to be used. The Benchmark Store’s data is then imported into the floor plan. It also includes importing the planograms and updating the floor facts with those of the configured Benchmark Store’s information.
The below demonstrates how to set up the Benchmark Store, as well as how to set up the fields and periods that will be used when importing the benchmark store’s information.
After setting up the Benchmark Store and fields, the next step is to add the planograms to the floor plan which is demonstrated below.
Should the above steps not work for you, please create a support ticket and DotActiv support will assist you in uncovering the issue.
