The purpose of this article is to provide you with a step-by-step guide to using the task filtering function in Activ8 software. We explain how you can add and save a filter.
Finding The Tasks Filtering Function
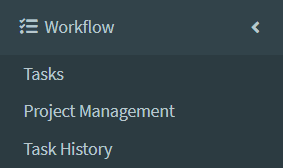
After opening Activ8, click on the ‘Workflow’ section in the left-hand panel. From the drop-down menu, select ‘Tasks’. Doing so takes you to the ‘My Tasks’ screen.
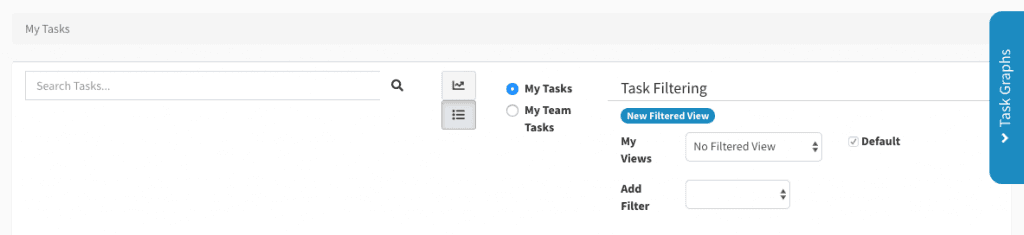
In the ‘My Task’ screen, navigate to the task filtering function. You can find it in the top right corner un the heading ‘Task Filtering’.
Adding A Filter
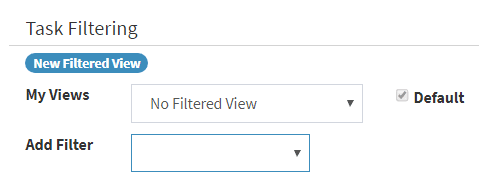
To add a task filter, click on the ‘Add Filter’ drop-down menu and select which filtering option you would like to use.

In the ‘Add Filter’ field, you will need to specify a User, Board, Company, Observer, Project, Task Owner, Task Status or Task Type. You can click ‘Done’ to apply the filter.
Saving A Filter
After clicking ‘Done’, you have the option to save the filter to use at a later date.
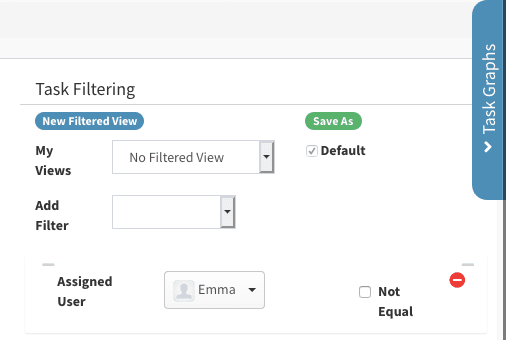
Click ‘Save As’ to begin the process. Next, give your filtered view a name.
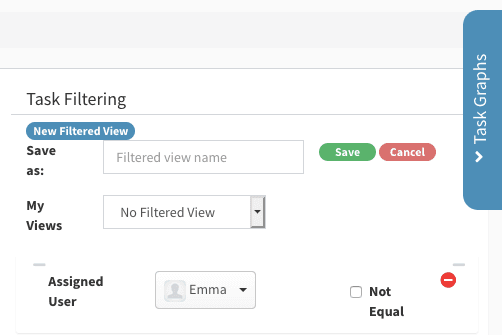
Once saved, can you find your filtered view in the ‘My Views’ drop-down menu.