Nova is DotActiv’s new AI-driven planogram engine, built to generate layouts from a zero base, without relying on templates. Using shopper decision trees and category logic, Nova creates intelligent shelf flows automatically, while still allowing planners full control to refine outputs based on their retail context.
This article serves as a guide on how the user should go about configuring and running Nova to generate a planogram.
What Are The Prerequisites?
- Product classifications: Nova references the hierarchical classifications of each SKU to place products on the gondola based on the configuration.
- Product and fixture dimensions: This is crucial as Nova will be merchandising SKUs while referencing the size of each fixture and product. For accurate merchandising and implementation, both the fixture and product dimensions should be accurate.
- Products on a floating shelf: Nova references the data in a planogram and requires a simple floating shelf with all products needing to be planogrammed.
How To Configure Nova To Run A Single/ Multiple Planograms
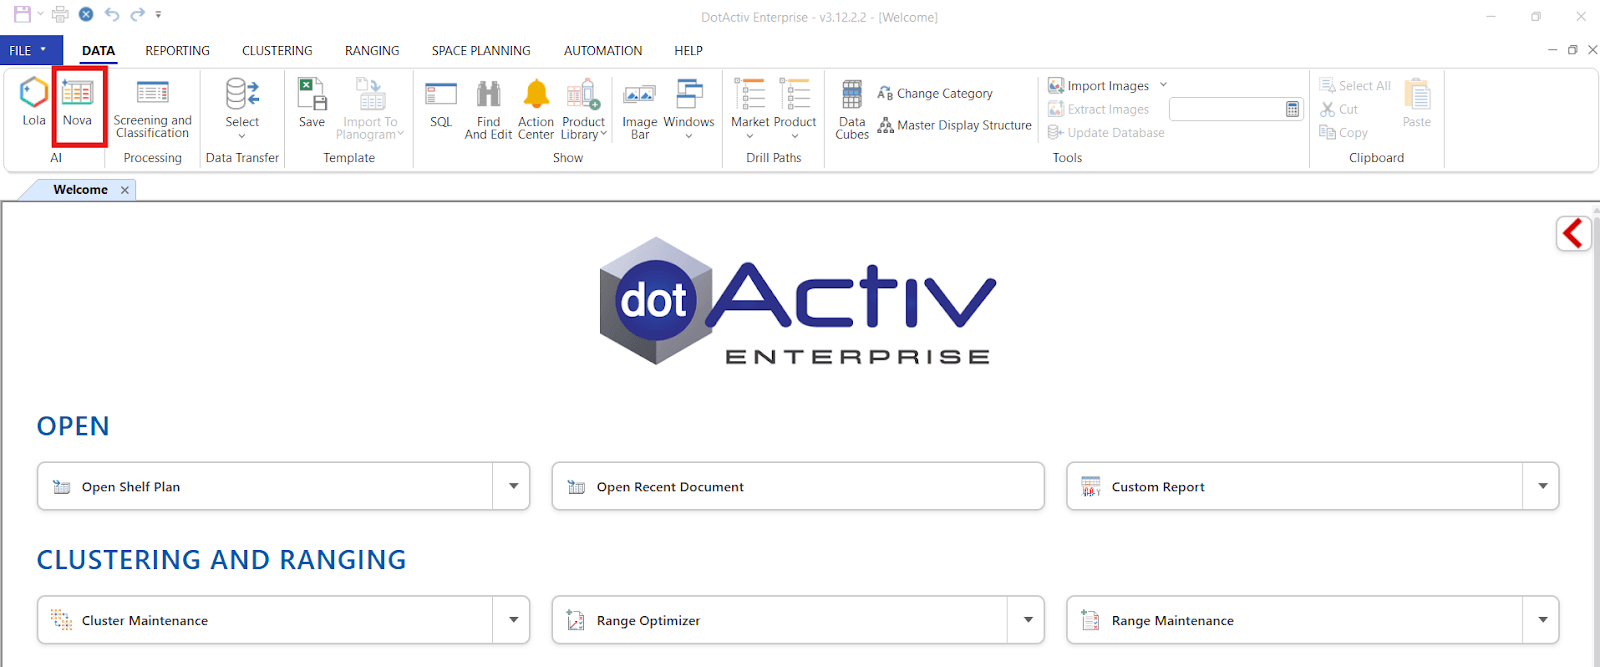
Step 1: Start by navigating to the AI tab in the tools ribbon and clicking on Nova.
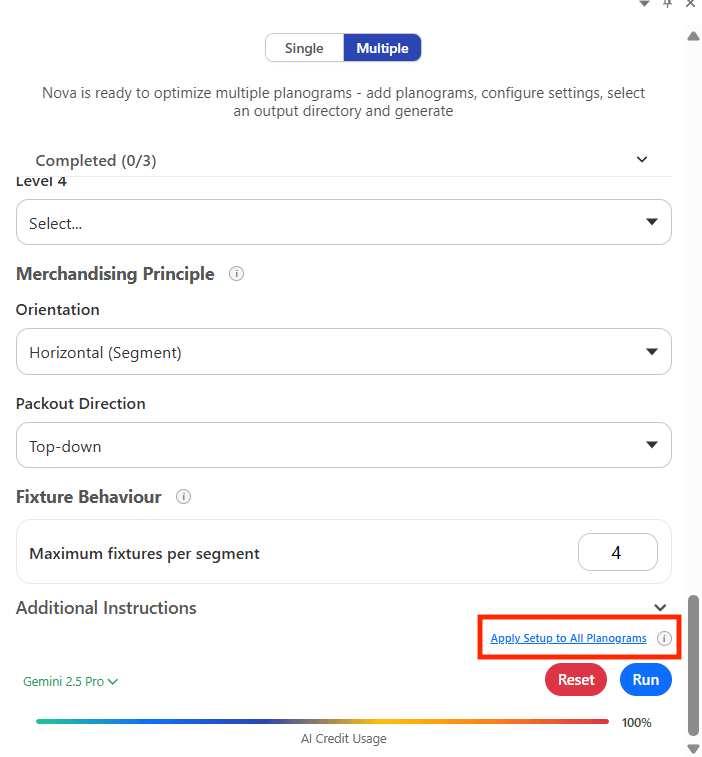
Step 2: Select whether you would like to run a single or multiple planograms but toggling between the “Single” or “Multiple” options.
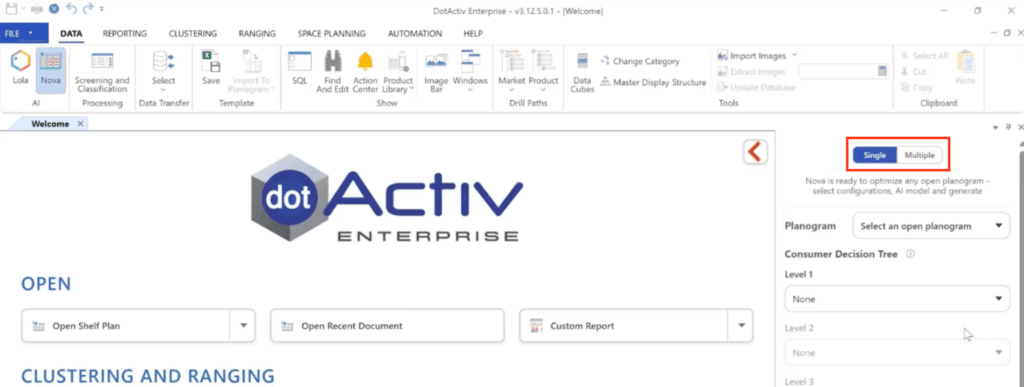
Step 3: With the Nova window open, the user should open a planogram which includes a fixture and products placed on a floating shelf.
Step 4: The user can then start with the Nova configuration:
- Consumer Decision Tree: This acts as the user-defined preference for the packout that Nova will follow (ie, Sub-Category, Segment and Brand). The user can choose up to four fields to determine how products are grouped and ordered.
- Merchandising Principles: Nova will use these principles to determine the order that grouped products are packed out onto the gondola.
It is important to note that the user has the option to manually select the sequence of product groups and their placement in the Consumer Decision Tree section. Or, they can click on ‘Apply Nova’ for an AI-researched best-practice suggestion.

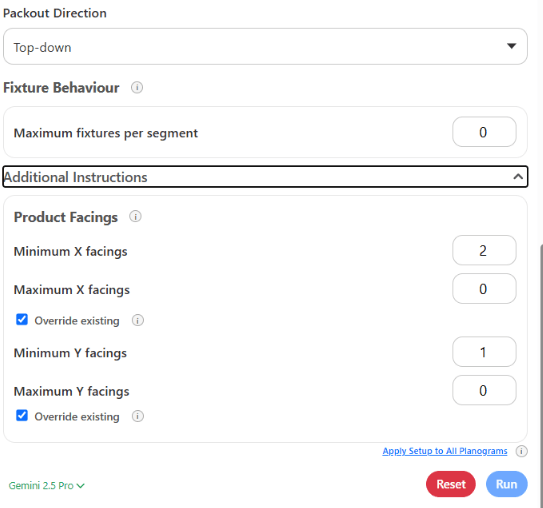
- Fixture Behaviour: Set the maximum number of fixtures per segment.
- Maximum fixtures per setting which should limit the number of fixtures Nova will place in each segment on the planogram.
- Product facings maximum and minimum values. These can be used to limit the number of X and Y facings on the planogram to help avoid vertical stacking and too many X facings of certain SKUs. Please see the screenshot below.
Please note that Nova can work on up to 10 planograms in the background – these planograms do not need to be opened in the software.
If you would like to use the same setup for all planograms in one batch you can use the “Apply Setup To All Planograms” button at the bottom of the setup. This will apply the same configuration setup to all planograms in the batch.
Alternatively, if you would like to customize each planogram setup you can toggle between the different planograms using the planogram selector at the top and set up different settings for each planogram.
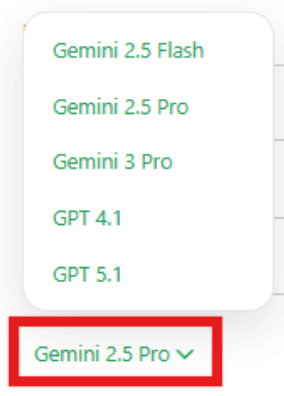
Step 5: At the bottom-left of the configuration window, the user has the option to select the AI model that they want Nova to reference.
Step 6: Once the user is happy with the configuration and the selected AI model, they can click on ‘Run’ to prompt the Nova run.
The user is also able to view their credit usage after each Nova run at the bottom of the configuration window.

The user is able to continue with other work in the DotActiv software while Nova runs.

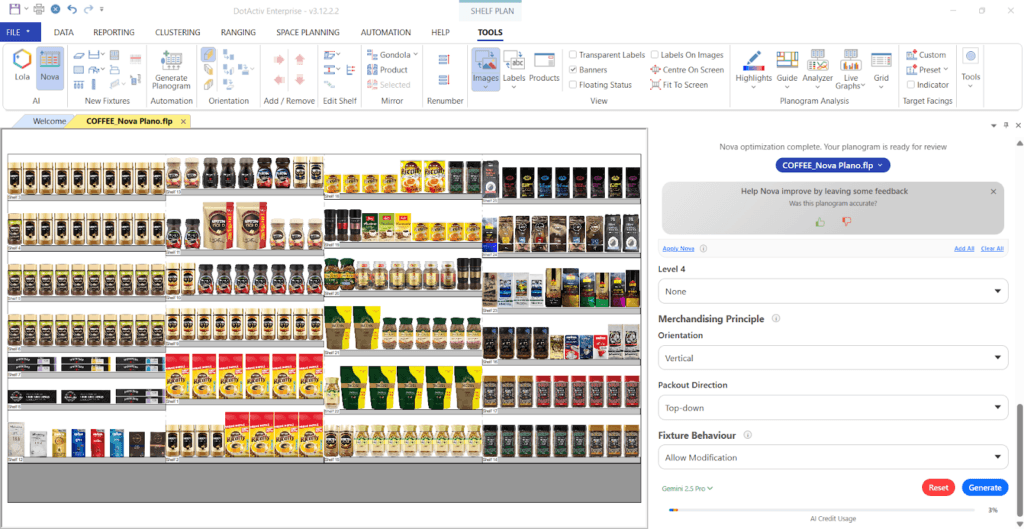
Output Example
Once Nova has completed the run, the generated output will automatically appear on the DotActiv window. The user is able to apply manual changes to the planogram for additional refinements. The best way to approach manual changes is to reference the available DotActiv reports to understand the impact they have on the planograms (Live Graphs, Highlights, Planogram Analyzer etc).
Should you experience any software issues, please contact our IT Support team.