The purpose of this article is to provide you with an easy-to-follow process to generate or run and edit a custom report built in the DotActiv software.
Once you have created a custom report, you and your colleagues can reuse the report template. The report template will be saved as a .drt file.
Custom reports which have been generated can also be saved as a .dr file which will store the contents of any included data sources. This report file can then be opened without needing to map or pull data from the source again.
Generating A Custom Report
After opening DotActiv’s software, ensure you are in the ‘Reporting’ tab. In the ‘Advanced’ section, click on the ‘Custom Report’ icon.
From the drop-down menu, select ‘Generate A Report’.
Doing so brings up the ‘Custom Report’ window where you can select the report template or data report that you want to run. You can also use the file directory field to locate the file.
Select the template and click ‘Open’.
Next, map the data sources in the report template as seen in the GIF below.
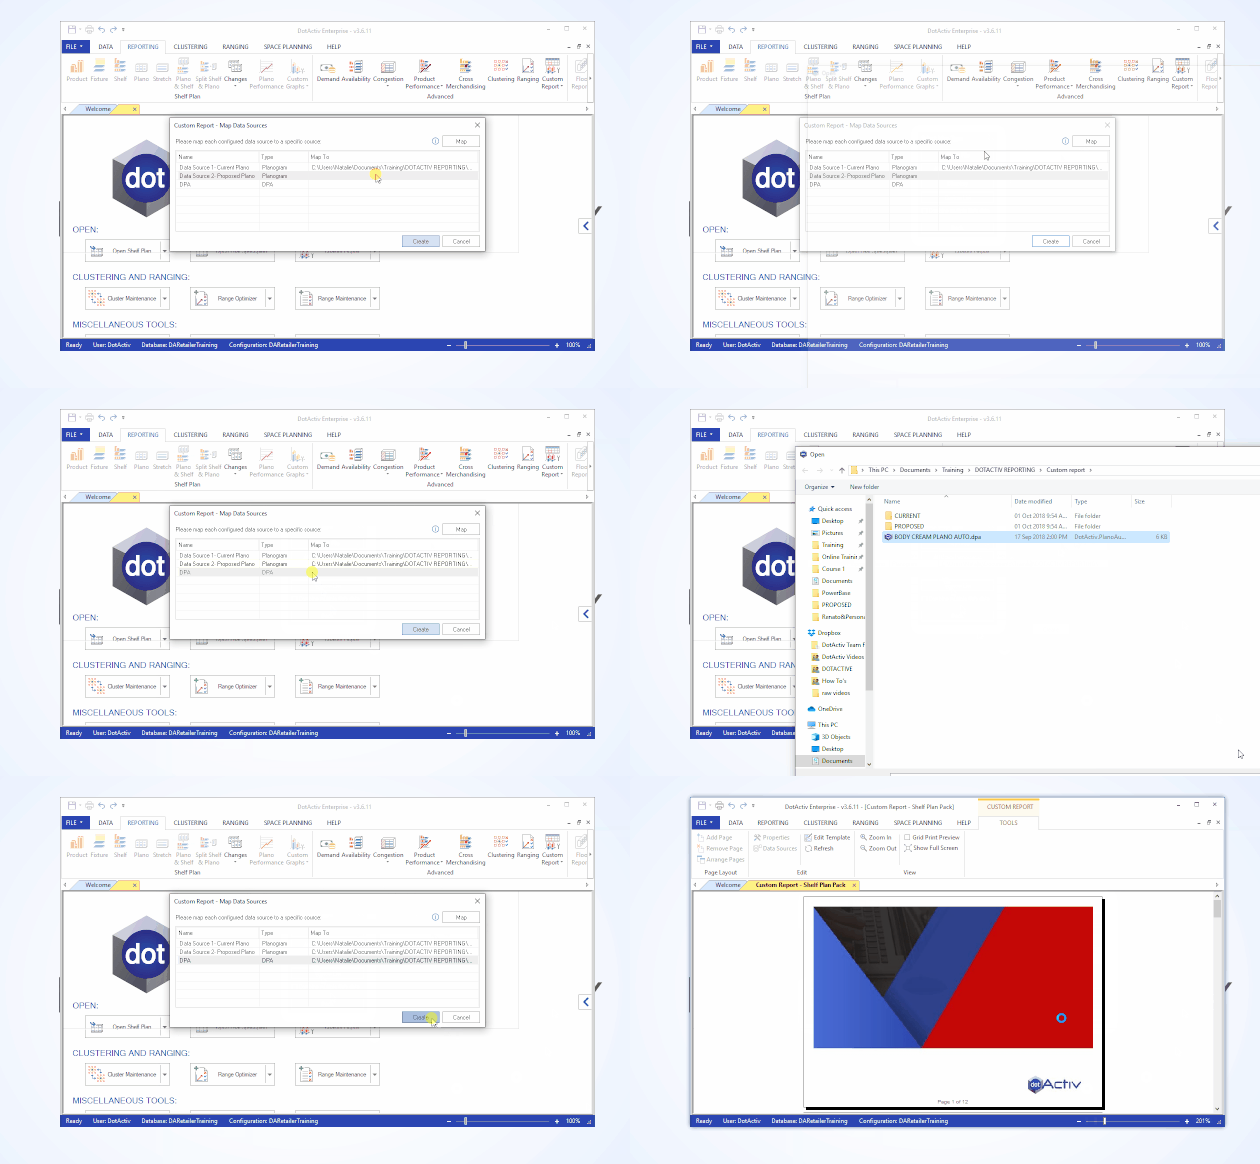
Once done, click on ‘Create’.
Drilling Into Different Levels Of Custom Report
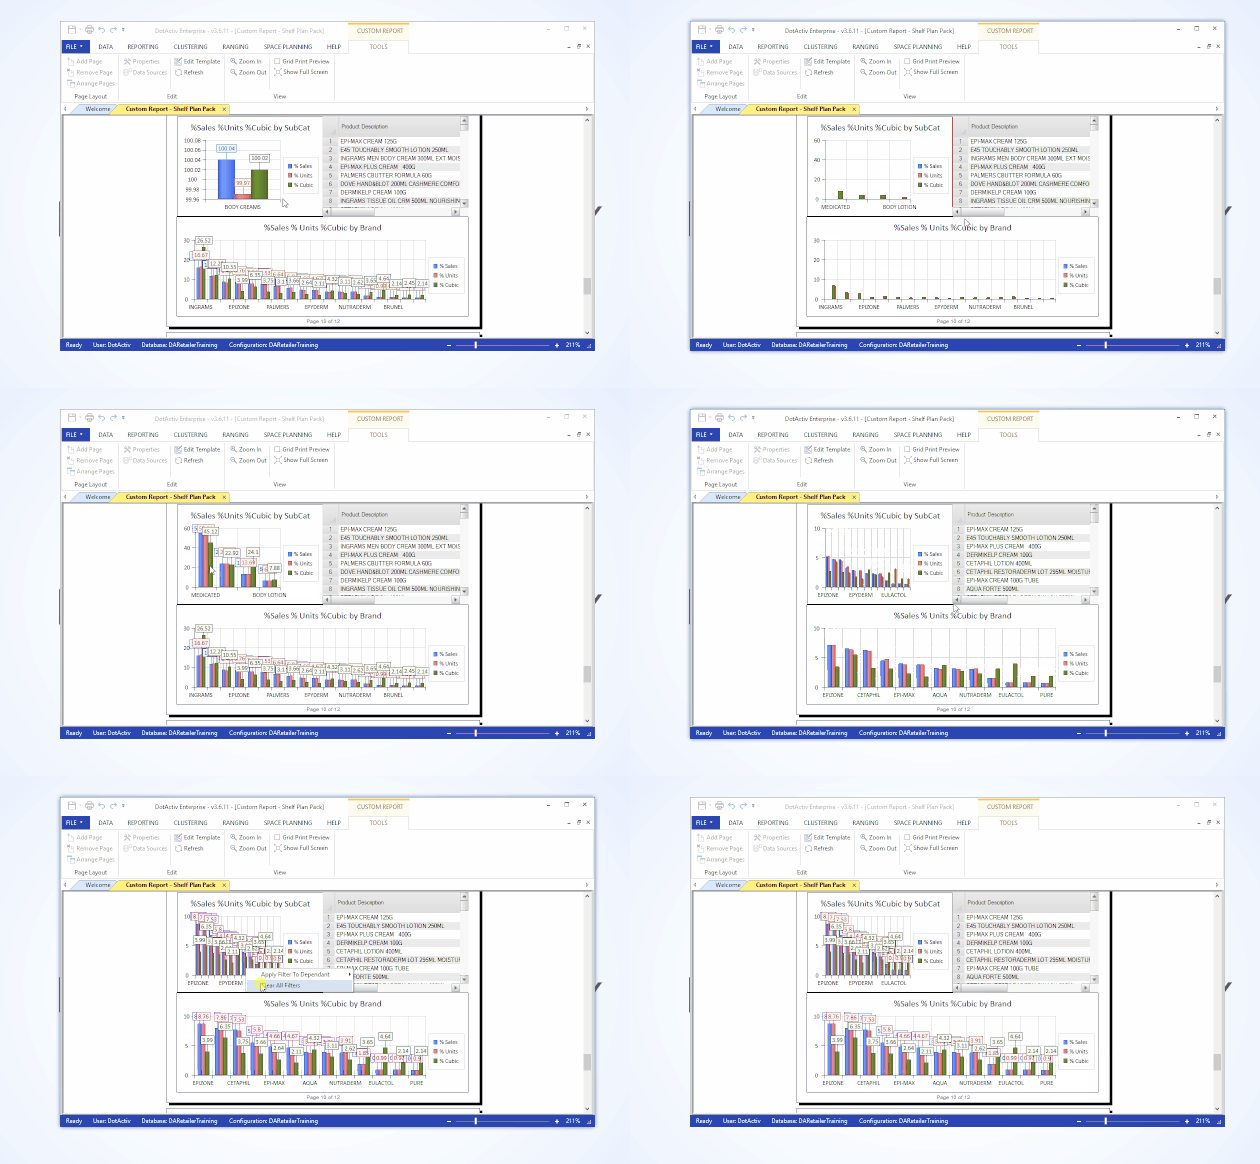
If you have added multiple fields to a graph or grid, you can drill into each level by left-clicking on it.
If you would like to drill back up, right-click on the graph or the grid.
Editing and Refreshing Your Custom Report
If there is something you would like to change on the report, click on ‘Edit Template’ in the ‘Edit’ section under the ‘Tools’ tab.
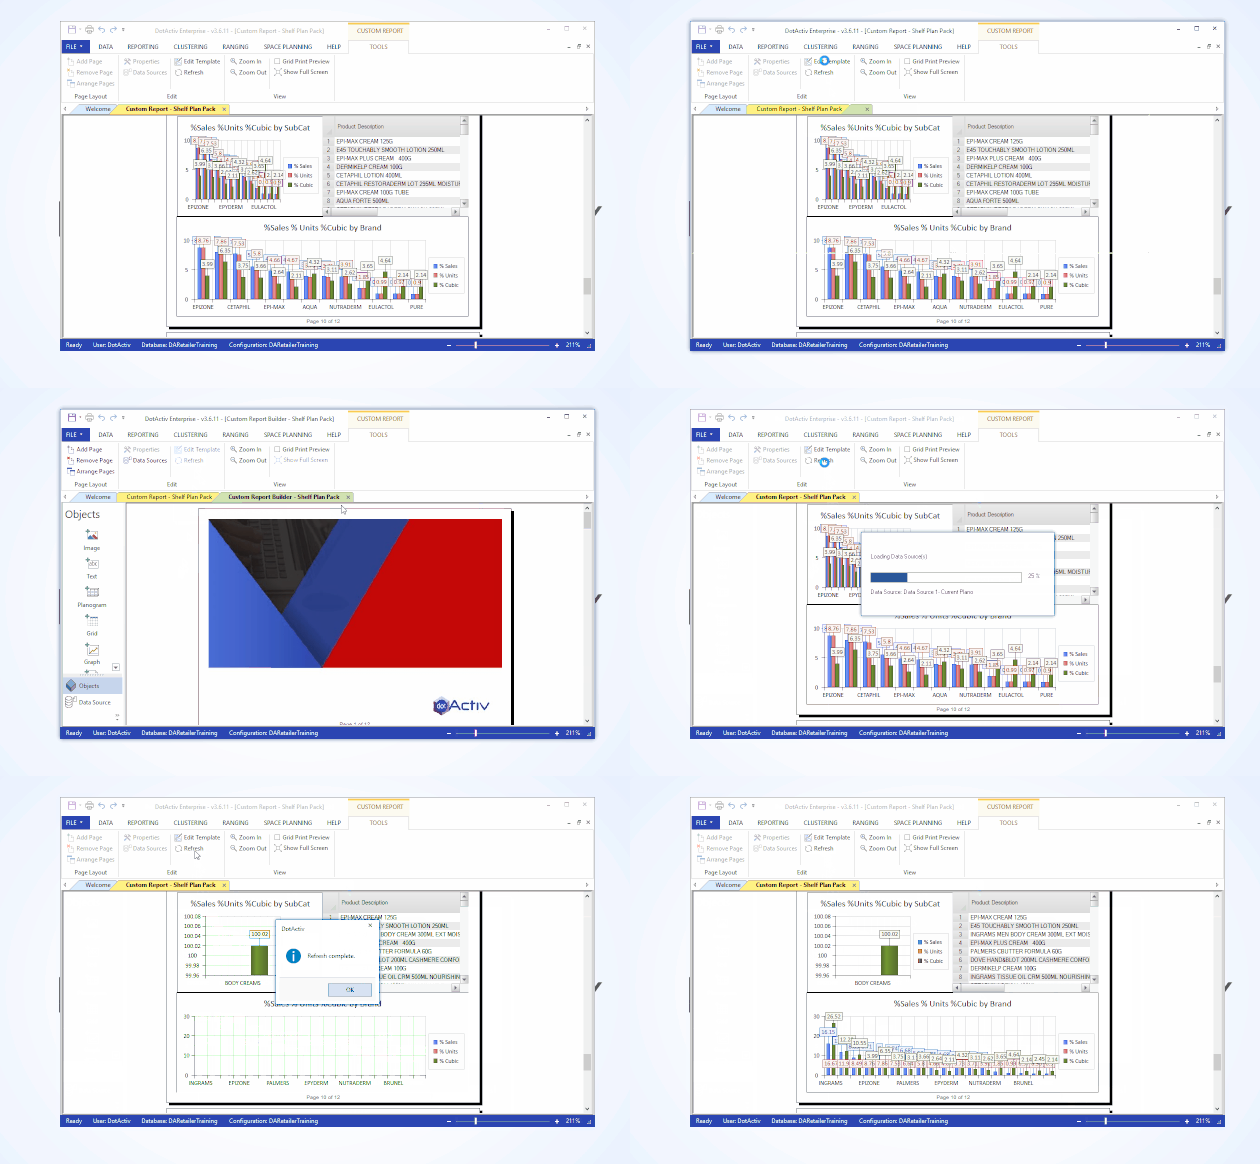
This will bring up the original Report Settings where you can make changes. In the left-hand panel, you can add various objects or move them around your report.
If you’re satisfied, click on ‘Save’ and go back to the report that was run. Then, click on ‘Refresh’, which you can also find in the ‘Edit’ section to show any updated changes.
Running Your Report
If you would like to run or view your report, you have the option to refresh your shelf plan or floor plans to improve quality when at different zoom levels.
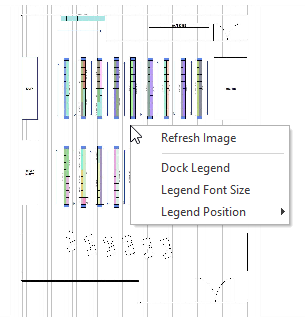
You can use this function, by simply right-clicking on the shelf plan or floor plan and clicking on ‘Refresh Image’ from the right-click menu, as seen in the image below.
Before Refresh
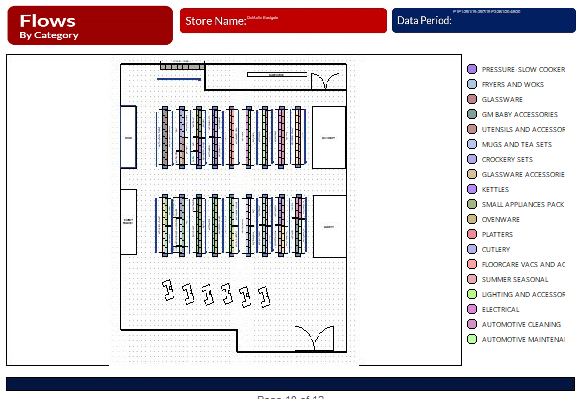
In order to show what the benefit of this function is, we have included an example of a floor plan found within a custom report below.
Before you select ‘Refresh Image’, your floor plan might look like the example below.

After Refresh
Below you will find an example of how the software has enhanced the quality or resolution of the floor plan.
Should the above steps not work for you, please create a support ticket and DotActiv support will assist you in uncovering the issue.
