The purpose of this article is to provide a step-by-step process on how to create a smart visit schedule using the Activ8 software and track tasks on the Mobile App.
Activ8 Software
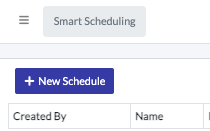
Step 1: Navigate to ‘Scheduling’ in the left-hand pane and click on ‘Smart Schedule’ from the drop-down menu.

Step 2: Click on ‘’+New Schedule’ to create a new Smart Schedule.
Step 3: Next, click on the ‘Detail’ tab. Here you can select the ‘Store Grading’ which will differ per environment.

Step 4: Select ‘Region’. Once the Store Grading and Region have been selected, the merchandisers that are assigned to the specific region will pop up. Once the applicable merchandiser has been selected, select the supplier and relevant questionnaire for the visit. Remember to click on the small (+) button to the right when selecting suppliers and questionnaires.

Step 5: The relevant stores will be listed at the bottom of the page and you can then select the stores that you would like to add to this schedule.
Step 6: You have the option to select the option that enables you to identify the stores furthest from your working address. This is where your store visit will start first and move to the closest store to your working address.

The visit duration will also calculate how many stores you can visit in one day, based on your working hours.
Step 7: In the ‘Schedule’ tab’, you can select your weekly cycle and whether you want this unique visit task to run every week/biweekly or every four weeks (once a month).
Select the day or multiple days of the week that you want this task to run as well as the frequency.
For example, John needs to visit Store A, every week, on a monthly basis (frequency = 4).

Step 8: Identify and select the Minimum and Maximum store visits that can take place in a day. For example, if you have to visit 8 stores in a week and only do store visits for 2 days of the week you will have to select more than 4 stores to visit per day. If any less is selected the schedule will not be saved.
The ‘Maximum Store Visits Per Day’ will enable you to do more than the ‘Minimum Store Visits Per Day’ if there is time left. For example, if you complete all your store visits before the end of the work day, you will be able to do more than the selected store visits that day.
Step 9: Once done, ‘Save Schedule’.
Once you’ve saved it, you can see all the schedules that you’ve created.
Step 10: Click on ‘Run Now’ if you’d like to run it now. The system will create the task for the merchandiser under the ‘Task’ section, as well as on the mobile application so that they can conveniently start the visit.

You will receive a notification to ‘Execute Schedule’ and you can select ‘Yes’ to start the Schedule.

The ‘Smart Schedule’ will create a task for you in Activ8 for each store visits that will take place that day.
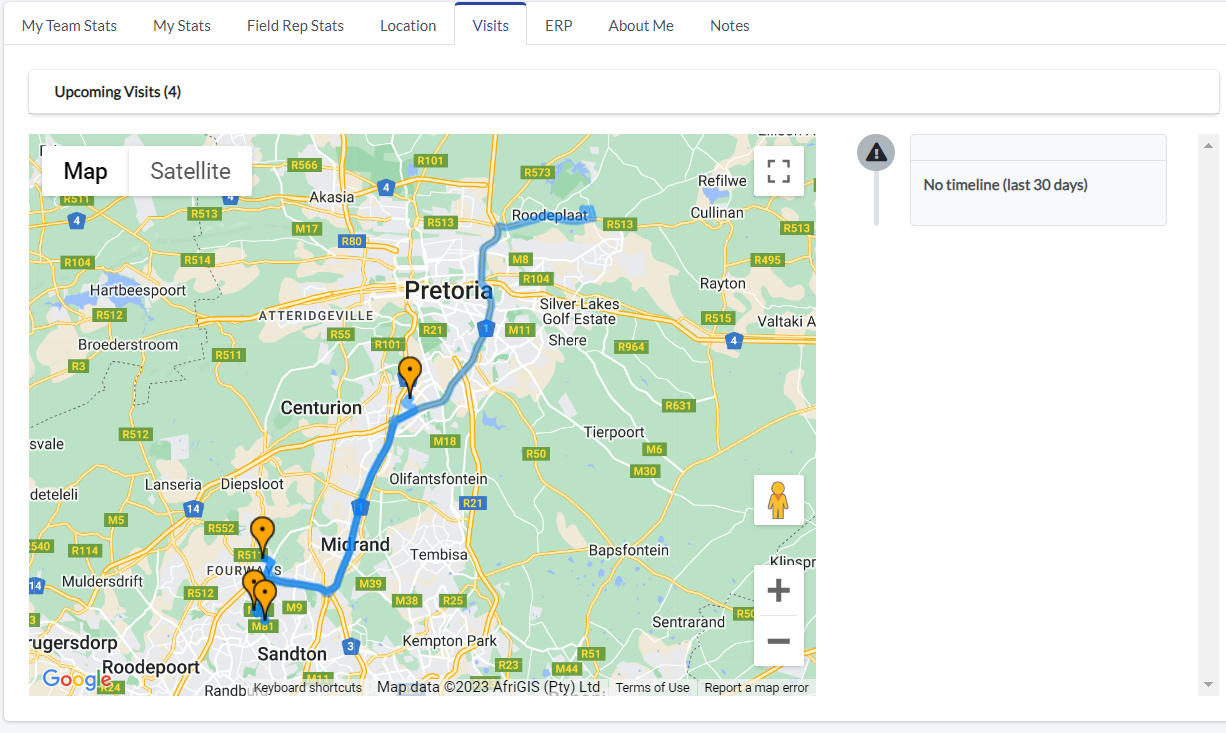
Your ‘Visits’ tab in your Activ8 will also update with the visits that needs to take place that day. All the visits that did not take place, yet, will have an orange location symbol and the symbol colour will change to green once the visits are completed.
Mobile Application
Once all steps have been completed on the Activ8 Software, head to the Activ8 Mobile App.
Step 1: Visits
Tap on the visits tab. In the schedule section, lists all the stores to visit for the day along with the information and start option. The Mobile Application will enable you to ‘Start Visit’ once you are at the location.

Step 2: Complete the questionnaire and visit
The mobile app will automatically check you in via the geo-tagging function. You can also complete the questionnaire on-site and complete the visit once you are done. In addition, an email will be sent with a link to a survey for the primary contact of the store to complete.
Step 3: Suggested Visits
Once all your visits are completed, you will receive the ‘Suggested Visits’ notification on Activ8 or the Mobile App. This depends on whether you are on Activ8 or the Mobile App (See below respectively).


This enables you to select more stores to visit that day. If you decide to do more visits, you can select the store to visit and select ‘Accept and Close’ on Activ8 or ‘Accept’ on the Mobile App.
If you do not want to do any more store visits you can just select ‘Accept and Close’ on Activ8 without selecting a store or ‘Dismiss’ on the Mobile App.
Step 4: Additional store visits
If more stores were selected to visit that day, the tasks to visit the store will be created and the next store visits will be added to your ‘Visits’ tab. In the tab, both ‘Upcoming’ and ‘Scheduling’ to view the store and start visits for the day respectively.
If the steps listed in this article do not work for you, please log a ticket for our IT Support team who is always willing to assist.