The purpose of this article is to explain the various packing options you have when unpacking and positioning products on a shelf and also includes a section on how to set the number of product facings.
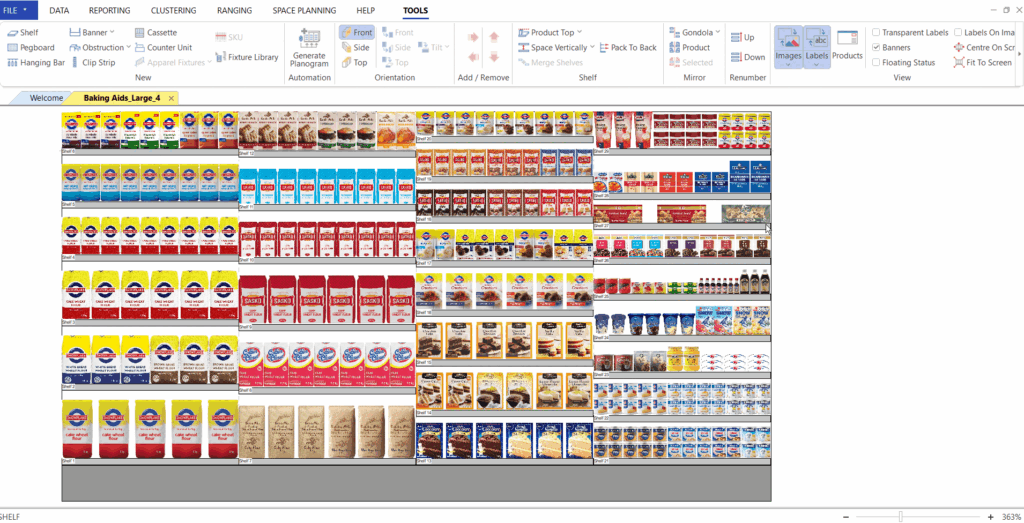
Pack Left or Pack Right
The ‘Pack Left’ option will pack all the items to the left-hand side of the shelf. You can set the shelf to ‘Pack Left’ before it has any products on it to ensure that the products pack to the left when adding them to the shelf.
Please note that the shelf can also be set to ‘Pack Left’ if the existing products on the shelf are not merchandised as such.
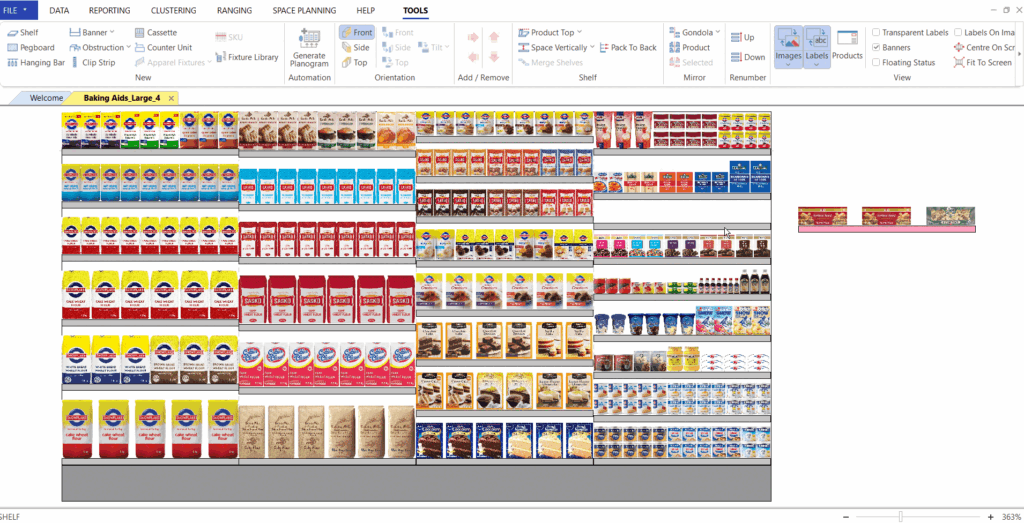
Similar to the ‘Pack Left’ option, the ‘Pack Right’’ option will pack all the items to the right-hand side of the shelf. You can also set the shelf to ‘Pack Right’ before it has any products on it to ensure that the products pack to the right when adding them to the shelf.
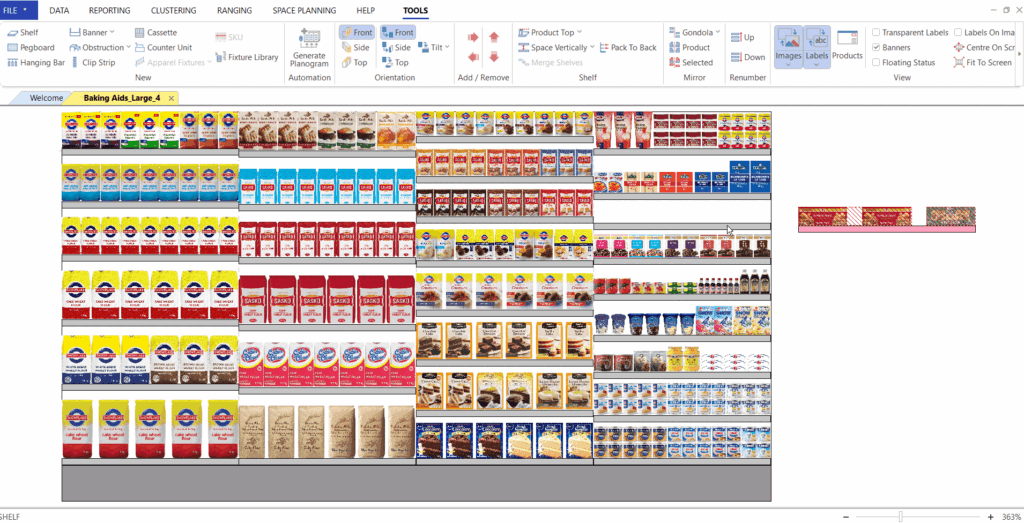
Pack Evenly vs Pack Evenly (Facings)
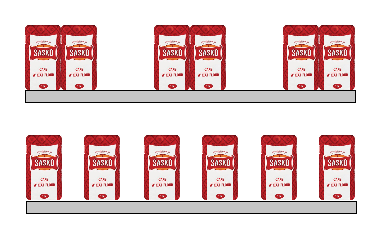
‘Pack Evenly’ refers to products being spread evenly across a shelf, where separate SKUs with multiple facings are grouped together respectively and then spread evenly across the shelf (see the example directly below on the left).
In contrast, ‘Pack Evenly (Facings)’ refers to all products (regardless of their number of facings) being spread evenly across the shelf (see the example directly below on the right).
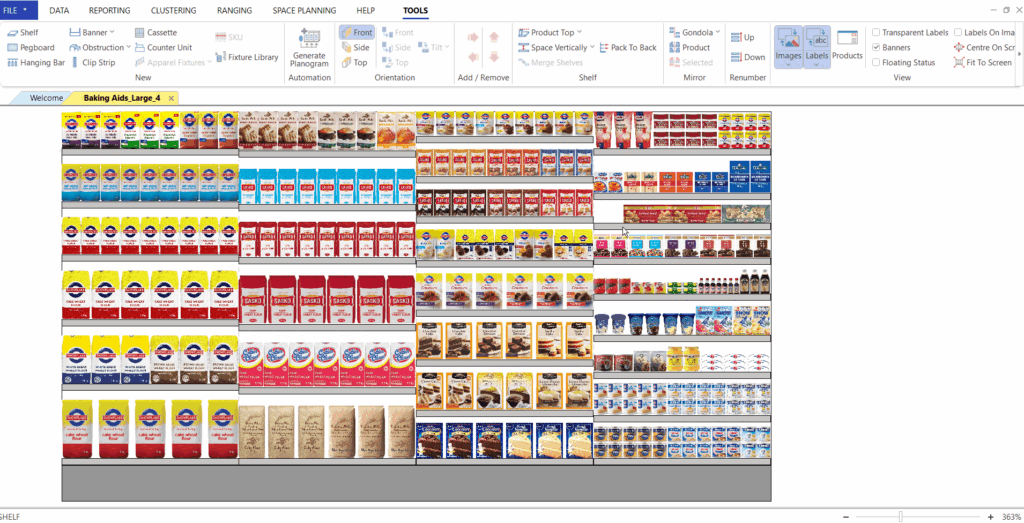
Please note that SKU stands for Stock Keeping Unit and refers to a single product with a unique scanner code.
Take note of the example below, where the ‘Pack Evenly’ option can also be applied to a shelf that only has one SKU with multiple facings (see image on the left). The trick, in this case, is to add the product to the shelf multiple times and increase the facings of each to how you want to group them (as opposed to adding the product to the shelf once and then increasing the number of facings).
Pack Manually
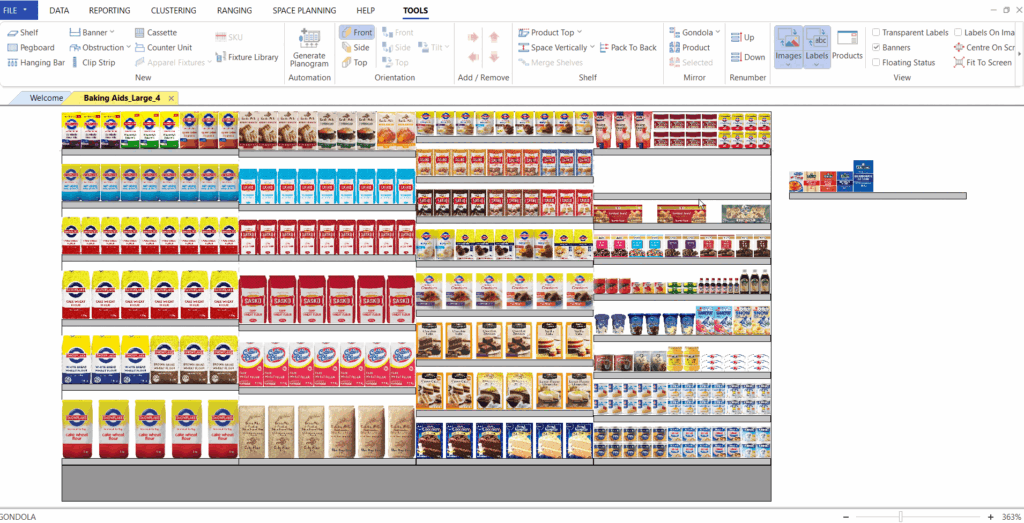
The ‘Pack Manually’ option will pack all the items exactly where you place them on the shelf (see the image below). This option is also useful if you want to stack different items on top of each other (although this is not recommended).
How To Set The Number Of Product Facings
When packing your products on a shelf you can set the number of front facings of the product in different ways.
Increase or decrease facings by selecting the product on your planogram and use the red arrows in the toolbar to increase or decrease the number of facings of the selected product. Please see the GIF below on how to do this.
Another way to set the number of product facings is to double-click on a product to open the ‘Product Properties’ window. Navigate to the ‘Product Attributes’ tab in the left-hand pane. Here you will be able to set various specifications relating to the facings of that product, as seen in the GIF below.
A shortcut to set the number of front facings of a product is to select the product on your planogram and then press the number key of the front facings that you want to set. This will increase or decrease the number of x facings accordingly.
Stacking a product above or below a front-facing product in a different orientation refers to a product cap. This way of shelf packing carries benefits such as increased Days of Supply and better optimization of the available shelf space. To learn more about product caps, their benefits, and how to set them up. Refer to this article linked here.
How To Pack Products Behind Each Other
When merchandising products, often certain products are placed behind one another when you would like the products to be orientated to the front, for customers to see the full product. In the example below, we have used baking products. However, the same steps can be followed for any other product, for instance, clothing that is merchandised on a hanging bar.
The first step would be to pack the shelf or fixture manually. Then, you start by placing your products on the shelf at your desired location. If you have several products to place on the shelf, start by packing the products to the left.
To be as precise as possible when placing the smaller sizes on top of the larger sizes to not let the larger sizes protrude on the sides, copy the already placed products’ X position, place the smaller size onto the shelf and then paste the X position in.
You can also move the selected product to the front or back by using the ‘Change Z Position’ option.
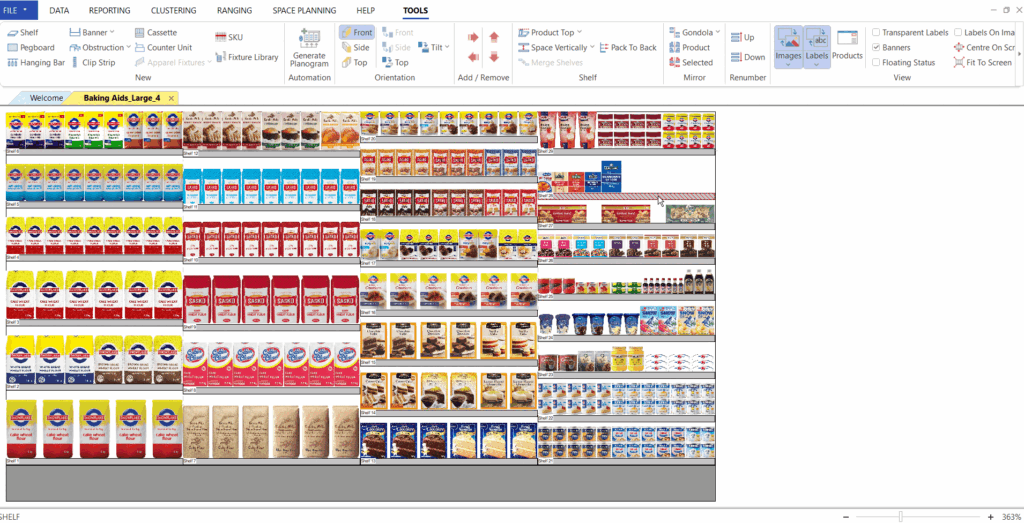
If it is requested that the products be placed on side facings, pack the products to the left, and select the side-facing tab on the orientation section. Space the products evenly and add facings as needed.
Should the above steps not work for you, please create a support ticket and the DotActiv support team will assist you in uncovering the issue.
Additionally, you can also refer to this article for more information on packing products on shelves.
