The purpose of this article is to offer you a clear step-by-step process to add text and tables to a report template while working with the DotActiv software. We also explain how you can customise the text and tables that you’ve added to your report template.
Adding Text
After opening DotActiv, ensure you are in the ‘Reporting’ tab.
Once there, navigate to the ‘Advanced’ section and click on the drop-down arrow next to ‘Custom Report’. Select ‘Report Builder’.
The ‘Custom Report Builder – Templates’ window appears. Here, you can either choose an existing template or create a new one.
After selecting your chosen report, you’re taken to your report. On the left, you’ll find a dockable window labelled ‘Objects’. From here, you can select ‘Text’ and then click on your report.
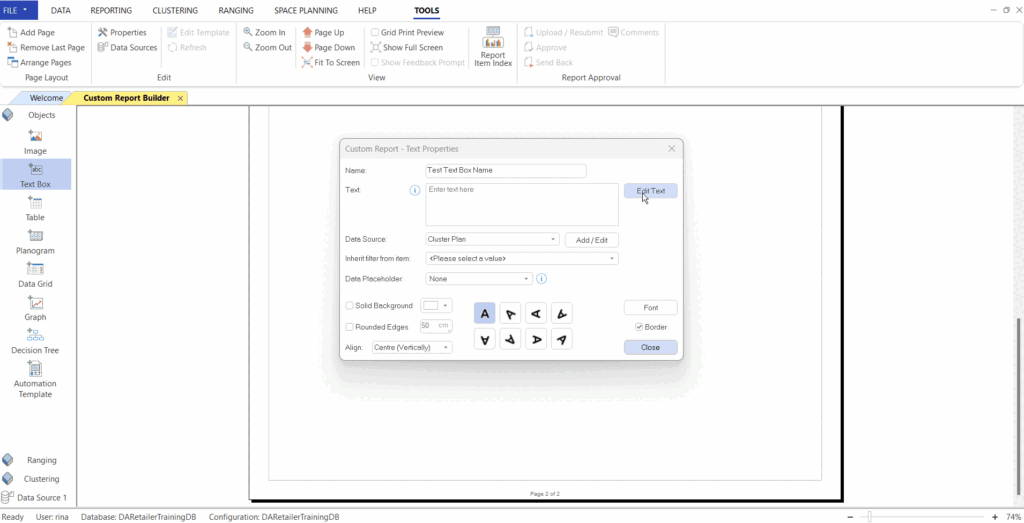
Doing so brings up a ‘Custom Report – Text Properties’ window as seen below.

First, give it a name.
Below that, you can either choose to manually add text and select a data source or you can choose to select a ‘Data Placeholder’. You will notice that the option to manually add text and select a data source will automatically be greyed out once you select a ‘Data Placeholder’.

Thereafter, you will be able to align the text, change the font and include a border.
Additionally, you can also link a data field to a text box to pull through specific information from the data source.
Customising Text
If you want to customise the text after inserting it, double-click on the text to reopen the ‘Custom Report – Text Properties’ window. Make the changes and click ‘OK’.
Once you’ve placed in your text, you can look at adding the next object and the next until you’ve built your report.
Adding Tables
After opening DotActiv, ensure you are in the ‘Reporting’ tab.
Once there, navigate to the ‘Advanced’ section and click on the drop-down arrow next to ‘Custom Report’. Select ‘Report Builder’.
The ‘Custom Report Builder – Templates’ window appears. Here, you can either choose an existing template or create a new one.
After selecting your chosen report, you’re taken to your report. On the left, you’ll find a dockable window labelled ‘Objects’. From here, you can select ‘Table’ and then click on your report.
Doing so brings up a ‘Custom Report – Table Properties’ window as seen below.

First, give it a name.
You will also be able to change the font of the entire table by selecting the ‘font’ button. The following popup will appear where you can select the type of font, font style, size, effect and script.

After setting up the font you can customise the rest of the table by manually adding to the column and row count. You can also select the grid line type and include a border.
Customising Tables
If you want to customise the table after inserting it, double-click on a blank space just outside the table to reopen the ‘Custom Report – Table Properties’ window. Make the changes and click ‘OK’.
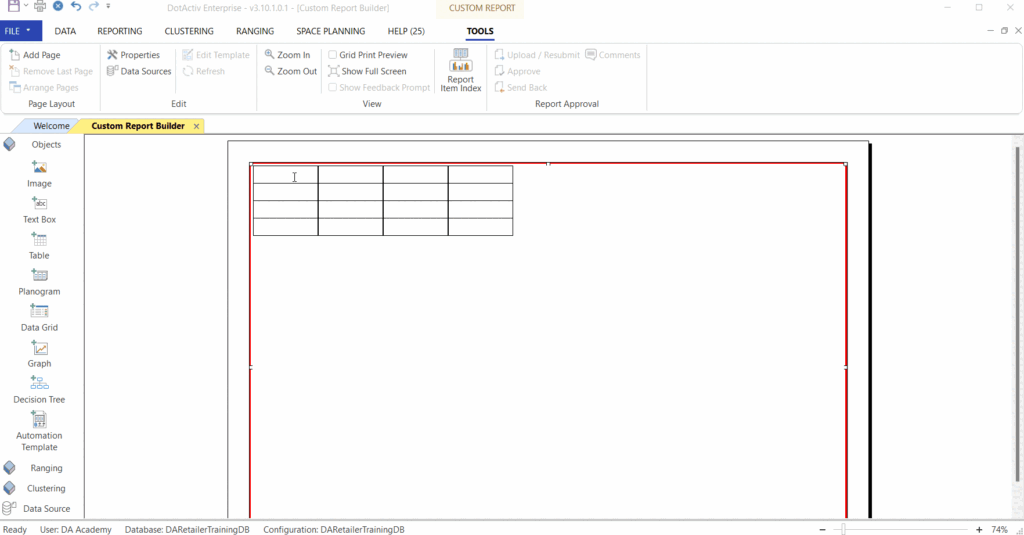
You can now also customise the text within the table by left-clicking on the specific table cell and selecting either “Column Settings” to customise the text within that specific column as seen below:
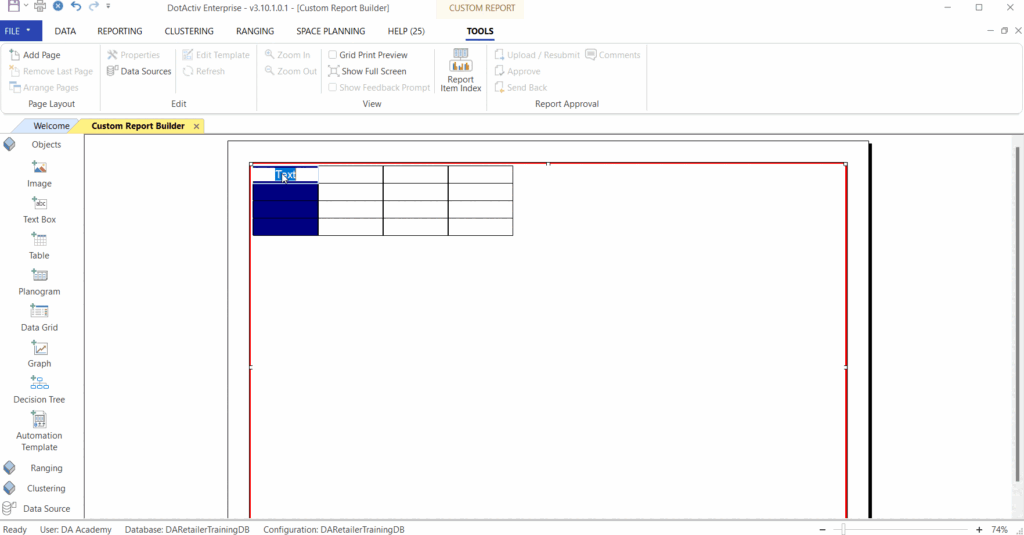
You can also select the “Row Settings” to customise the text within that specific row, as seen below. You can change the text colour, background colour, and lines and make the font bold.
Linking A Data Source To Cells
You can link a data source to a table’s cell which will enable you to pull information from a field in your data source directly to a cell. This can be done by right-clicking on the cell in which you want to add the specific data from the data source. Then you select ‘edit’ as shown below.
To pull data through to a specific cell you will need to link a data source as seen below.

Make sure that you have a data source added to the table to see the fields that can be selected to pull into the cell.
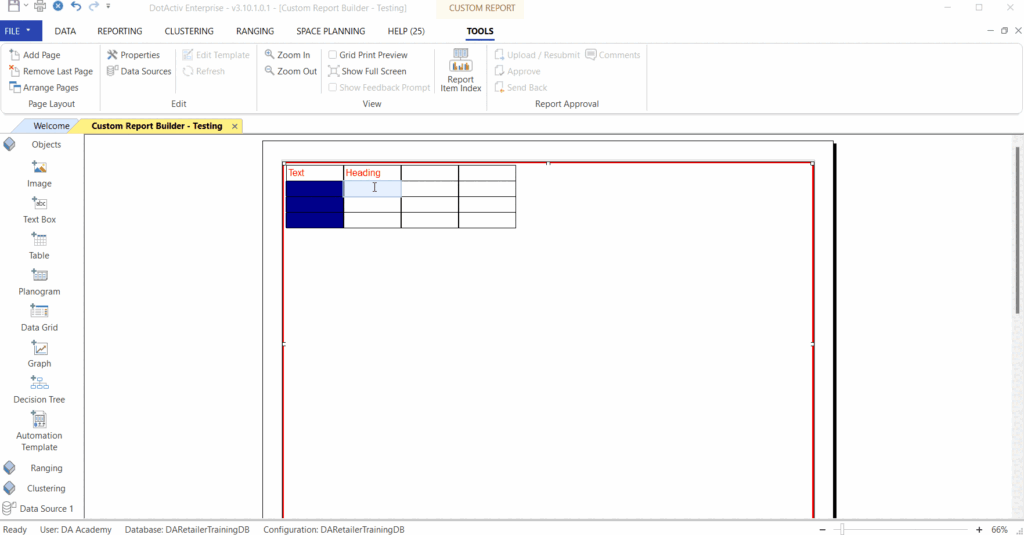
As you can see in the gif above you have several fields that can be pulled into a cell. Select the field you want to pull into the cell and remember to select ‘Add’.
After adding the fields you want to pull through, you can save the template and open the report to ‘create report’. Your selected field should be pulled through the cell in your table.
