The purpose of this article is to unpack how to view all category or cluster combinations and update your database with the descriptions of these categories. To do so, you will be making use of the ‘Cluster Descriptions’ feature within the DotActiv software.
You will be able to view the relevant descriptions and make updates within the Cluster Maintenance feature. This view will refresh with new clusters if they are added to the cluster grid so that new descriptions can be added for new clusters immediately.
The ‘Cluster Descriptions’ feature can be explained as a text box that enables the user to add information to each cluster.
Let’s use three clusters with the naming convention of CLUSTER A, CLUSTER B and CLUSTER C for the following example. The ‘Cluster Descriptions’ will allow for further context of what differentiates each of these three clusters. For example, indicating that CLUSTER A is for Premium, CLUSTER B is for Standard and CLUSTER C is for Economy.
There are two ways in which an individual can add descriptions to clusters:
- Firstly, through the Cluster Description view, which can be found in the Cluster Maintenance drop-down menu. This gives an independent view of all category or cluster combinations with any current descriptions in the database. The user can select which Clusters they would like to add descriptions to.
- The second way is through the process of Cluster Maintenance for a specific category. Within the process of Cluster Maintenance, the user can make changes to the Clusters, such as changing the Cluster name, the NODs and adding or changing the Cluster Description and updating the database.
Please note that making changes to the Cluster Descriptions using either option will result in the changes being applied in both views (the Cluster Description found in the drop-down and the Cluster Description in the Cluster Maintenance process).
Adding Cluster Descriptions through the Cluster Maintenance Drop-Down
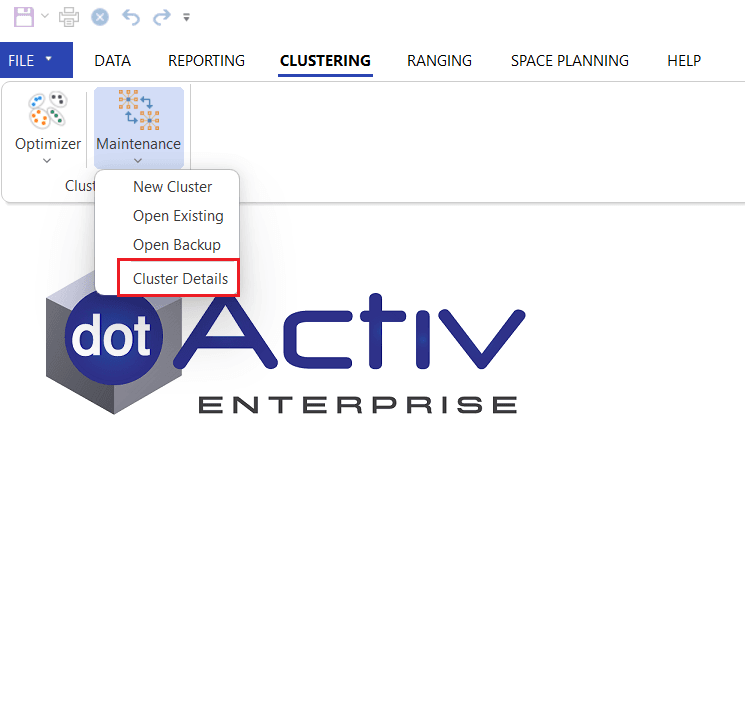
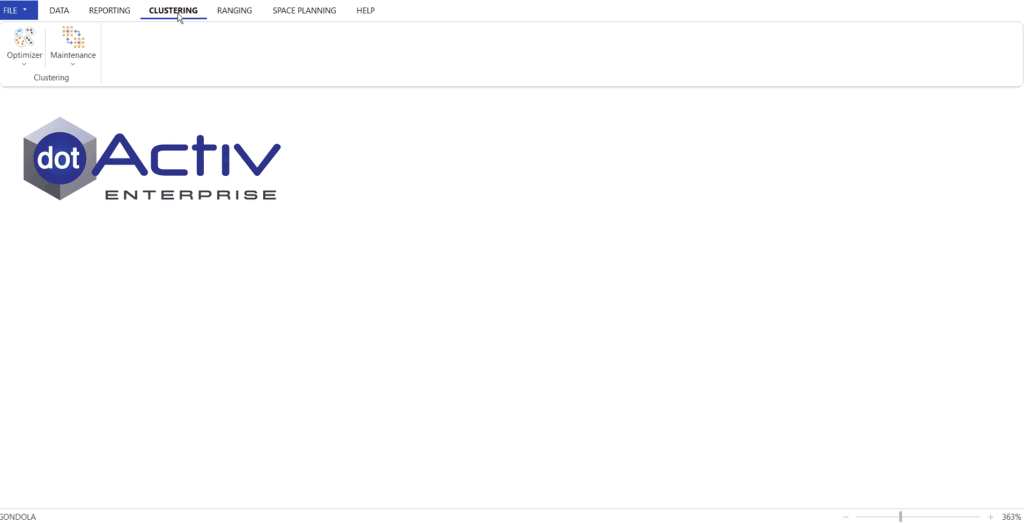
Navigate to the Clustering tab and select the Maintenance option. In the drop-down menu, the ‘Cluster Descriptions’ option will be displayed.
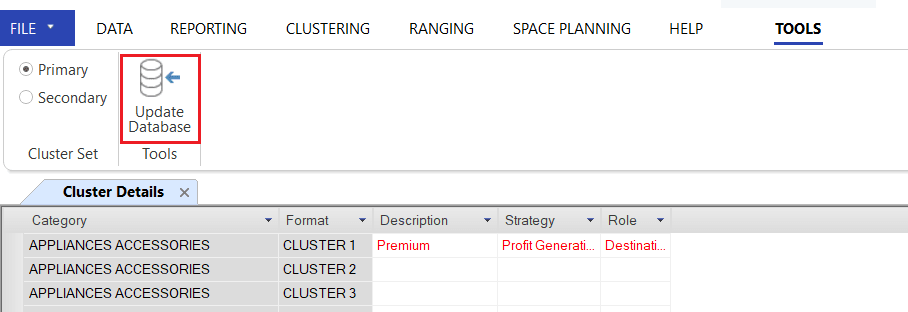
Once the ‘Cluster Descriptions’ option is available, click on it and then the ‘Cluster Descriptions’ tab will open where all the available category or cluster combinations within that database will be displayed. Scroll down to the relevant cluster and double-click on the white box within the ‘Description’ column. Enter the description that you would like to add for that category. The newly added or changed information will be displayed in red, as seen in the gif below.
Once the relevant changes have been made, navigate to the top left corner and click on ‘Update Database’ to save the Cluster Description changes to the database.
To view the new changes, close the ‘Cluster Descriptions’ tab and reopen it and the changes made will reflect accordingly.
Adding Cluster Descriptions through Cluster Maintenance for a Specific Category
This feature can be used through an existing Cluster Plan or when creating a new Cluster Plan. Learn how to set each of the aforementioned clusters (existing and new) by following the steps listed in this article here.
For the purpose of this article, setting up a new Cluster Plan will be used as an example to guide the reader through each individual step of using the Cluster Descriptions software feature.
Click on the ‘Cluster Maintenance’ icon, and a pop-up window for Cluster Maintenance will be displayed where the category or categories for the cluster can be selected.
Please note that you will need to click on the Cluster Maintenance icon and not the drop-down menu.
Navigate to the ‘Category Selection’ section found at the bottom of the window. Click on the drop-down next to ‘Merchandise Group’, and options of all the available Merchandise Groups will be displayed. Tick the ‘All Items’ box to allow the software to give you options to choose from all the Merchandise Groups available in your database.
You can now select the category for Cluster Maintenance as listed on the right-hand side of the window. Once the category is selected, click on ‘Run’ at the bottom right of the pop-up window.
Once you click on ‘Run’, the ‘Cluster Maintenance’ tab will open where you can see the different stores, the cluster it falls under and the NOD for each cluster. Changes can be made to the clusters and NODs within this tab. Any changes made will be displayed in red.
To the top of the screen, under ‘Tools’, you will find the option to click on ‘Cluster Descriptions’.
Once you click on ‘Cluster Descriptions’, a panel will appear on the right side of the ‘Cluster Maintenance’ tab. This panel will enable you to add and make changes to the Cluster Descriptions for the relevant clusters for that category. The panel will display the category, clusters and their cluster descriptions.
You can also add clusters by changing the cluster name and adding a store to that cluster in the cluster grid situated to the left of the tab. Once you have done so, that cluster will appear in the Cluster Descriptions panel situated to the right.
In the example below, we have added the store name ‘George’ to a new cluster (Cluster E), which you can now see within the panel to the right.
Once the Cluster Descriptions have been added or changed on the Cluster Descriptions panel, navigate to the top of the screen. In the ‘Tools’ tab, click on ‘Save Cluster’, and name the cluster according to the DotActiv naming convention. Once the cluster has been saved, click on ‘Update DB’.
After clicking on ‘Update DB’, a pop-up window will appear, highlighting all the changes that have been made in red.
To view the changes, close the tab and click on the drop-down on “Cluster Maintenance’. From the drop-down menu select ‘Cluster Descriptions’ option and navigate to the category where the cluster changes were made. The changes made will reflect under ‘Cluster Descriptions’.
The example below shows that changes were made in the Cluster Plan by adding a ‘Cluster E’ with the description ‘E Test’, and these changes are reflected under ‘Cluster Descriptions’.
If the steps listed in this article do not work for you, please log a ticket for our IT Support team who is always willing to assist.