The purpose of this article is to explain how you can log an expense claim within the Activ8 software, be that via the desktop application or the mobile app. We also explain why you might be unable to log an expense claim.
Logging An Expense Claim (Desktop)
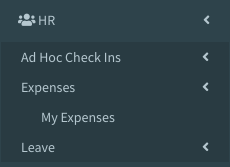
After opening Activ8, navigate to ‘HR’ in the left-hand panel. From the drop-down menu, select ‘My Expenses’.
Clicking on ‘My Expenses’ takes you to a ‘My Expenses’ webpage where you can click on the following button:

After clicking on the ‘New Expense Claim’ button, you’ll find two options in the drop-down menu next to ‘Expense Type’.
- Travel; and
- Other.
Logging Travel Expenses
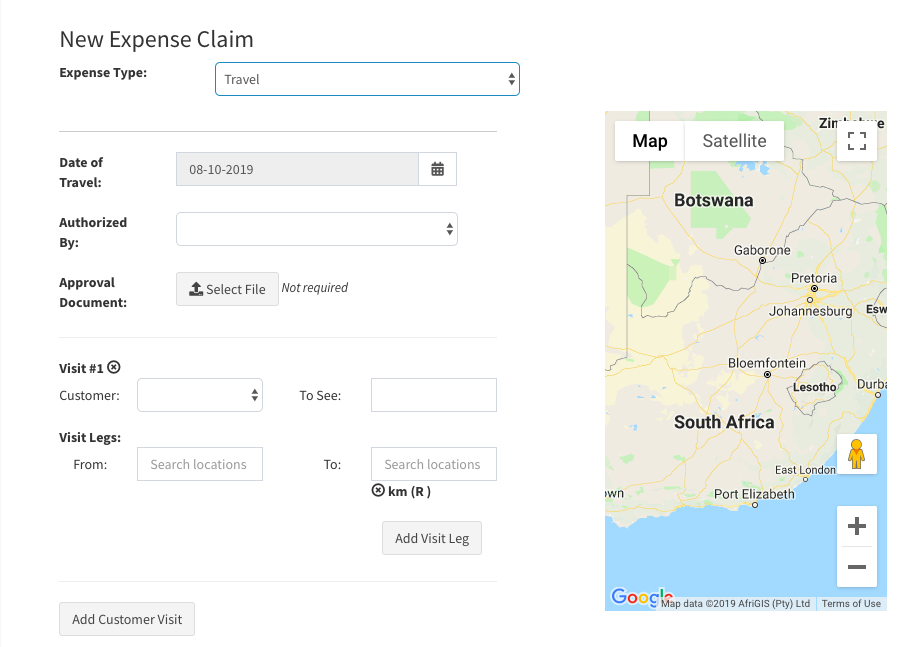
After selecting ‘Travel’ from the drop-down menu, you need to include all the necessary information. That includes:
- Date of Travel;
- Authorized By;
- Approval Document;
- Visit #1;
- Visit Legs; and
- Customer Visits (where necessary).
Finally, select ‘Submit Expense’.
Logging Other Expenses

After selecting ‘Other’ from the drop-down menu, you need to include all the necessary information. That includes:
- Date of Purchase;
- Customer;
- Proof of Purchase;
- Description;
- Value; and
- Authorized By.
Finally, select ‘Submit Expense’.
Logging An Expense Claim (Mobile)
After logging into the Activ8 mobile app, click on the three lines to the left of the Activ8 logo to open a left-hand panel.
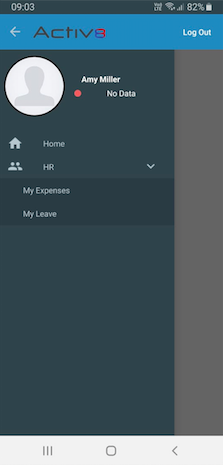
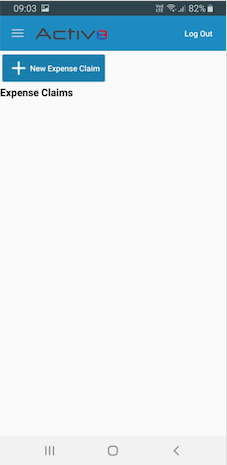
Next, find ‘HR’ in the left-hand panel and click on ‘My Expenses’. From there, click on the blue ‘+New Expense Claim’ button.
Include all the necessary information as you would if you log an expense claim on desktop.
I Am Unable To Log An Expense Claim
When logging any expense claim in Activ8, it is important that you fill out all the necessary information. If you fail to include all the required information, Activ8 will prevent you from submitting the expense.
To help you understand which fields to fill in, click on ‘Submit Expense’ A red box will appear around the fields where you need to add information.

Once you have filled in all the necessary information, click the ‘Submit Expense’ button again. The claim will be sent to the authorised user who can either approve or decline your application.