This article will help guide you on how to install and configure the DotActiv Import Utility so that you can start integrating data into the DotActiv environment. It will cover the basic installation and configuration of the utility.
What Is The Import Utility?
The DotActiv Import Utility is used to process data from either CSV files or SQL staging tables into the DotActiv Database structure. It is also used to process planogram data into the DotActiv database to transmit the information to Activ8, so that space plans can be communicated to stores to be implemented accurately.
To get started, you will need the installer for the latest version of the Import Utility
Run the installer once it has downloaded. This will install and register the utility as a service on your machine. You may need to wait a couple of seconds for the service to start up.
Once the service is running, you can open a new tab in your web browser and navigate to localhost:5000. This is front-end section of the Import Utility.
The Utility’s Connection
Now we can configure the utility’s connection to point to the database that contains the utility’s database.
Whenever the connection details have been changed, it is recommended to restart the service so that the new details can take full effect throughout the application.
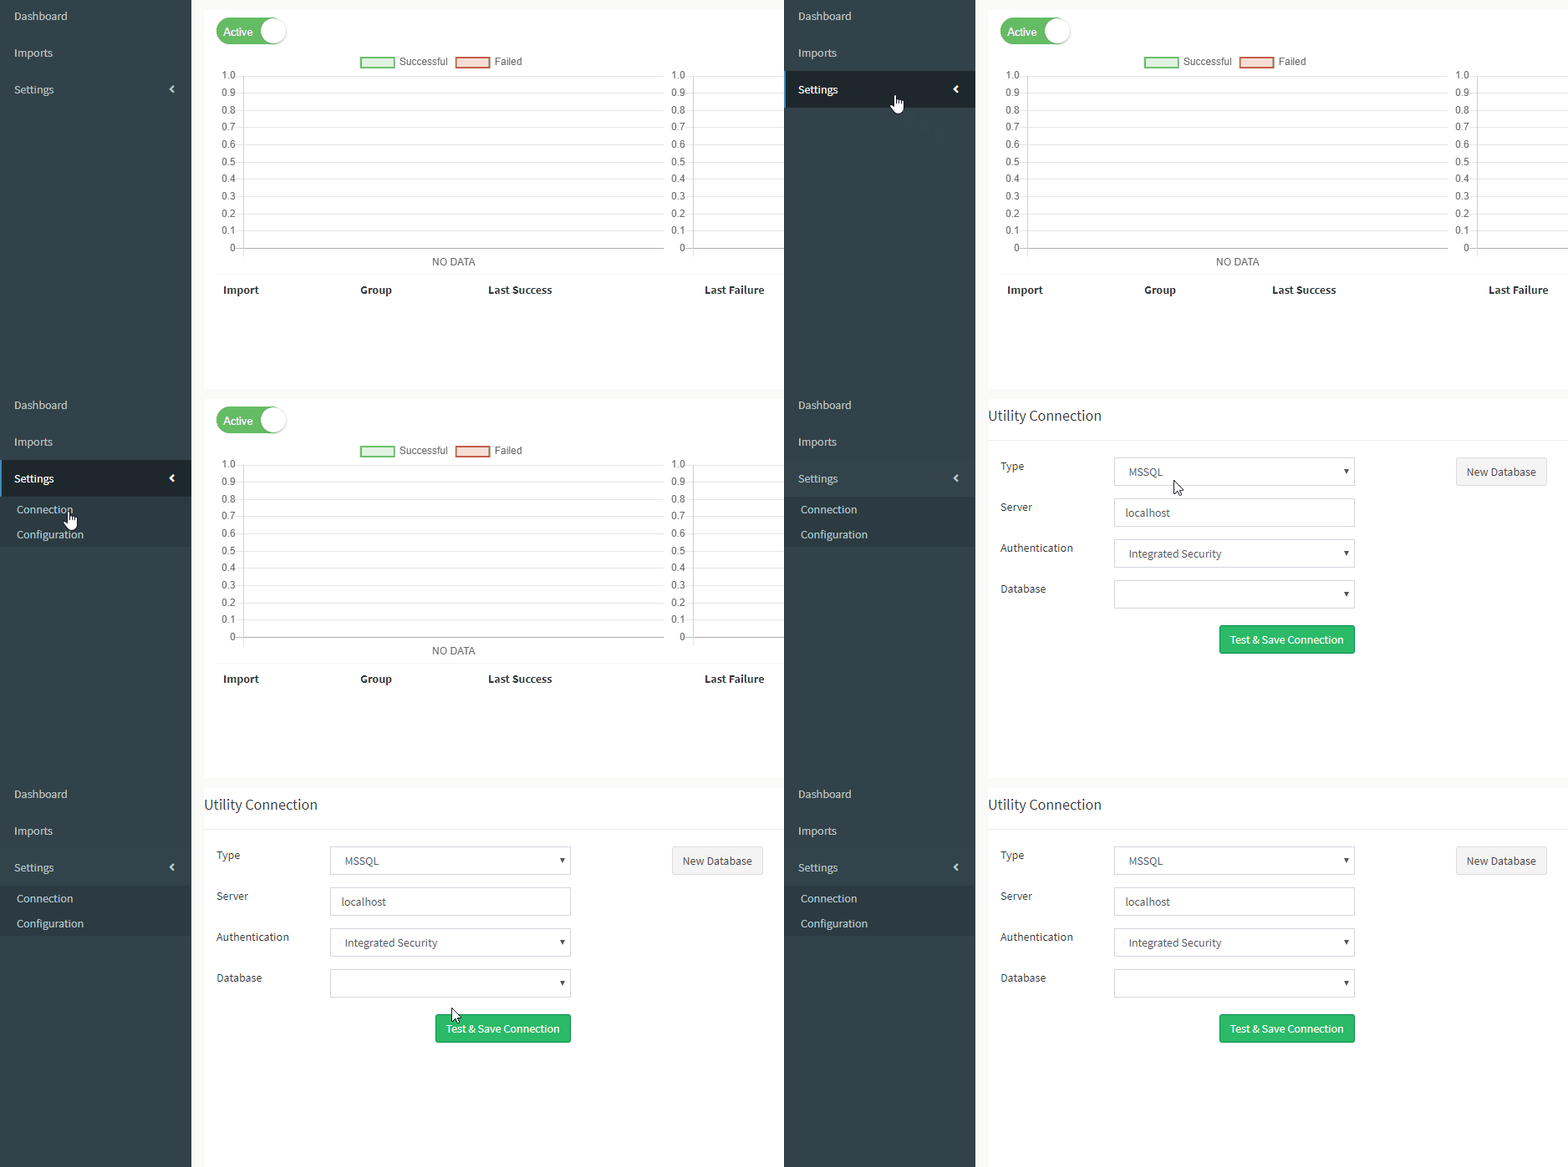
Navigate to the ‘Connection’ option under ‘Settings’, where you will see some ‘Default Connection Details’. These can be changed.

Creating A New Database Instance
If this is a new installation, you can create a new database for the utility by clicking ‘New Database’.
Here, you can specify a type of either MSSQL or PostgreSQL, the connection details for the server on which to create the database, and the name of the database to create.
If the database already exists, the tables are created alongside any existing tables.
Once you are happy with the connection details, there is a final checkable option – “Use As Utility’s Connection”. If the creation of the database instance is successful, it will be used as the connection details for the utility.
Connecting To An Existing Database
If you want to connect to an existing database for the utility, you can enter the connection details and select the database from the dropdown.
The Utility’s Configuration
There are additional settings that can influence how the utility operates. These can be found in ‘Configuration’ under ‘Settings’ in the left-hand column.
Import Scheduler
Frequency: The interval at which the import scheduler runs to check if it should schedule any imports. This is measured in minutes.
Import Logs
Retention Period: The period of days that import logs are retained. Logs that fall outside this period are deleted.
Dashboard
Statistics Retention Period: The period of days that statistics from imports are retained. Statistics that fall outside this period are deleted.
Error Notifications
Notifications Enabled: Enables/disables error notifications from being sent. If notifications are enabled and SMTP server details have been supplied, error emails can be sent to the recipient emails if an import fails.
If notifications are enabled and a Company ID is provided, a support task will be logged on Activ8 if an import fails.
