The purpose of this article is to show you how you can add or remove product facings to a planogram within DotActiv software.
Adding and Removing Product Facings
To add or remove product facings, begin by selecting the product (or products) which facings you want to change.
You can make changes one of two ways:
- Add/Remove arrows: Use the arrows in the Add/Remove section under the ‘Tools’ tab to increase or decrease the facings of a product. You can also hold ‘Ctrl’ and the arrow keys to add or remove facings.

- Using your Keyboard: Select the product and then, using your keyboard, select the number of facings that you want your product to have on your planogram.
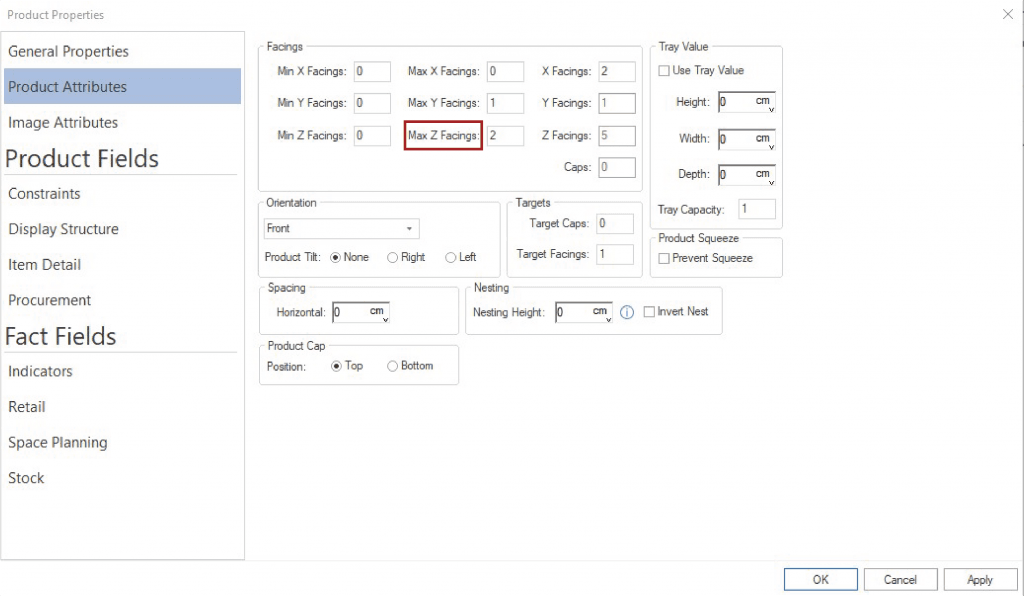
It’s important to note that you cannot manually set the number of facings deep of a product as this field is automatically calculated in the software. The software takes into account the dimensions of your gondola and will fill the available space.
You can limit the number of Facings Deep by setting the maximum Z facings as shown in the image below.
Should the above steps not work for you, please create a support ticket and DotActiv support will assist you in uncovering the issue.