The purpose of this article is to offer you a step-by-step process to both create and then use a stretch report in DotActiv software.
What Is The Stretch Report?
The Stretch Report stretches your planogram drop by drop. It is helpful for anyone who needs to implement a planogram in-store as it indicates the number of facings and days of supply of any product.
For each product on your planogram, you’ll see the following description:

‘4F’ indicates that you have given the product four facings. ‘4FH’ indicates that the product has four facings high. ’10DOS’ refers to your days of supply. In this case, its 10 days of supply.
Please note that with the Stretch Report, the correct dimensions and measurements for products are not used. It’s a basic layout of the drop and does not include supplier logos or images.
Viewing A Basic Stretch Report
After opening DotActiv, ensure you have your chosen planogram open. Next, go to the ‘Reporting’ tab and select ‘Stretch’ in the ‘Shelf Plan’ section.
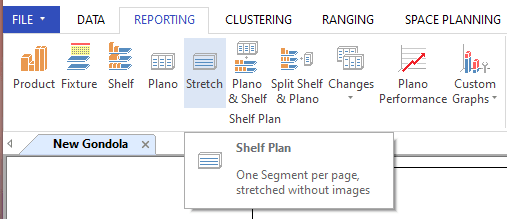
In selecting ‘Stretch’, your report will open. As seen below, you can view your planogram drop by drop.
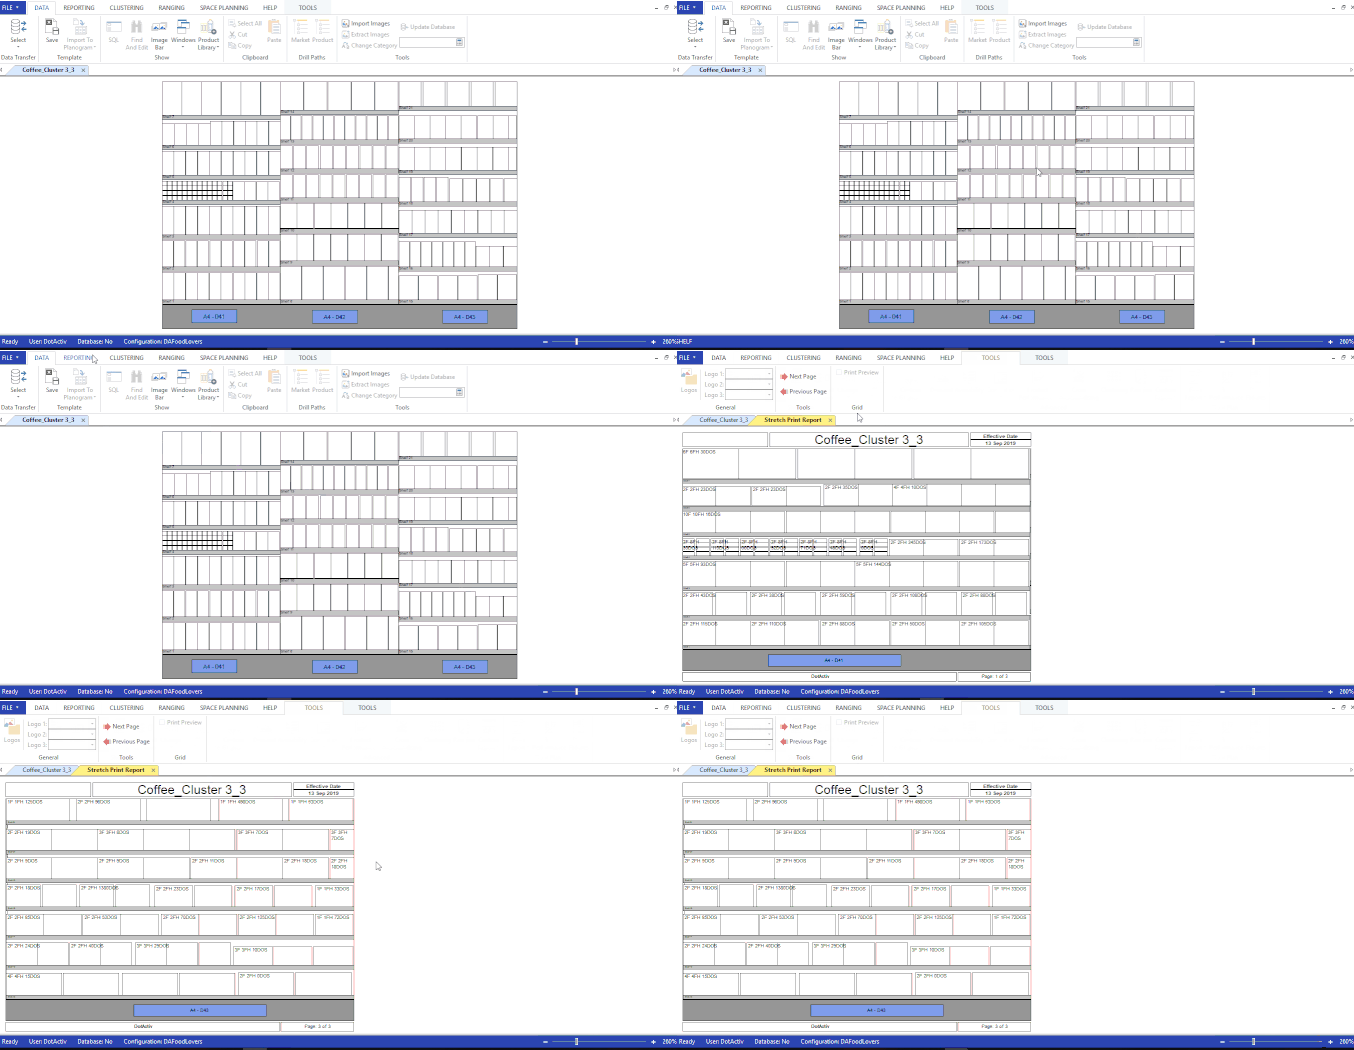
To move to the next drop, either click on the ‘Next Page’ or click beside the report.
Creating A Detailed Stretch Report
A detailed Stretch Report looks the same as the basic Stretch Report except for the inclusion of the Barcode and Product Description.

The above product does not have the ‘Facings High’ indicator as it is not stacked on top of each other.
To create a detailed Stretch Report, with your chosen planogram open, you need to first check that the formula is correctly allocated on your planogram.
[Product.Item Detail.Barcode] + “” + [Product.Item Detail.Product Description] +”” + Text([Fact.Space Planning.Actual Facings],0) + “F” + Text([Fact.Space Planning.Days Of Supply],0) + “DOS”
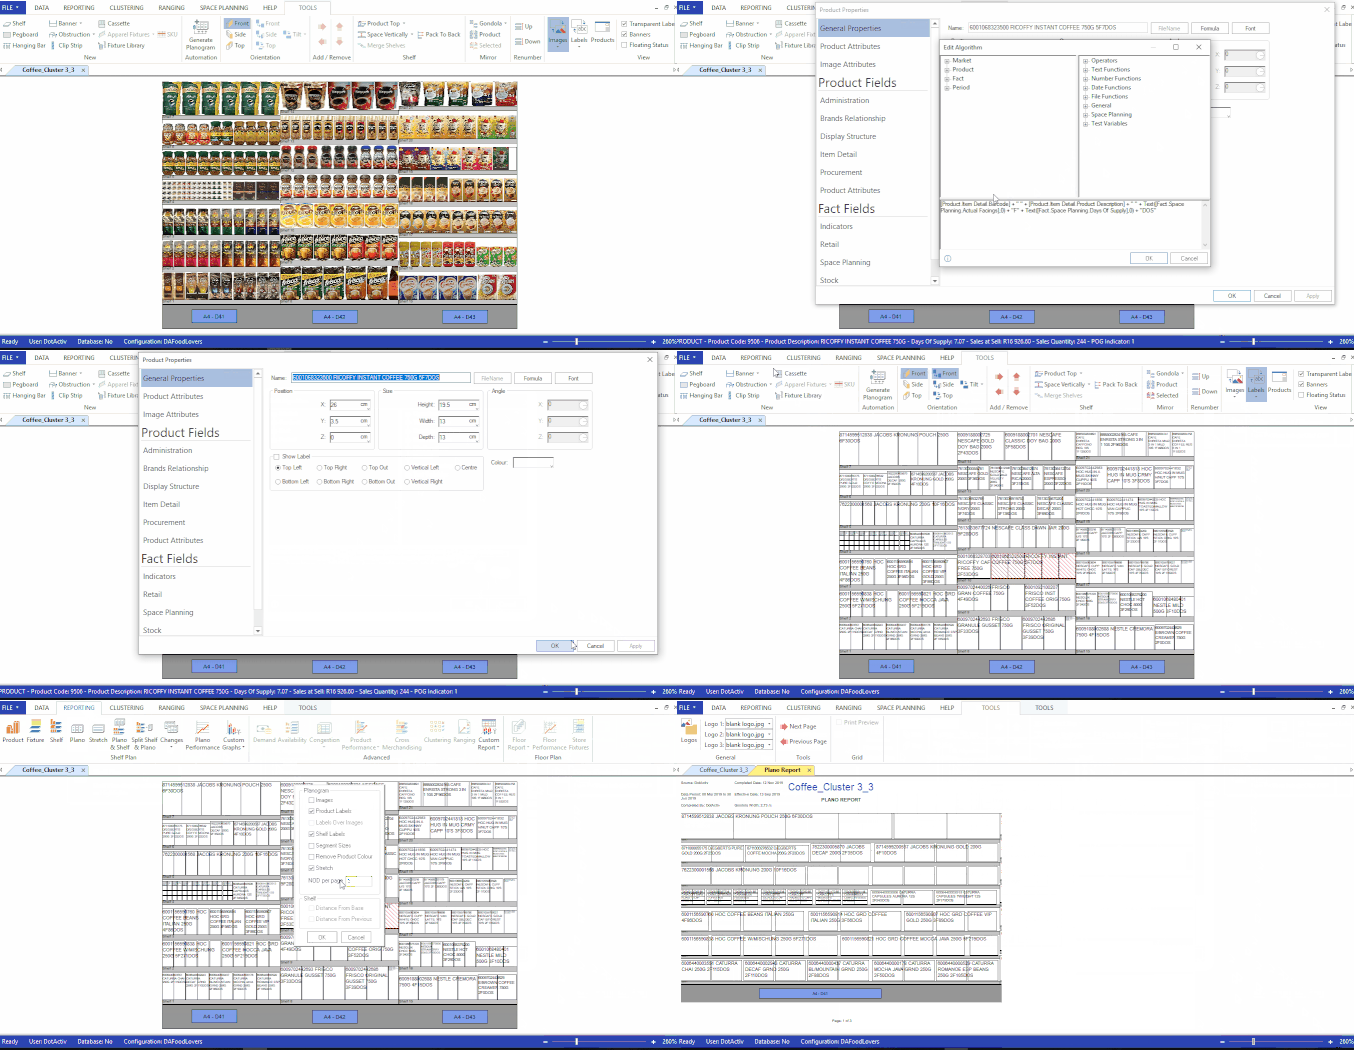
You would need to insert the above formula into the correct location. To do that, double-click on any product on your planogram to open the ‘Product Properties’ window.
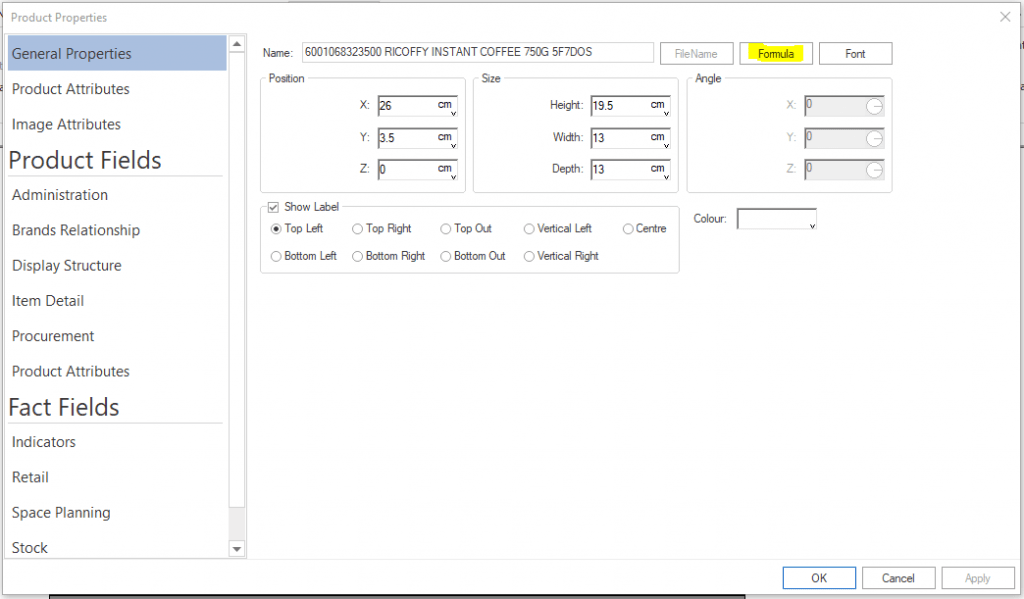
In the ‘Product Properties’ window, navigate to the ‘General Properties’ tab, find the ‘Formula’ option, as seen below, to open the ‘Edit Algorithm’ window.

Insert the formula into the open text box at the bottom of the ‘Edit Algorithm’ window and click ‘OK’ and then ‘Apply’ in the ‘Product Properties’ window.
To view the new information, switch off your images and switch on your product labels.
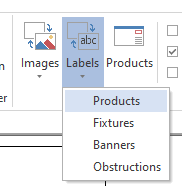
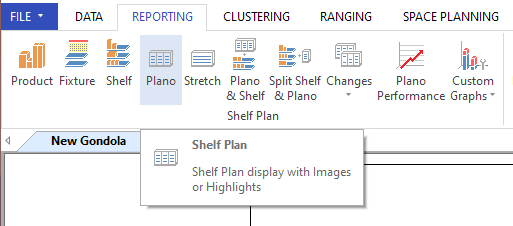
Next, go to the ‘Reporting’ tab and click on the ‘Plano’ icon in the ‘Shelf Plan’ section as seen below.
In the window that pops up, untick the ‘Images’ checkbox and tick the ‘Stretch’ checkbox. Make your NOD (Number of Drops) one per page. Once done, click ‘OK’ to open your report.
Changing Supplier or Retailer Logos On A Detail Stretch Report
If you want to change the supplier logo in your report, first, ensure that it is open.
In the ‘Plano Reports’ tab, you’ll find three logo options that you can edit.

Click on the drop-down menus to change your supplier logo. These logos should already be stored in the correct locations on your computer. You can also choose your retailer logos in the same way.
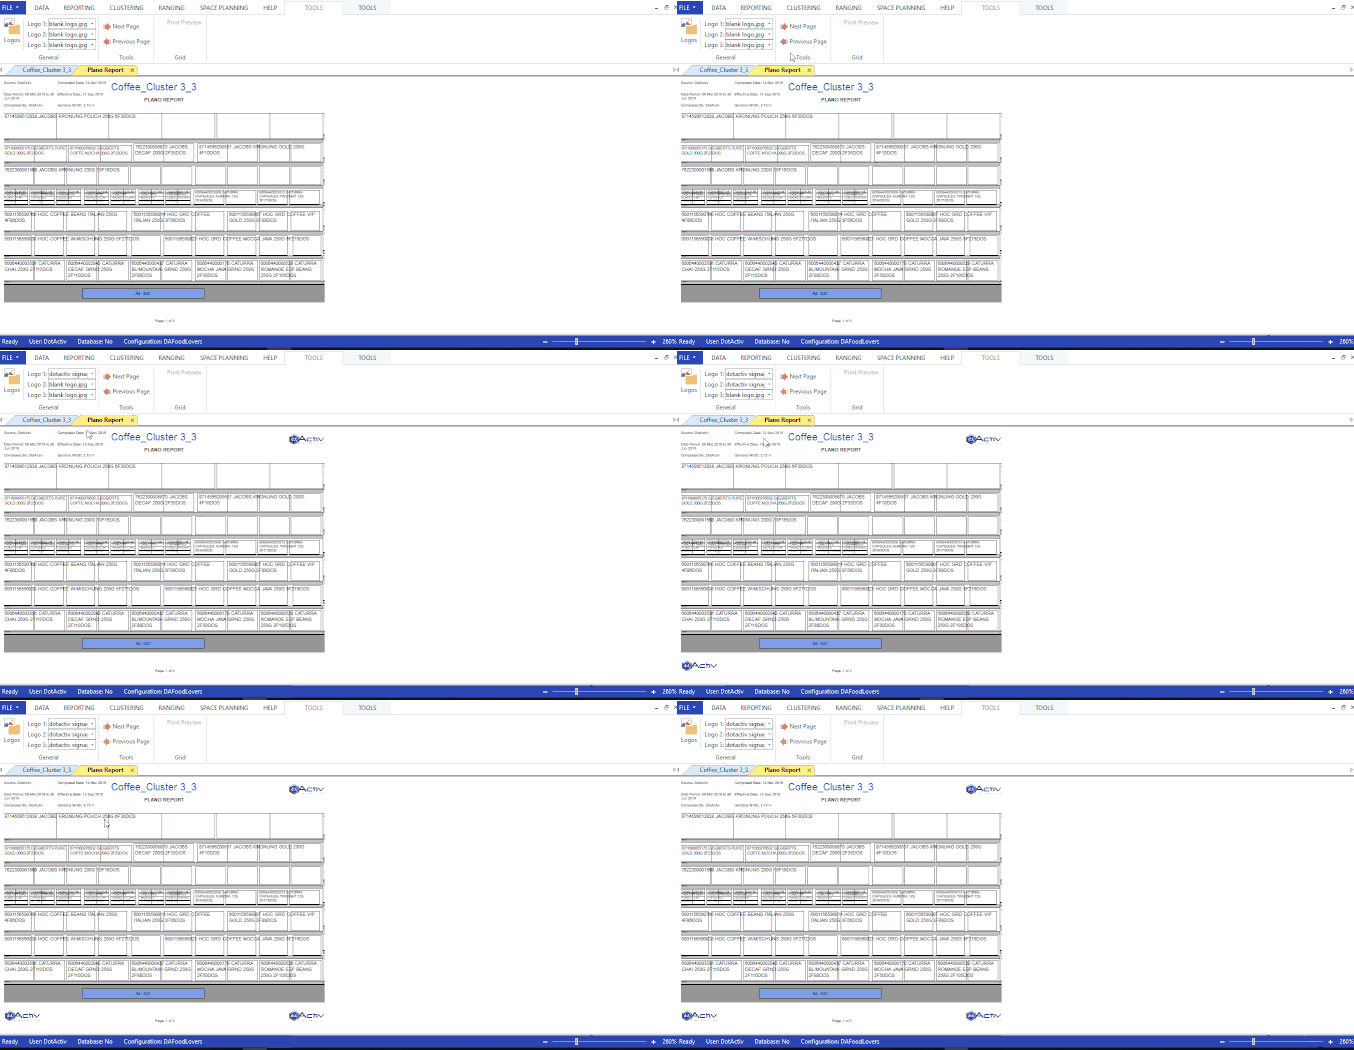
You can now print your report to PDF. Once you have printed the report to PDF, you will be able to view this document more closely by using the zoom function.
Should the above steps not work for you, please create a support ticket and DotActiv support will assist you in uncovering the issue.
