The Plano Report is a print-ready version of your open planogram. It generates an image of the planogram with or without images of the products. This article unpacks how to create this report.
Where To Find The Plano Report
In order to start creating the ‘Plano Report’, you first need to have a planogram open.
Once you have opened your planogram, you can navigate to the ‘Reporting’ tab in the DotActiv software. Next, you will find ‘Plano’ in the ‘Shelf Plan’ section. Click on the ‘Plano’ icon to start creating your ‘Plano Report’, as seen in the gif below.

After clicking on ‘Plano’, a small window will pop up where you can choose what you would like to include in your report. Besides each field, is a checkbox that you can tick if you would like to include it or leave unticked if you do not wish to include it.

Once you have ticked or unticked all the boxes, you can click on ‘OK’.
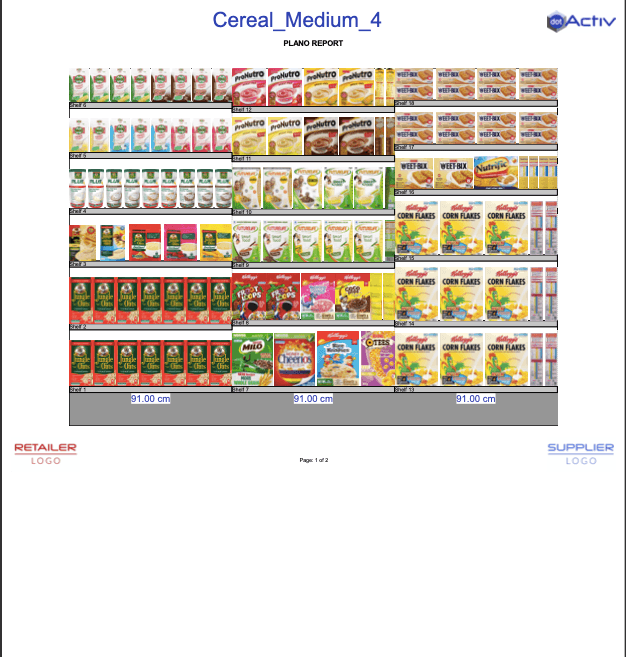
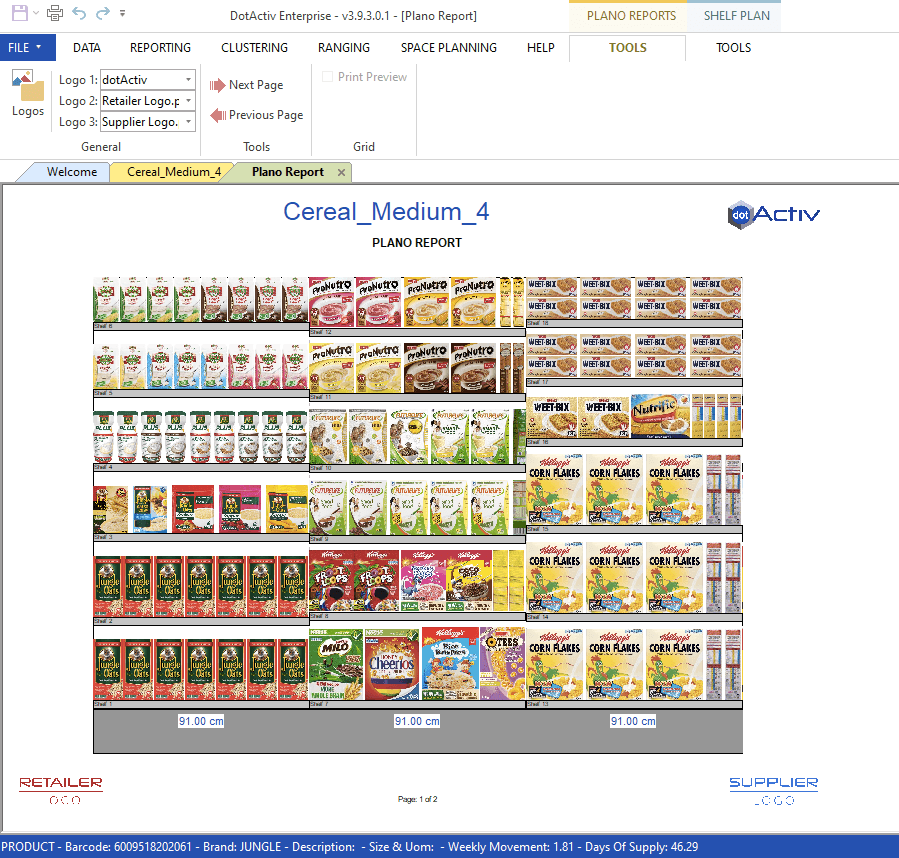
Your planogram report will now be generated as seen in the image below. It has a similar layout to the Shelf Report.
Should you wish to include images, you can read more about how to do that in this article here.
Once happy, click ‘File, then ‘Print’ and choose your print option from the ‘Print’ window.
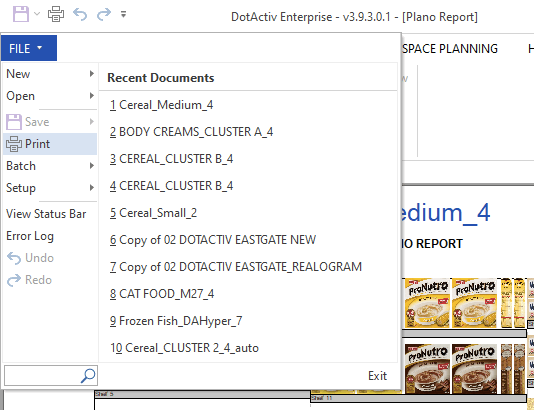
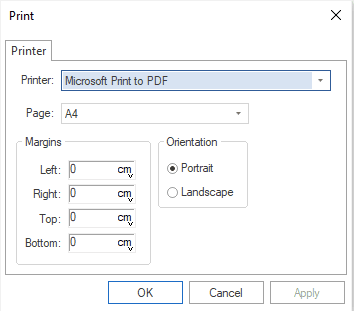
You can choose to print this report or save it as a PDF by selecting ‘Microsoft Print To PDF’, as seen below.
Once done, your report will look as follows.