The purpose of this article is to explain how you can manage any support tickets that you have created in Activ8 software.
Managing A Support Ticket
After logging a support ticket through Activ8 – learn how to do that in this article – you have a few ways to view and manage it.
- General Task View
- Filtered Task View
- Search Tasks
General Task View in Activ8
After logging into Activ8 and navigating to ‘Workflow’ tab in the left-hand panel, select ‘Tasks’ from the drop-down list.
In the ‘My Tasks’ window, you can view all of the tasks that you have logged.

By clicking on any of the tasks, you can do the following:
- Check the status of an open ticket;
- View the progress of checklist items;
- Edit deadlines and urgency of the ticket;
- Add or remove task observers;
- View a detailed history since logging the ticket; and
- View and add comments.
Filtered Task View
After logging into Activ8 and navigating to ‘Workflow’ tab in the left-hand panel, select ‘Tasks’ from the drop-down list.
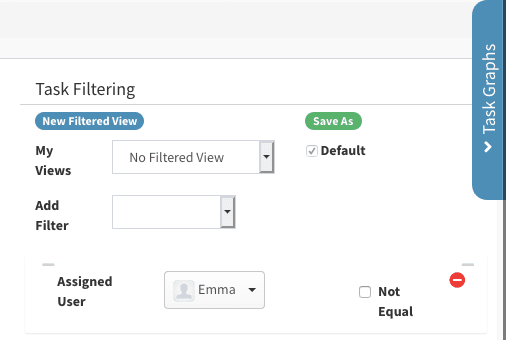
In the ‘My Tasks’ window, find the ‘Task Filtering’ section, as seen below.

Adding A Filter
To add a task filter, click on the ‘Add Filter’ drop-down menu and select which filtering option you would like to use.

In the ‘Add Filter’ field, you will need to specify a User, Board, Company, Observer, Project, Task Owner, Task Status or Task Type. You can click ‘Done’ to apply the filter.
Saving A Filter
After clicking ‘Done’, you have the option to save the filter to use at a later date.
Click ‘Save As’ to begin the process. Next, give your filtered view a name.
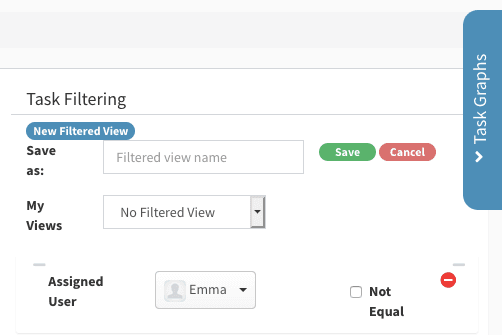
Once saved, can you find your filtered view in the ‘My Views’ drop-down menu.
Search Tasks
After logging into Activ8 and navigating to ‘Workflow’ tab in the left-hand panel, select ‘Tasks’ from the drop-down list.
In the ‘My Tasks’ window, find the ‘Search Tasks’ bar.
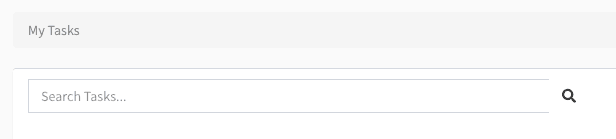
In the search bar, you can type in any details of your task to find it, be that the support person assigned to your ticket or a description. After typing in a keyword, you’ll find it under the ‘Tasks In Progress’ section of the ‘My Tasks’ window.
Adding Comments
To add a comment to any task that you create, once in the task, click on the ‘Comments’ tab. Here, you’ll sell all previous comments on the task.
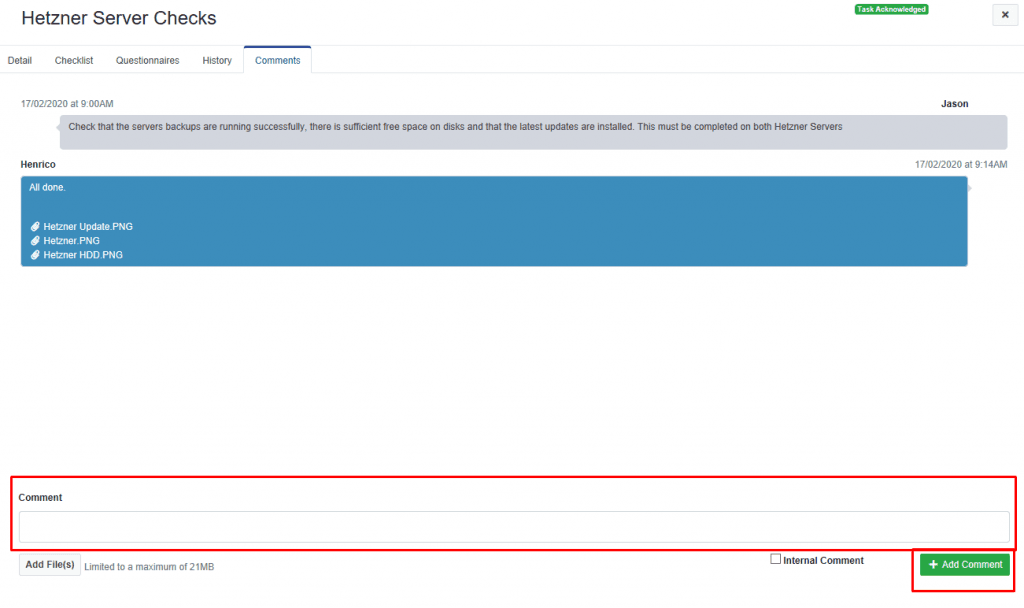
At the bottom, you’ll find a text box where you can enter your comments and files when necessary.