The purpose of this article is to explain how to add and upload documents to the filing cabinet in Activ8.
Accessing The Filing Cabinet
After opening Activ8, navigate to the ‘Filing Cabinet’ tab in the left-hand panel. From the drop-down list select ‘Company Filing Cabinet’.
In the ‘Filing Cabinet’ window, click on the ‘Filing Cabinet’ button and select ‘+Add Folder’ or create a new folder. If you want to add a file, select ‘Add File(s)’ from the drop-down list.
Once you have added all your files, you can see all your folders display, on the left-hand side of the page.
By navigating into each folder you can see all the sub-folders that you have created. Within each sub-folder, you can add your various files and folders where necessary.
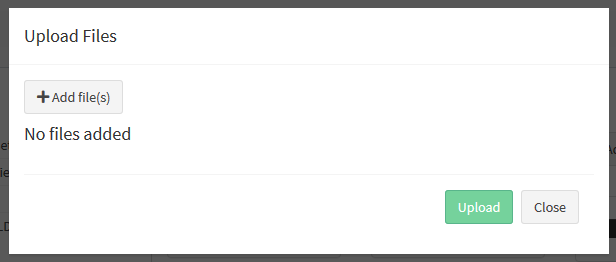
You can also add files and folders by directly clicking on the ‘Add Files’ and ‘Add Folder icons located next to the search box. If you click on the ‘Add Files’, the below window will pop up.

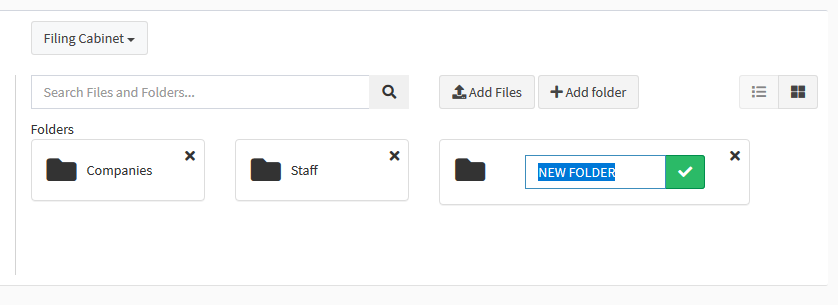
If you select ‘Add Folder’, the new folder will appear as below where you can edit it before click on the green tick. If you don’t click on it, it won’t save your changes.

If you want to delete a folder, click on the ‘X’ next to each.
